Tools Required
To hem pants with a Singer sewing machine, you will first need to gather all the tools you will require. These include the Singer machine itself, a pair of scissors, a piece of chalk, pins, needle and thread. Additionally, a measuring tape, hand sewing needle and thread, interfacing and an iron will be needed to complete the project. Many of these items can be purchased at a local fabric or craft store. Once you have gathered all these items together, you are ready to begin.
Measure Garment
The first step in hemming pants with a Singer sewing machine is to measure the garment. This can be done with a measuring tape. Measure the desired finished length of the pants from the waistband to the floor. For example, if the desired finished length is 32 inches, then the measurement should be taken from the waistband of the pants to the spot on the floor that you would like the hem of the pants to end. Mark this spot with a piece of chalk.
Pin The Hem
Once the desired length has been marked, use pins to hold the excess fabric in place. Depending on the type of fabric being used, the excess fabric should either be folded in or turned up and pinned. If necessary, use an iron to press the hem before pinning. Make sure the pins are placed firmly, so that the fabric does not move while sewing. This will ensure that the hem is straight.
Attach Interfacing
If you would like to add some stability to the fabric, use interfacing. This is a thin, often lightweight fabric that is attached to the underside of the hem to create a stronger and sturdier edge. If using interfacing, cut a strip of interfacing that is slightly smaller than the area being hemmed. Iron the interfacing onto the wrong side of the hem and trim off any excess fabric.
Sew The Hem
Once everything is pinned and the interfacing has been attached, it is time to sew the hem. Thread the Singer sewing machine and set the stitch type to a straight stitch. Drop the feed dogs and select the appropriate presser foot for the fabric being used. Slowly and carefully sew the hem. Remember to back stitch at the beginning and end to ensure the seams are secure. If necessary, use a seam ripper to remove any stitches that may not have turned out correctly. Once the hem is sewn, iron it and check that the desired length and shape have been achieved.
Hand Sew Finishing
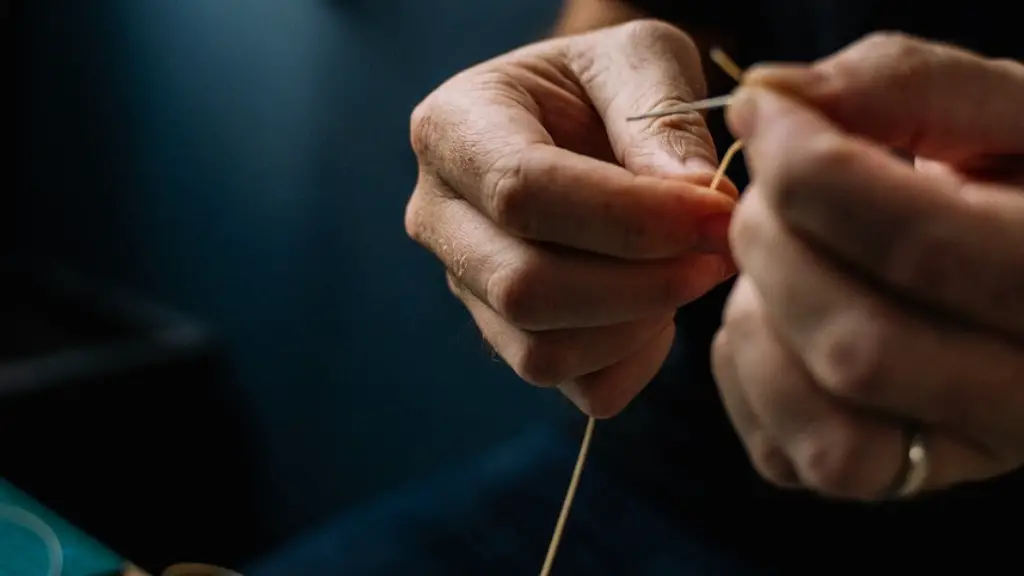
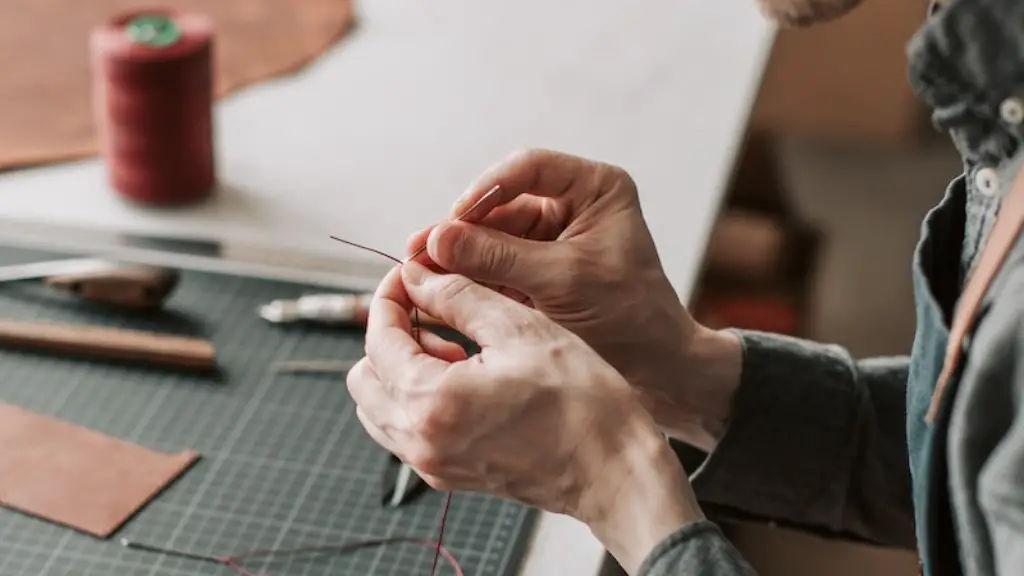
To complete the hem and give it a professional finish, use a hand sewing needle and thread to stitch a few stitches into the wrong side of the hem. This will prevent the hem from unraveling and give it a more finished look. Once the hand sewing stitches have been made, the pants are now ready to wear!
Other Hemming Tips
When hemming pants with a Singer sewing machine, it is important to remember to check the tension settings after every few stitches. Taking the time to do this will ensure that the stitches are even and uniform. Additionally, to avoid puckers, use a longer stitch length and replace the presser foot with a free-motion presser foot. This will allow the fabric to feed smoothly through the machine. Lastly, don’t be afraid to experiment and try new hemming techniques. With practice, you will soon be a pro at hemming pants with a Singer sewing machine!
Fabric Selection
When choosing the fabric for hemming pants with a Singer sewing machine, it is important to take into consideration the type and weight of the fabric. Choose a lightweight fabric for best results. If a heavy fabric is used, it may cause the stitches to pull and cause the hem to pucker. Additionally, if the fabric is too light, the stitches may not hold and the hem may not stay in place. Carefully select the fabric that is best suited for hemming.
Stabilizers and Thread
To ensure the best results, avoid using general purpose thread and opt for thread specifically designed for denim and heavier fabrics. Additionally, if a fabric is particularly lightweight, canvas or some other stabilizer can be used to provide a more stable surface for the stitching. All these steps will help to ensure that your hemming project turns out exactly as planned.
Advanced Techniques
Once you are comfortable hemming pants with a Singer sewing machine, try experimenting with some more advanced techniques. These include adding stitching details and decorative hems. For a more professional look, consider adding a binding or grosgrain ribbon to the hem. This will add a nice finishing touch to any hemmed pant project!
Safety Precautions
Another important thing to remember when hemming pants with a Singer sewing machine is to take proper safety precautions. This includes unplugging the machine after each use and wearing a pair of protective gloves when handling the needle and thread. Additionally, be sure to read the machine’s instruction manual and become familiar with the different stitches and functions. Properly following all safety guidelines will ensure a safe and successful hemming project!


