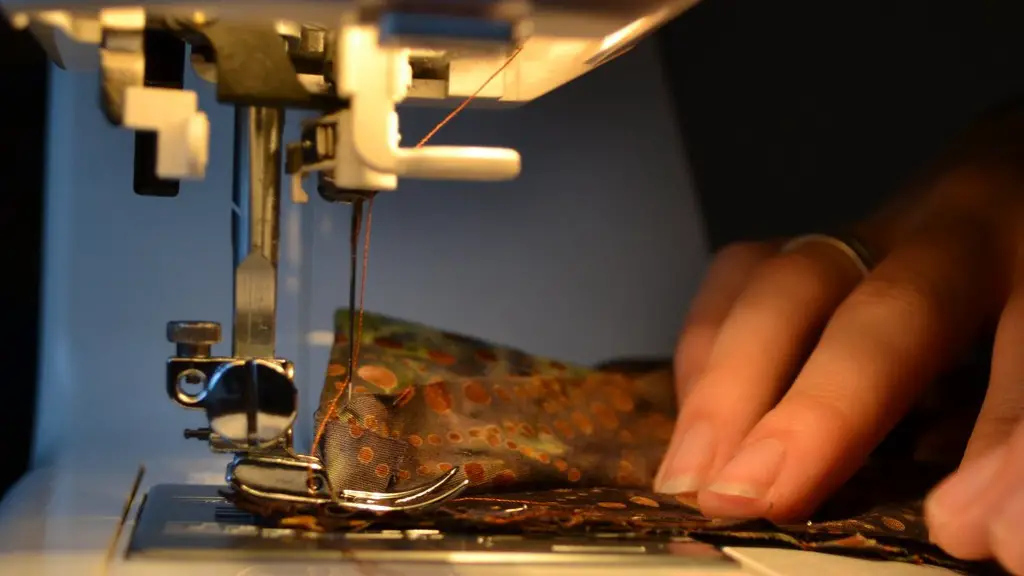
Many people might think that the task of hemming with a sewing machine requires expertise and dexterous skills. Contrary to this, if you have the right tools and a bit of patience, hemming with a sewing machine is not a difficult job. It is highly important to understand that the success of any project lies in the preparation. As such, prior to starting your project, you should make sure you have all the supplies and tools necessary.
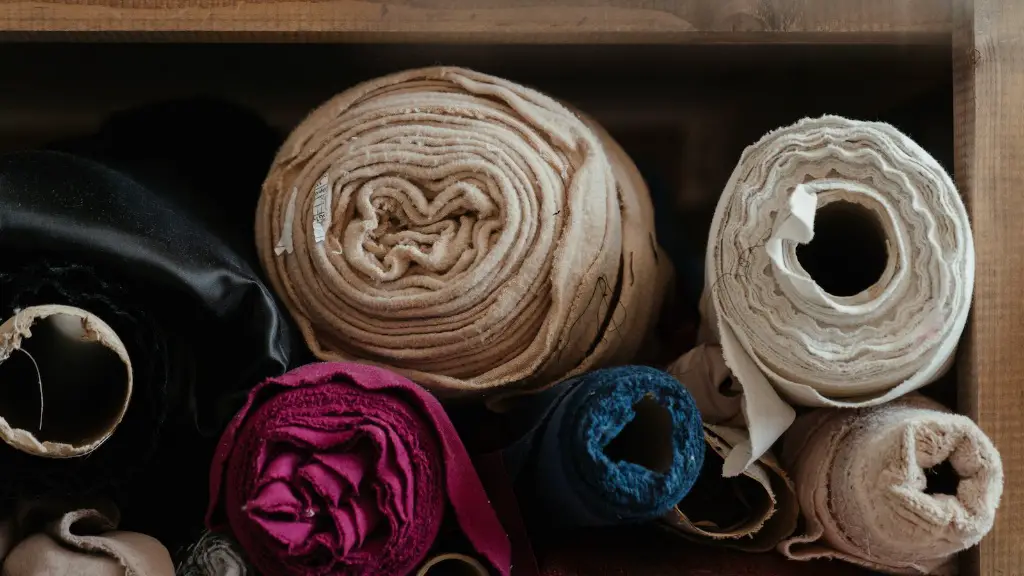
First and foremost, you ought to select the right fabric. The fabric should be light enough to add to the curvature of the hem if you’re using a double-fold hem, not too light and slippery that it causes problems when you’re working with the fabric and a bit strong so it can hold the stitches in their place.
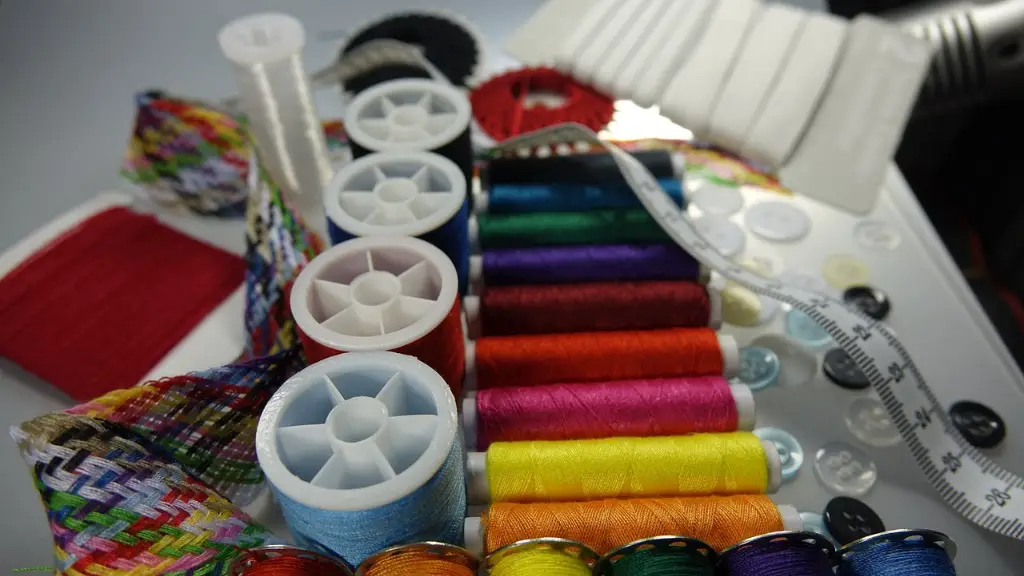
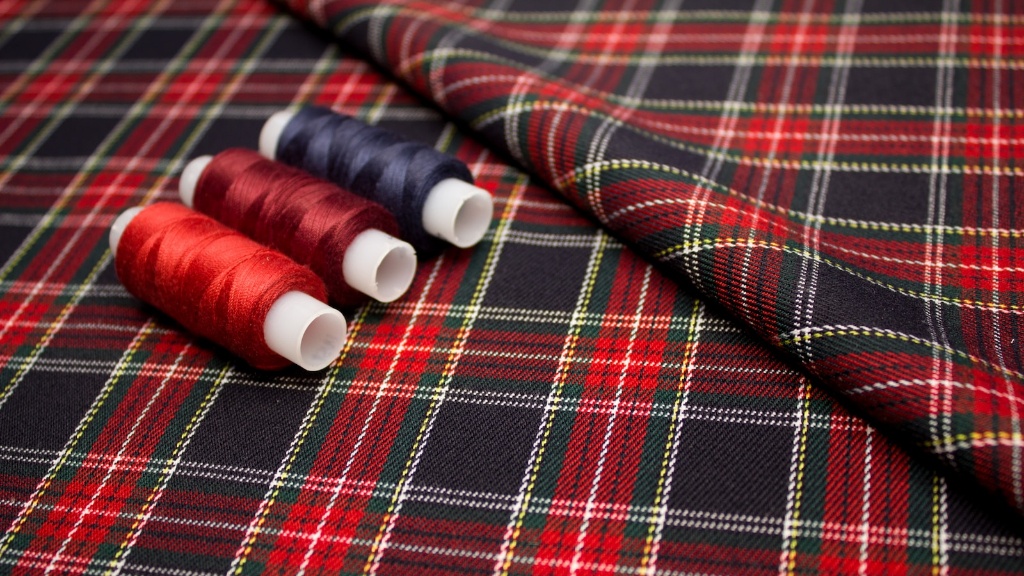
You also need to use the correct thread. Make sure you choose thread appropriate to your fabric, thread that matches the color of your fabric, and sturdy thread that will not easily snap while you’re working.
When it comes to tools, it depends on the project. You will most likely need an iron, thread, pins, a ruler, chalk, a pair of scissors, tailor’s chalk and of course, a sewing machine. If your hem is too delicate or if you want to create neat stitches of the same size or length, you may also consider a hem guide template.
When it comes to preparing the fabric for your project, there are several steps you need to do: measure the fabric, mark it and adjust the remain fabrics to the desired length. Make sure all the markings and measurements are correct and consistent to ensure a neat finish.
Next, use a presser foot that will accommodate your project and make sure it is properly attached to your sewing machine. Depending on your machine’s configuration, select the appropriate stitch – a wide stitch for more delicate fabrics, a narrow stitch for more sturdy materials – making sure, once more, that the thread is all the same.
It is important to check and adjust the tension of your machine: a loose tension will leave puckered loops in the fabric and make your stitching appear unstable and apart, whilst a very tight tension will cause the thread to break in the middle.
Finally, use your chalk and pins to secure your fabric on the machine. Make sure the edges of your hem are secure without interfering with the functioning of the machine. Once everything is in place, you can finally start your project.
Decorative Hemming
In addition to straight hems, there are a number of decorative hemming styles you can use for projects such as curtains, skirts or blouses. These hems are always better done with a sewing machine because of their complexity and stylish finish.
The most common decorative hem styles include zigzag hems, rolled hems, and fell hems. These hems give clothing and curtains a unique look and can be used on almost any type of fabric. The key to achieving a neat hem is to prepare the material properly.
Start by folding the fabric and pressing it well with an iron. You can then pick the right presser foot for the job, adjust the machine settings according to the fabric, and secure the fabric with tape or pins. When stitching, don’t forget to keep the stitches away from the edge of the fabric to ensure a neat finish.
Once completed, press the hem with an iron to flatten it and make sure it stays in place. Whether straight or decorative, make sure to use the right tools and techniques to achieve a professional and stylish hem.
Double-Fold Hemming
This type of hem requires a bit more effort, but it gives a neat and professional look to any project. To start with a double-fold hem, you need to fold the fabric over itself twice, making sure the folds line up and that the edges are even. Use your ruler and tailor’s chalk to draw the fold lines and measure the fabric’s length.
Secure the fabric with pins and start sewing from the bottom up. Make sure the stitches are even and secure, and that the sides are exactly aligned. Use the same stitch for both sides and don’t forget to backstitch.
Once the sewing is done, it’s time to press the hem. Make sure to use a pressing cloth to avoid any damage to the fabric. To finish it, turn the hem and stitch it again to the other side using the same stitch. Press it once more and you’re ready to go.
Finished Seams
A neat and professional finished seam requires a bit of careful work but it will bring your project to perfection. Start by stitching the hem and press it as needed. Next use an iron to turn the hem and stitch it on the other side, making sure the edges are aligned. Now, it’s time to top-stitch the hem, which is basically stitching it with the right side of the fabric exposed.
Make sure you use the right presser foot – plain, rolled hem or edge-stitch feet are the best – and adjust the tension of the machine for a neat and secure finish. You may also use a top-stitch guide to help you create evenly spaced stitches.
As a final step, run the iron all over the hem once again and make sure it is neat and flat. finished seams are generally used in structured garments, such as jackets, trousers, skirts, and so on.
Stitched Hemming
Stitched hems are a great option if you’re short on time and need a neat finish, as it will give your fabric a professional look in a few simple steps. To begin with, fold the fabric over itself and press it with an iron. This will give you the desired fold
As the fabric is folded, you won’t need to adjust the length of the fabric or make any additional markings. All you have to do is stitch the hem and make sure the stitches are even and secure.
Once you’re done, press the hem with an iron and put it aside for a moment. Now take a couple of large needles, chalk and tailor’s pins and secure the hem by stitching it together with the needles. To achieve a neat look, you can also use a basting machine.
Once this is done, press the hem once again, trim any excess threads, and your project is finished. No additional measurements, markings or stitches are required, making it a great option when you’re short on time.
French Hemming
French hems are quite sturdy and durable and they can be used in many projects such as skirts, blouses or jackets. As with any other hemming project, there are a few steps you need to follow.
Start by folding the fabric over and press it with an iron. Stitch the fabric starting from the bottom up, making sure the stitches are even and secure. Press the hem once again and make a second row of stitches parallel to the first one. This will reinforce the hem and make it more secure.
Press the hem again, trim any excess threads and there’s one last step to finish the French-hemmed fabric. Fold the hem towards the wrong side of the fabric and stitch it on the inside. To top it off, press the fabric once again and your French hem is done.
Conclusion
It’s clear to see that hemming with a sewing machine requires preparation and an understanding of the tools and techniques – not to mention a bit of patience – but with the right tools and instructions, it is a manageable process that can be done with minimal effort.
Whether you’re working with delicate fabrics or looking to create decorative hems, the key is to use the right tools and techniques. With practice and the right approach, you can learn how to hem with a sewing machine in no time.
