What is Hemstitching?
Hemstitching is a decorative stitch that has been used for many years in the sewing world. It is a type of embroidery that is often used to finish items such as linens, towels, and garments. Hemstitching is created by taking a series of closely spaced, small stitches along the edge of the fabric or trim and then looping them through the fabric. This creates an attractive, detailed look that adds visual interest and adds a finished look to any sewing project.
Tools and Supplies Needed
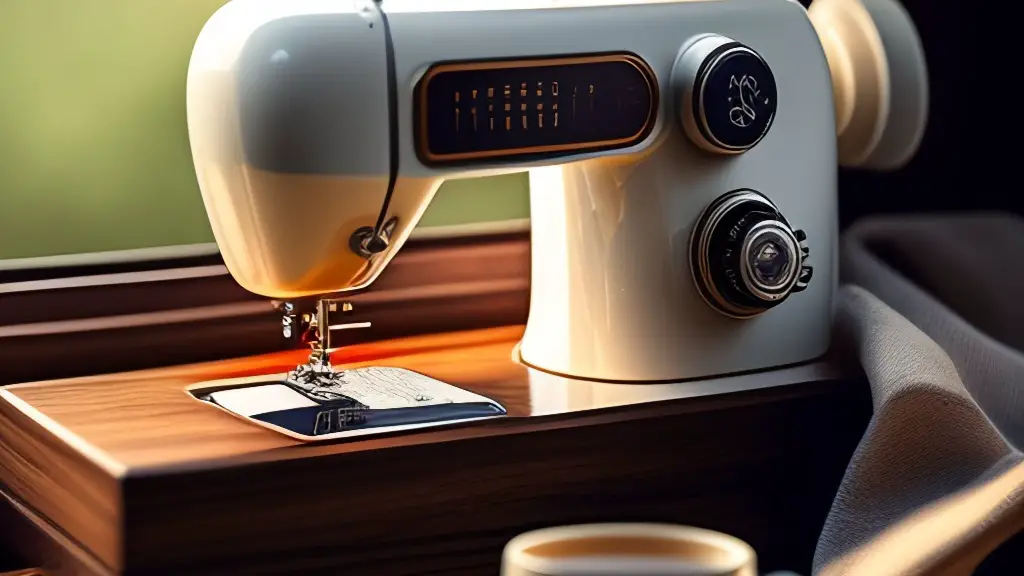
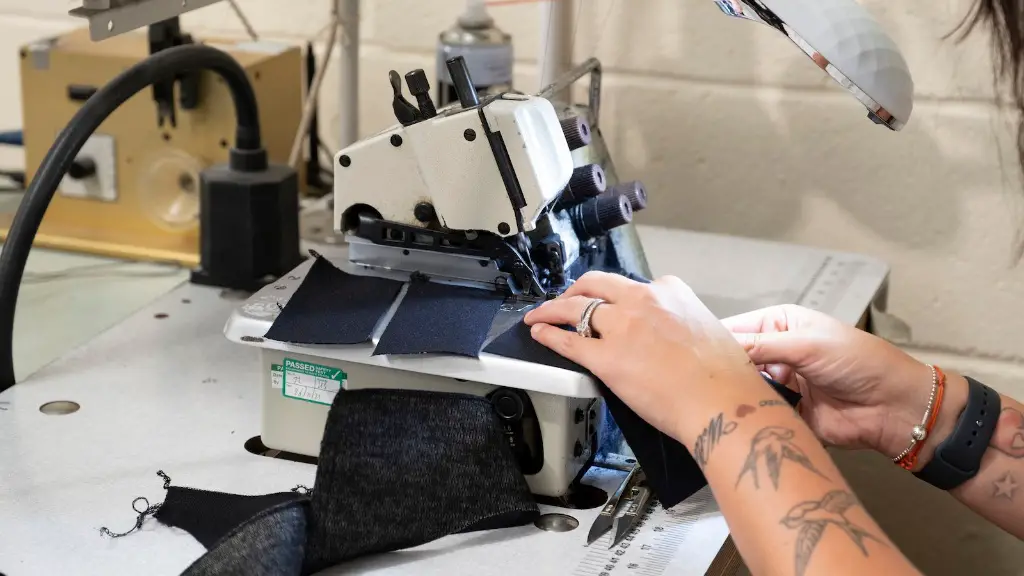
To hemstitch on a sewing machine, you will need the right tools and supplies. First, gather your fabric and thread. You will also need a sewing machine, an adjustable hemstitching foot or a darning or quilting foot, and an embroidery needle or a smaller sized needle.
Preparing the Fabric
Once you have gathered your supplies, it’s time to prepare the fabric. For the most even hems, first use a ruler and tailor’s chalk to mark the desired length on the fabric. Then, press lightly to set the hem. This will help to ensure that your hemline is even and uniform.
Attaching the Hemstitching Foot
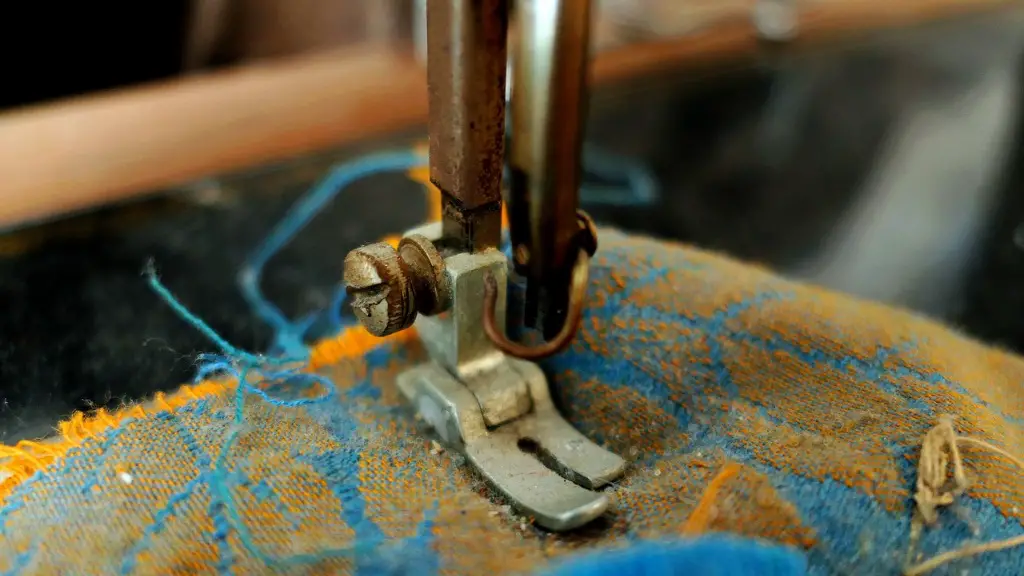
To attach the hemstitching foot to your sewing machine, first remove the standard presser foot from the machine. Then, locate the small screw on the side of the hemstitch foot and loosen it with a screwdriver. Place the hemstitch foot onto the machine and tighten the screw. Once the foot is firmly attached, select the zigzag stitch.
Positioning the Fabric
Next, you’ll want to position the fabric underneath the hemstitching foot. When positioning the fabric, you’ll want to make sure that the needle is directly in the middle of the hem or the edge of the fabric that you are hemstitching. Adjust the needle position by using the screw on the foot or by turning the hand wheel manually.
Embroidering the Fabric
Once the fabric is in place, you’re ready to begin hemstitching. Set the length on the machine to the maximum for the best results. Then, start sewing. As you sew, you’ll want to make sure that the needle is looping and catching the edge of the fabric, creating the desired hemstitched look. To make sure that the stitches are even and uniform, you can use a damp cloth to mark the position of the stitches.
Securing the Hem
When you have finished the hemstitching, it’s important to secure the edges of the fabric so that they will not fray. To do this, simply fold the edge over and sew a straight stitch across the piece, close to the hemstitching. This will help to secure the fabric and make sure that your stitches are safe and secure.
Caring for the Hemstitched Fabric
Finally, taking care of your hemstitched fabric is essential in order to keep it looking its best. After washing the item, press it with a damp cloth and steam iron for best results. Be sure to practice gentle care when handling the item to prevent any damage or unnecessary wear and tear.
Hemstitching Tips and Tricks
Mastering the art of hemstitching on a sewing machine is no easy feat, but if you apply these tips and tricks, you’ll be creating eye-catching hems in no time.
Choose the Right Thread
When hemstitching, you’ll want to avoid using regular thread. Instead, opt for a special embroidery thread. This thread is stronger and more resistant to wear and tear, which will ensure that your hemstitching lasts longer.
Test the Stitch on Scrap Fabric
Before you begin hemstitching on your new piece, it’s a good idea to test your stitch on a scrap piece of fabric. This will help you get a feel for the needle placement and tension settings and also give you a chance to adjust any settings as needed without ruining your project.
Use an Embroidery Needle
For the best results, use an embroidery needle when hemstitching. An embroidery needle has a long, slim shaft and a sharper tip, which will help it penetrate the fabric with ease and create a clean, even stitch.
Practice Patience
Hemstitching can be a bit tedious and time-consuming, so it’s important to practice patience and stay focused to get the best results. If you rush, you may end up with an uneven or sloppy hem, so take your time and you’ll end up with beautiful, crisp hems.
Creative Ways to Use Hemstitching
Hemstitching doesn’t just have to be used for finishing garments and linens. Today, creative sewers are finding unique and creative ways to use hemstitching in all sorts of projects.
Trim Your Pillows or Curtains
Hemstitching can add a special touch to any item. Try using it to trim your curtains or to give your throw pillows a one-of-a-kind look. This is a great way to add visual interest and an elevated look to your home décor.
Embellish a Sweater
If you’re tired of a plain, plain sweater, try adding some hemstitching to give it a bit of pizzazz. Hemstitching can be used to embellish all types of garments, from sweaters, to skirts, and even to coats.
Create a Monogrammed Towel
Nothing says personalized and special like a monogrammed item. You can use hemstitching to create a customized, monogrammed towel for yourself or someone special. This is a great way to add a personalized touch to any item.
Decorate a Wall Hanging
Hemstitching is also popular for adding visual interest to wall hangings. You can use a variety of stitches and colors to create different looks. From wavy lines to geometric shapes, the possibilities are virtually endless.
Hemstitching Projects for Beginners
If you’re new to hemstitching, it can be a bit intimidating. But don’t worry! There are plenty of easy hemstitching projects that are perfect for beginners.
Scarf Edging
One of the simplest hemstitching projects is to add a decorative trim to a scarf. Since scarves are relatively small and have a straight edge, they are the perfect item to practice your hemstitching skills.
Embellish Your T-Shirts
If you have some plain t-shirts lying around, why not dress them up with some hemstitching? Add a row of hemstitching along the neckline, around the armholes, or even down the sides of the shirt for an unexpected and unique look.
Accent Handkerchiefs
Hemstitching can be used to accent just about any item, including handkerchiefs. Try adding some decorative hems around the edges or adding monogrammed initials to the corner of the fabric.
Decorate a Neck Tie
Add a trendy and sophisticated detail to your next neck tie. Try adding thin rows of hemstitching along the edges or in a criss-cross pattern down the center of the fabric for a one-of-a-kind look.
The Benefits of Hemstitching
Although hemstitching requires a bit of patience and practice to master, it can be a great way to add a unique and custom look to any item. In addition to its decorative qualities, hemstitching can also be beneficial in other ways.
Protection
Hemstitching can be used to reinforce the edges of fabric and reduce the risk of fraying. By preventing the edges of the fabric from fraying, the hemstitching will help prolong the life of the item.
Functionality
Hemstitching can also be used to improve the functionality of the item. For instance, hemstitching can be used to create a drawstring hem on a bag or pouch, or can also be used to turn a piece of fabric into a reusable shopping bag.
Historical Context
Lastly, hemstitching can be a great way to add an eye-catching detail to a piece while also adding a bit of historical context. This technique has been around for centuries and is still used today, so it can be a great way to add an old-world feel to any item.
