Setting Up Your Bobbin
Bernina sewing machines are renowned for their excellent performance, accuracy and quality, making them some of the most sought-after machines for all types of sewing projects. However, for those who have not worked with a Bernina before, some of the terminology and processes can seem confusing. One of the first and most important steps you must take when setting up a Bernina sewing machine is inserting a bobbin.
Advantages of Bernina Bobbins
When you purchase a Bernina sewing machine, it will come complete with bobbins. While it is possible to use other bobbins in the machine, it is best to use the bobbins that were designed for the Bernina to take advantage of the special features that each machine offers. Bernina bobbins are uniquely designed to ensure that the thread is wound properly and evenly over the bobbin, and this leads to fewer problems with threading and stitching.
Instructions for Inserting a Bobbin
Inserting a bobbin into the Bernina is not difficult and it is important to follow the instructions that come with the machine when doing so. The first step is to locate the bobbin winder which is usually on the left-hand side of the machine, just above the needle. Then, insert the bobbin and turn the handwheel located by the needle to the right to loosen the thread tension. Place a spool of thread on the spool pin and press the bobbin winder until it clicks and begins to wind the thread.
When the bobbin is wound, turn the handwheel to the left to tighten the thread tension and then remove the spool of thread. If a bobbin is already wound, you must make sure to place the thread in the right direction so that it comes off the correct side. Pull the thread down and out of the bobbin case, and then press the bobbin winder to the right until it is locked in place.
Attaching the Bobbin
When the bobbin is in place, it is now time to attach it to the machine. To do this, locate the bobbin case and the bobbin holder (you will have to lift the needle plate for the bobbin holder). Place the bobbin into the bobbin case and pull the thread around the bobbin guide slot and through the tension check. Now, place the bobbin into the bobbin holder, making sure it clicks in place.
Threading the Bobbin
The last step is threading the bobbin and this must be done correctly to ensure that the stitching is smooth and effective. Start by lifting the needle plate so that you can see the bobbin. With your right hand, pull the thread out of the bobbin case, and with the left hand, place the thread behind the thread guide (found on the upper part of the machine). Now, pull the thread down and pass it back up, following the other thread guides.
When the thread is back in the bobbin case, pull it out through the top thread guide. Pull a little extra thread from the bobbin and bring it up to the top of the needle plate. Now you are ready to sew!
Checking Your Thread Tension
When testing the thread tension, it is important to adjust it correctly, otherwise the bobbin thread may be too loose or too tight and the resulting stitches will not look good. Adjusting the thread tension is simple; to tighten the tension, turn the tiny screw clockwise, and to loosen the tension, turn the screw anti-clockwise.
It is important to refer to the instructions that come with your machine and the thread type when adjusting the tension. Poorly adjusted thread tension can lead to problems such as skipped stitches, mis-threading, or uneven stitches.
Changing the Bobbin
The bobbin should last for a long time, however, you will have to replace it eventually. When it comes time to change the bobbin, first unplug the machine and depress the bobbin holder (or press the button to open it). Take the empty bobbin out and put in the new one, making sure the thread is in the correct direction. Then replace the bobbin holder and draw the thread through the tension check and around the bobbin guide.
Finally, thread the machine as usual and take some test stitches to check that everything is correct.
Storing Spare Bobbins
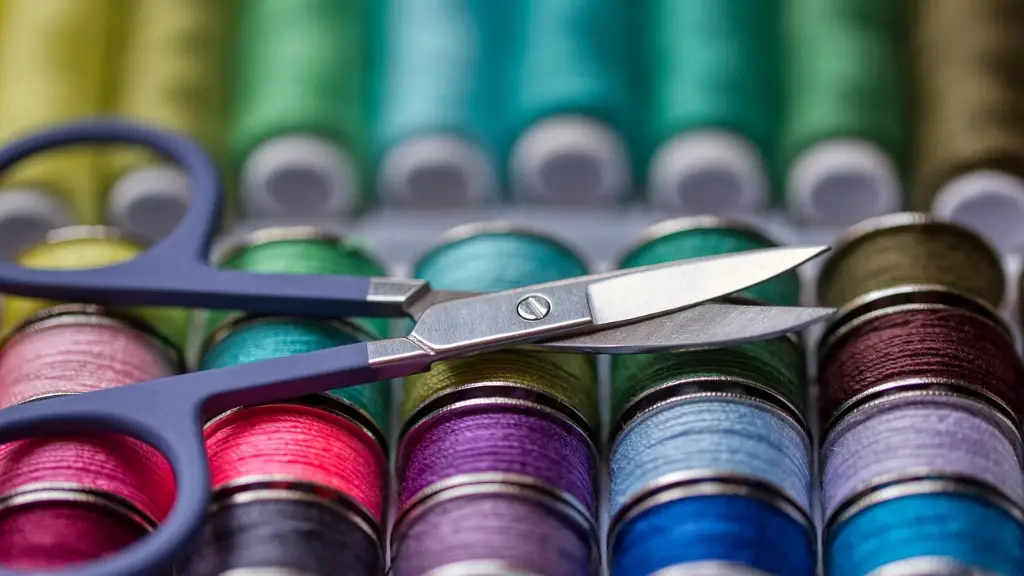
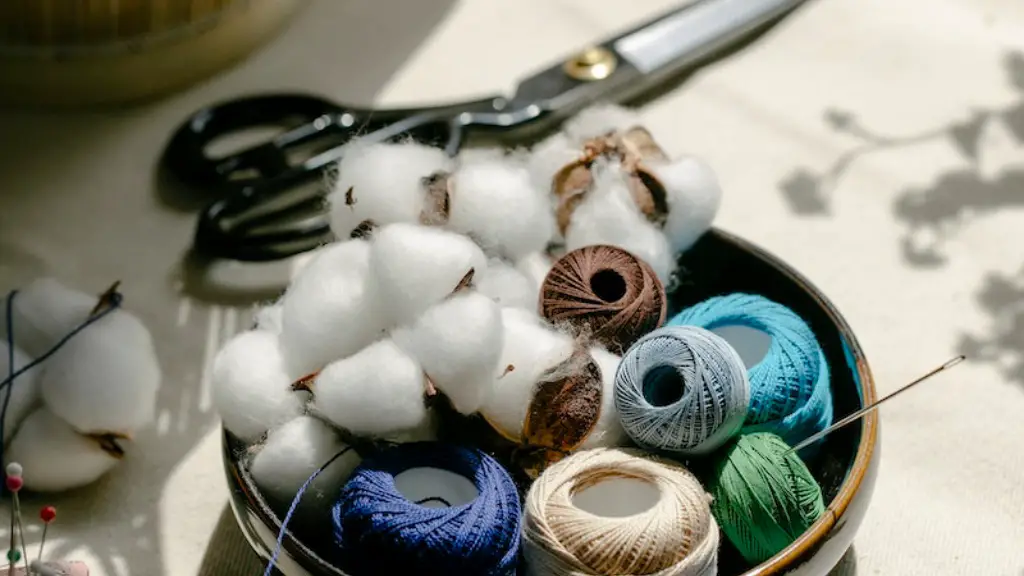
When you have multiple bobbins, storing them might seem like a daunting task. One common method is to place them all in a pincushion filled with cotton. If, however, you prefer to keep your bobbins neat, you can purchase special spool boxes where each bobbin has its own compartment.
Additional Tips and Advice
When referring to Bernina sewing machines, it is important to read the instruction manual thoroughly and have a basic understanding of how the machine works before attempting any repair or threading yourself. Additionally, it is recommended to check the bobbin tension and machine settings after every project to ensure you are getting the best performance from your machine.
Maintaining Your Bobbin
It is important to make sure your bobbin stays clean and free from lint and other debris, so always make sure to properly clean the machine before and after each use. It is especially important to remove the bobbin after each use, as leaving it in the machine can cause it to become jammed. Regularly lubricate the machine following the instructions in the manual, this will help to keep the bobbin and other components properly functioning.
Troubleshooting Bobbin Issues
If your Bernina is experiencing issues such as skipped stitches, thread breakage or an inability to pick up the bobbin thread, then it is important to check the tension of the thread and the bobbin itself. If the bobbin has become jammed then it is important to remove it and make sure it is properly re-threaded. If the tension is incorrect then it is best to refer to the instructions in the manual and adjust it accordingly.
Bobbin Overload
If the bobbin is overloaded with thread it is possible for the bobbin to become stuck in the machine, as there is too much thread and it is not able to move freely. In this case, it is important to remove the bobbin, cut off the excess thread and re-thread it so that the machine will operate properly.
Conclusion
Inserting a bobbin into a Bernina machine is not difficult and following the correct instructions and guidelines can help to ensure that you get the best performance and quality of stitching. Regular maintenance and troubleshooting can help to eliminate any potential bobbin issues, allowing you to get the most out of your machine.


