Prepare for Inserting the Needle into a Singer Sewing Machine
Before you insert the needle, you should ensure your Singer sewing machine is powered off, unplugged from any power source, and that the hole for the needle is clear and clean. The size of the needle should correspond to the material you are sewing on, taking into account thread size and fabric density. Many Singer sewing machines come with a standard needle size, but you should double check the needle size that is optimal for your Singer sewing machine before you start working.
Check the Needle Position
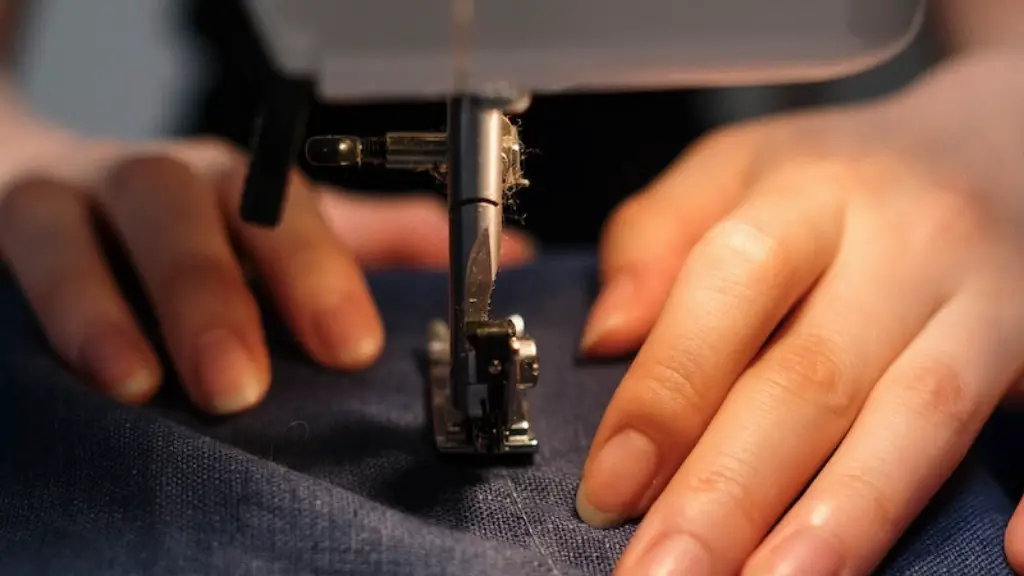
When you insert the needle into a Singer sewing machine, you should make sure that it is in the correct position. The flat side of the needle should be facing the back, while the rounded side of the needle should be facing the front. The needle should be inserted with the cloth area pointing away from the machine.
Adjust the Needle Height
Singer sewing machines have different height settings for the needle, so it is important to make sure the needle is set at the correct height. To adjust the needle height, you should use the hand wheel located under the needle on the sewing machine. The hand wheel is used to raise or lower the needle. To raise the needle, turn the hand wheel towards you; to lower the needle, turn the hand wheel away from you.
Insert the Needle into the Machine
Once the needle is in the correct position, you can insert it into the machine by lining up the needle into the needle mount. Gently push the needle down until it seats into the needle bar. If you feel any resistance or friction while inserting the needle, then it is likely that the wrong size needle is being used.
Check the Tension Level
Before you start sewing, it is important to check that the tension of the needle is correct. If the tension is too tight, the needle may break or the fabric may be damaged. If the tension is too loose, the stitches will not make a tight seam. To adjust the tension, turn the tension knob located on the top of the Singer machine.
Check the Thread Path
The thread path should be checked to make sure the thread is passing through all of the relevant parts of the machine. The thread should pass through the tension discs, the take-up lever, and the thread guides. Once the thread has been passed through these parts of the machine, you can start sewing.
Maintenance
In order to maintain the smooth functioning of a Singer sewing machine, it is important to inspect and clean the needle periodically. You should unplug the machine, take off the presser foot, and then use a damp cloth to remove any lint or dust particles from the machine’s needle. If the needle is chipped or bent, it should be replaced.
The Importance of Taking the Proper Safety Measures
When handling a Singer sewing machine, you should always take the necessary safety precautions. This includes unplugging the machine when not in use, wearing eye protection when sewing and following the instructions in the machine’s manual. Additionally, when handling needles, be sure to use the appropriate needle-handling tools to avoid any injury.
Choosing the Appropriate Needles
Needles for Singer sewing machines come in many different sizes and types, depending on the material you are sewing. It is important to choose the right needle for the project, as the wrong needle can damage the fabric or the machine itself. Common needle sizes include 70/10 for lightweight fabrics, 80/12 for medium-weight fabrics, and 90/14 for heavyweight fabrics.
Threading the Bobbin
Bobbins are used to help keep the thread in place while sewing, and they need to be properly threaded before they can be used. Begin by placing the bobbin in the bobbin case and winding the thread around the tension discs. Slowly pull the thread to make sure it is seated in the right groove. The bobbin should then be inserted into the thread holder and locked into place.
Loading the Bobbin into the Machine
To load the bobbin into the machine, insert the bobbin into the hook race and slide it until it locks securely into place. Pull the bobbin thread up through the top of the hook race, and then thread it into the take-up lever. You can then start sewing, making sure to pull on the bobbin thread to create tension before sewing.
Choosing the Correct Foot
There are many different types of feet for Singer sewing machines, and it is important to use the correct foot for your project. Generally, the foot that comes with the machine should be suitable for basic stitches, while speciality feet are required for sewing zippers, buttons, or intricate appliques. Choosing the correct foot is essential to ensure precise and even stitching.
Adjusting the Stitch Length and Width
The stitch length and width on a Singer sewing machine can be adjusted depending on the desired complexity of the stitch. To adjust the length, turn the knob on the front of the machine to increase or decrease the length. To adjust the width, turn the dial on the side of the machine to add or reduce the zigzag formation of the stitch.


