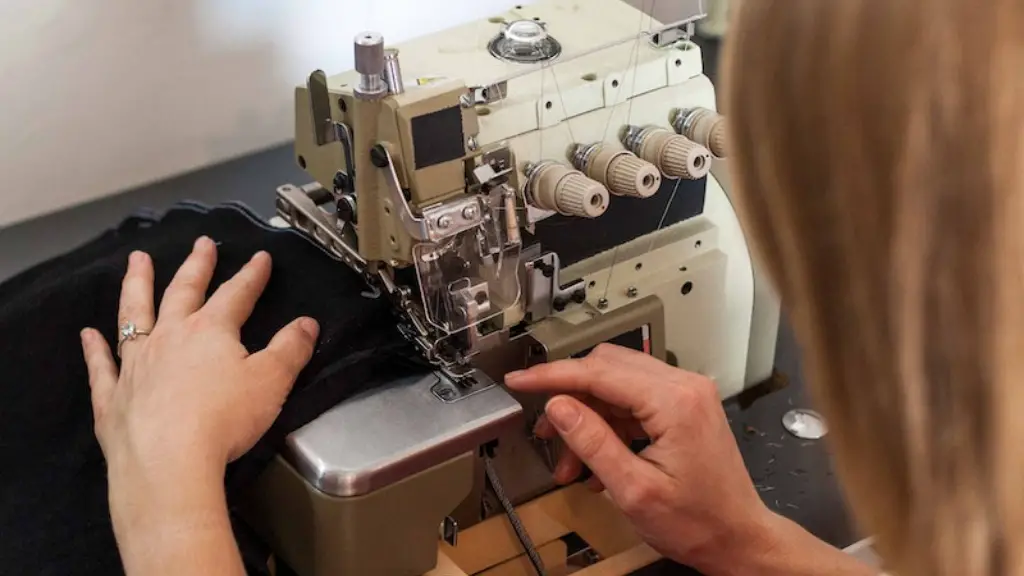
How to Adjust Sewing Machine Thread Tension
Adjusting the thread tension of a sewing machine is the single most important factor in achieving successful sewing results. But thread tension is often misunderstood and is a complicated subject to get your head around. Fortunately, making adjustments isn’t difficult once you understand the basics of thread tension and learn how to adjust it correctly on your machine.
To have your sewing project turn out with the best results, you should use the right weight of thread for the fabric you’re using and the kind of stitch. Different thread weights need different tensions on the same fabric. This is because some thread will slide through the fabric more easily than others.
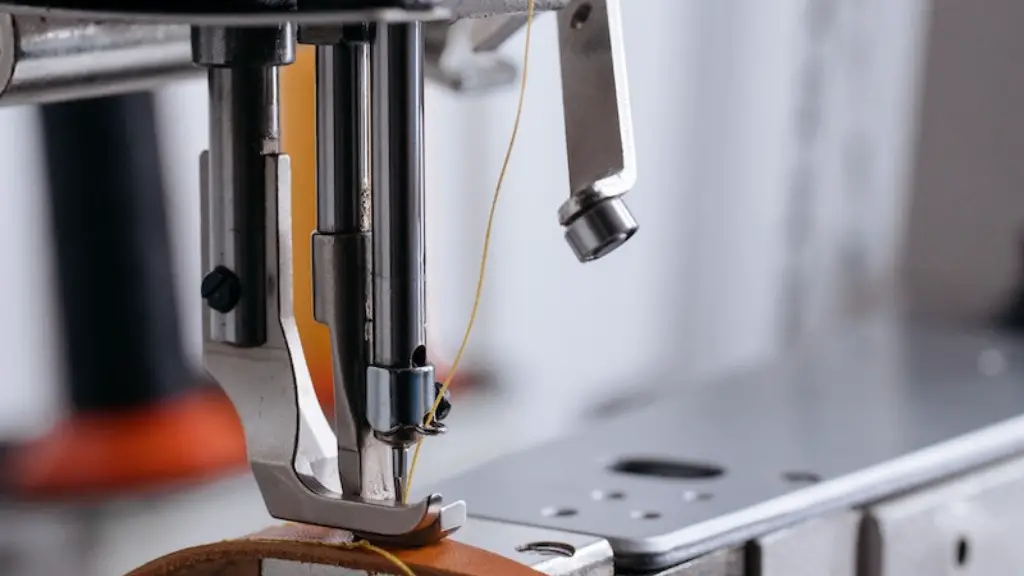
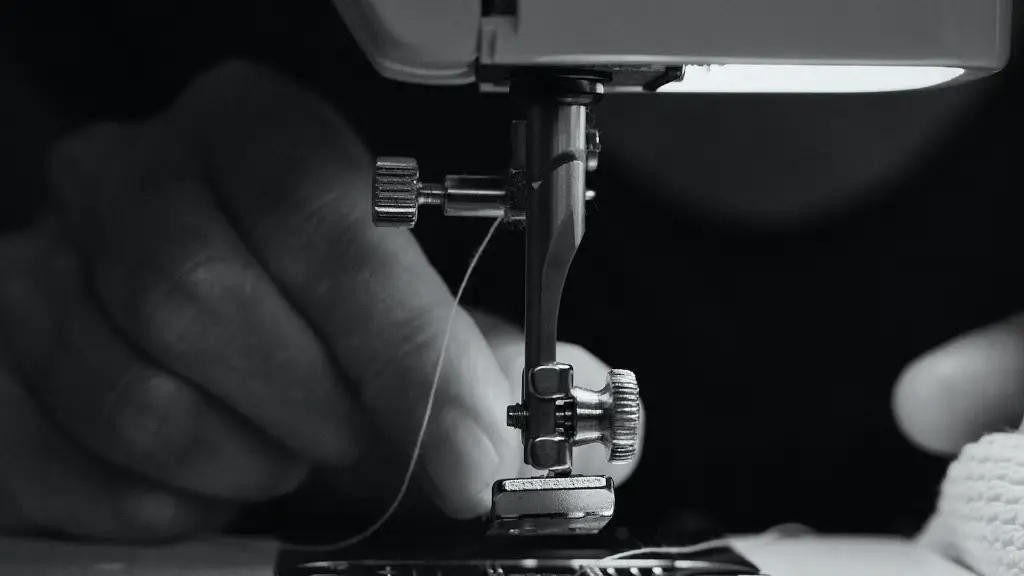
The thread tension is controlled by two discs. The upper tension disc is the “take-off” disc and the bottom tension disc is the “give” disc. To adjust the tension, the disc needs to be moved closer or further away from the needle. When the tension is too tight, you’ll find it difficult to pull the thread through to the back and you’ll get puckered fabric. When the tension is too loose, the thread will snag as it passes through the fabric and the stitching won’t be even.
Naturally, it’s a good idea to check the manual for your sewing machine for specific instructions about how to adjust the thread tension. But in general, a good starting point is to set the upper tension disc at 4-5 and the bottom tension disc at 3-4 (for a standard home sewing machine) and then adjust if needed. You may need to make changes depending on the weight of the thread and the type of fabric.
An easy way to test the thread tension is to sew scraps of fabric in a variety of fabrics and weights and check the stitching. If it looks good, the tension is correct. Otherwise, make adjustments to the tension discs until the stitching looks even. It can take some trial and error to get the tension adjusted correctly but it’s worth it for a successful project.
A thread tension meter can also be used to accurately adjust the thread tension, however they are not essential. But they make tension adjustments much easier and there’s no guesswork involved. A thread tension meter prevents you from making mistakes that could lead to problems down the line.
Thread Weight Matters
Thread weight is important when adjusting the thread tension. The same tension discs should not be used for all weights of thread. Lighter weight threads will need a higher tension while heavier weight threads need a lower tension. Also, use the right weight of thread for the type of fabric you’re working with. Heavy fabrics need heavier threads and lighter fabrics need lighter threads.
The ideal thread tension is when the threads from the top and bottom move in the same speed and eventually form an even stitch. The stitches should look the same from both sides of the fabric. If some of the stitches look a little larger than the others, it’s a sign that the tension needs to be adjusted.
It’s also important to remember that not all fabric and thread combinations will look the same. Some fabrics will naturally have some puckering, for example, and the tension will have to be adjusted accordingly.
If you’re having trouble with your machine’s thread tension, it’s a good idea to talk to a professional. But if you get the basics of thread tension right, you should find it easy to adjust the thread tension yourself with a little practice.
Why Is Good Tension Needed?
Achieving good tension is essential for successful sewing, as it affects the quality of the stitches and the look of your fabric. If the thread is too loose, the stitches won’t be even and the fabric will have a “puckered” look. On the other hand, if the thread is too tight, it can “gather” the fabric, making it difficult to work with.
Having good thread tension will help you produce consistent, neat stitches and prevent unnecessary problems in the future. Poor thread tension can lead to skipped stitches, thread jamming, and even breakage. It can also cause problems with the feed dogs and needle, which can affect the overall performance of the machine.
By taking the time to adjust the thread tension yourself, you can save yourself from a lot of hassle and headaches. And you’ll be able to turn out beautiful, professional-looking stitching with just a few simple steps.
Types of Thread Tension
There are two types of thread tensions, upper and lower thread tension. The upper thread tension is the take-off tension and the lower thread tension is the give tension. To adjust the thread tension, you need to adjust both the upper and lower thread tension discs.
The upper tension disc should be set to 4-5 and the lower tension disc should be set to 3-4 if you’re using standard sewing thread. The tension can be adjusted by moving the discs either closer or further away from the needle. A thread tension meter can be used to accurately adjust the tension.
You may need to make adjustments to the thread tension depending on the weight of the thread and the type of fabric you’re using. For example, lightweight threads need a higher tension while heavier threads need a lower tension. Different fabric weights also require different tensions.
Testing the Tension Discs
An easy way to test the tension discs is to sew scraps of fabric in a variety of fabrics and weights. This will help you to determine if the stitching looks good. If the stitches are uneven, then the tension is incorrect and needs to be adjusted.
You can make small adjustments to the tension discs until the stitching looks even. This can be a bit of trial and error but the results will be worth it.
Tension Maintenance
Maintaining the tension discs is essential for a successful sewing project. Make sure to clean and oil the discs regularly to keep them in good condition. It’s also a good idea to clean the machine after each use to prevent dirt and dust from building up.
Check the manual for your specific machine for instructions on how to clean and oil the tension discs. In general, you should drop a few drops of oil on the discs and then gently wipe them with a soft cloth.
If your machine is still having tension problems after you’ve adjusted the tension discs, it may be a sign that your machine needs to be serviced. If this is the case, it’s best to take it to a professional for servicing.
Final Thoughts
Adjusting the thread tension on a sewing machine isn’t difficult if you understand the basics. It may take a little trial and error to get the tension discs adjusted correctly, but it’s worth the effort in the long run. Take the time to clean and oil your tension discs regularly, and you’ll be rewarded with beautiful, professional-looking stitching for years to come.
