Threading the Upper Parts of the Sewing Machine
Threading the upper parts of your sewing machine is crucial for getting consistent stitches and for successful sewing projects. It involves passing the thread through a series of tiny guides and loops, across the tension disk and around tension-setting screws. Properly threading the upper parts of your sewing machine can be tricky, but with practice and patience, it can be mastered.
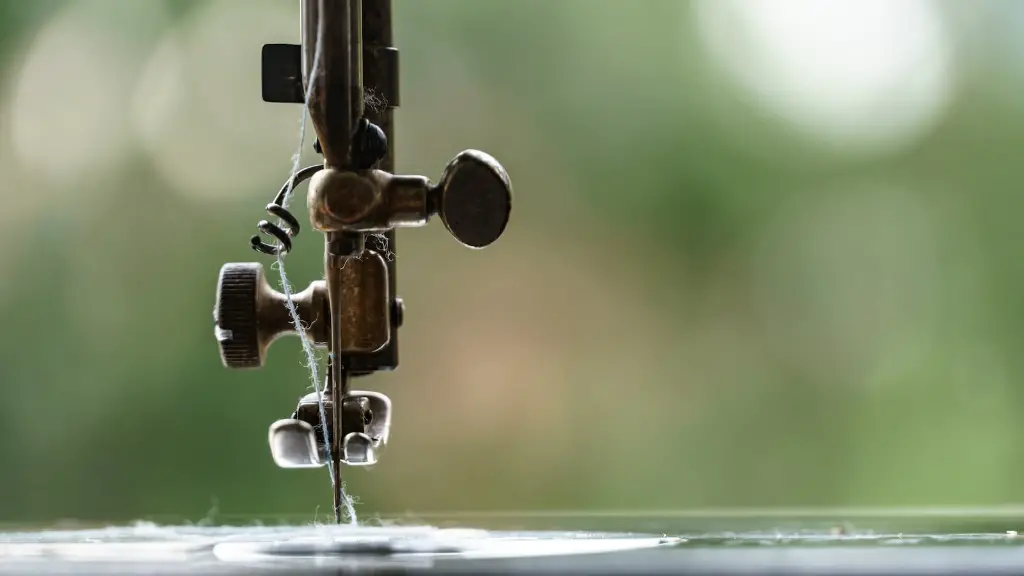
When threading the upper parts of the sewing machine, you’ll need to follow an order, beginning with the spool pin. This is the metal piece, found near the top of the machine. Place your thread spool on the pin and, depending on your machine’s make and model, pass the thread around a ceramic pin holder or a wire guide. Next, you should guide the thread down through the thread guide, a loop-like metal piece that’s located near the spool. The thread should then travel through a small, eyelet-like tube and towards the tension disk, which helps to regulate the tension of the thread.
From the tension disk, you’ll need to pull the thread through a lower thread guide and then take it up and around a tension-setting screw. Finally, the thread should be pulled through right to the needle, which you can insert into its corresponding hole. When threading the needle, you should make sure that the thread is coming out of the needle’s eye from the front and is not bunched up or tangled in the needle itself.
After threading the upper parts of the sewing machine, you should test that the machine is properly threaded. You can do this by pressing down on the foot pedal and making sure a stitch is formed. If successful, the thread should pass through two pieces of fabric and out the bottom in a simple stitch. However, if you’re having difficulty making a stitch, your upper threading may not be correct. Recheck your threading and make sure all the clips and loops are in place.
Though it can be daunting when starting out, with a bit of practice, proper threading technique and careful attention to detail, you’ll mastering threading the upper parts of your sewing machine in no time.
Threading the Lower Part of the Sewing Machine
Threading the lower part of your sewing machine is just as important as threading the upper parts. It involves winding the thread around the bobbin, then guiding it up through a bobbin case and slipping it through the tension regulator. To begin, make sure your bobbin is wound properly; if the thread is too tight, the bobbin won’t fit securely into the bobbin case. To wind the bobbin, take your thread spool and place it on the spindle. Then place your bobbin onto the bobbin winder, which is often located on the side of the machine, and thread it in the same way you would thread an upper part of the machine.
When the bobbin has been wound, take the thread and feed it through the slot of the bobbin case. Then, place the bobbin inside the bobbin case, making sure the thread’s path follows in the same direction as the arrow direction printed on the case. Once the bobbin is in place, you’ll need to insert the bobbin case back into the machine, slotting it in the same way it was when you removed it.
To thread the bobbin case, guide the upper thread down through an eyelet hole located near the bobbin case. Then, pull the thread into the tension regulator and towards the spot where the take-up lever sits. Finally, pull your thread up in the direction of the take-up lever and your sewing machine will able to sew.
Make sure to check the bobbin tension, as many times problems with machine stitching can arise from incorrect tension in the bobbin case. To check this, simply pull the bobbin thread and make sure it pulls up smoothly. If it’s too tight, the tension regulator needs to be adjusted. If the thread is too loose, the tension is set too low.
Threading the lower part of the sewing machine can become second nature with a bit of practice. You’ll soon find this a simple and rewarding process, allowing you to get on with creating your beautiful sewing projects.
Picking the Correct Thread
In addition to threading the upper and lower parts of the sewing machine, it’s important to consider the type of thread you should use in order to get the best results. Generally, it’s best to go with a quality thread as they will be less likely to break or bunch up as you sew. You should also make sure the thread is compatible with the needle, as some needles are designed for thicker threads.
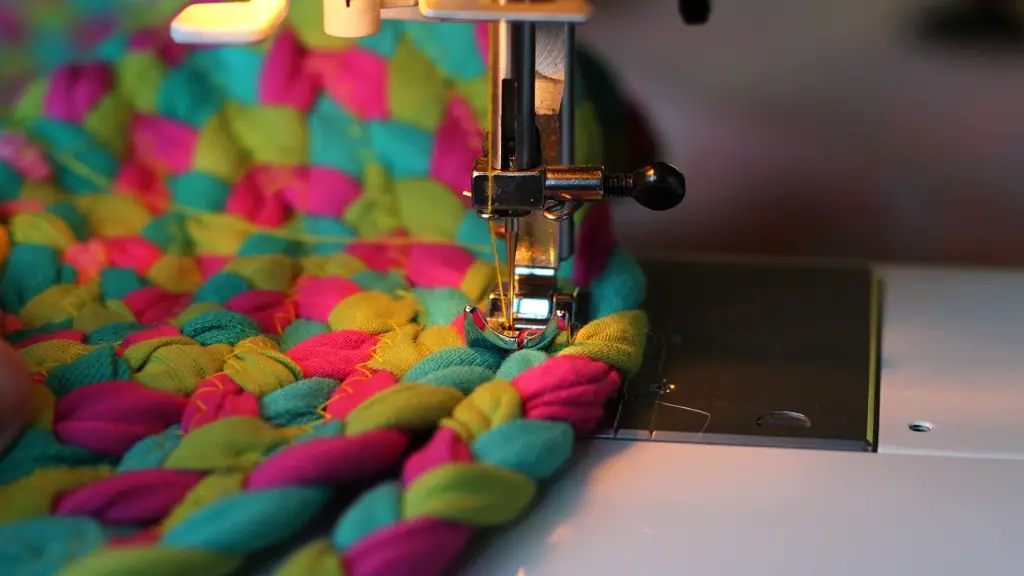
Another important factor to consider when choosing a thread is the fabric you will be sewing. For example, heavier fabrics such as denim, corduroy and upholstery will require thicker thread. Thinner, lightweight fabrics such as silk and chiffon require lighter threads that match the fabric weight. You can also choose from a variety of colors or mix-and-match colors to create unique, interesting patterns.
The type of stitch you’re creating will also play a role in the type of thread you should choose. Many techniques involve decorative stitching, such as applique and buttonhole stitches, where a special kind of thread and needle is required for the best results.
With a bit of knowledge and understanding of the right threads for your project, you’ll be able to make the best decision when selecting thread for your sewing project.
Threading Tips and Tricks
When learning how to thread a sewing machine and starting out with the process it can be useful to have a few tips and tricks in the back pocket to help make the process quicker, easier and less daunting.
One helpful tip is to cover the sewing machine with a small cotton handkerchief, which can help stop the needle, eyelet, and other parts of the machine from getting damaged during threading. It’s also a good idea to cut the thread at an angle so that it can slip into the eyelet easily. And, if you’re having difficulty fitting the thread into the eyelet, you can use a toothpick to help guide the thread through.
Having a small pair of scissors, magnifying glass and tweezers close by can also be a great help. The magnifying glass can help you to thread the needle more easily and tweezers can be used to pull the thread through the eyelets. It’s a good idea to also keep a bit of tape on hand. If you ever get stuck and the needle won’t pick up the bobbin thread, all you need to do is put a small piece of tape over the bobbin case to help guide the thread up, through the tensioner and into the needle.
For experienced stitchers, it’s important to keep in mind that threading the needle each time you begin a new project can become a tedious task. To save time, some sewers thread their needle with the same length of thread and then knot the end before starting each project. This way, they won’t need to thread the needle again until the project has finished.
Benefits of Proper Threading
Although learning how to thread a sewing machine can be a challenging process, when done correctly you can look forward to getting the most out of your machine. Benefits of getting it right include consistency in stitches, easier cleaning of the machine, fewer snags and tension problems, and improved machine performance.
Ensuring that the needle is threaded correctly and using only quality threads will also help keep your machine in tip-top condition and reduce the risk of a needle or thread breakage or other possible damage to the machine. By taking some extra time to make sure everything is threaded correctly and that quality thread is used, your sewing projects will benefit in the long run.
For sewing enthusiasts, the quality of their project is often the most important part. Without proper threading, a project may not look as neat, or even worse, the project may not be completed correctly. A correctly threaded and correctly tensioned sewing machine can mean the difference between a beginner and an experienced sewer.
Threading in Summary
When starting out learning how to thread a sewing machine, it can feel daunting. Not only are you trying to understand the order in which to thread the upper and lower parts and the needle, but you also have to consider the texture and weight of the fabric, and the type of thread needle that you’ll need to use.
By practicing and working through the steps, threading a machine will become second nature, alongside the feeling of accomplishment that comes with mastering the skill. In summary, it’s best to follow the instructions for your specific sewing machine model, thread your machine in order, and use quality thread for the best results.
