Preparing the Machine
Before you attempt to load a Brother sewing machine, the machine must be prepared correctly. First of all, check the manual to see if there are any specific instructions needed for loading the machine for your model. Depending on the model, there may be specific steps that you need to follow before the machine is ready for loading.
Once the instructions have been followed, you will need to make sure that the machine itself is ready for use. Start by turning on the machine, this will allow you to check the settings are correct. You should also check the needles, machine feet and other accessories needed to ensure they are in good condition. This can help to prevent any issues with the loading process.
It’s also important to check the thread before loading the machine. Make sure that it is not frayed or damaged in any way that could affect the quality of the stitching. Take a few moments to ensure the thread is free from any knots and that there are no breaks in the thread.
Threading the Machine
Once the machine is prepared, it’s time to thread the machine. The threading process for any Brother sewing machine is actually very similar and mostly the same for all models. Threading the machine starts by loading the spool pin in the back of the machine. You’ll need to place the thread spool onto the pin and make sure it is secure.
Once you have the thread spool in place, the next step is to guide the thread through the tension discs. This can be done manually using your fingers. Make sure to take your time and make sure the thread is following the correct path. Once the thread has been threaded around the tension discs, it’s time to move on to the needle.
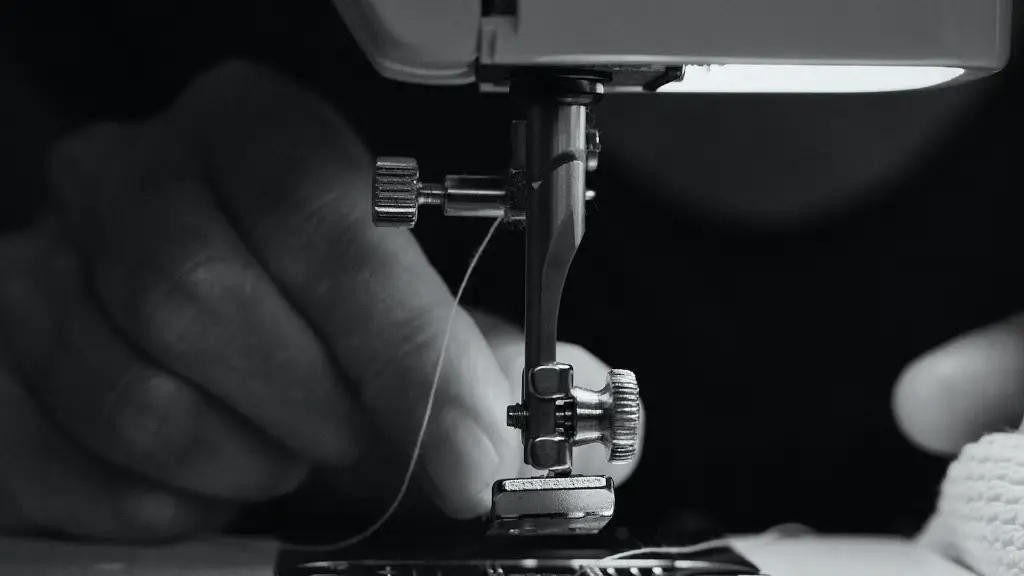
Make sure the needle is at its highest position, this will make it easier to get the thread through the eye of the needle. Carefully guide the thread through the eye of the needle. Now place the thread through the needle clamp on the other side of the needle and use a threader if necessary.
Loading the Bobbin
The next step is to load the bobbin onto the sewing machine. To do this, take the bobbin and wind it with the thread before placing it in the bobbin case. Make sure that the thread is wrapped in the correct direction. Usually, this will be clockwise. To ensure the thread is wrapped correctly, refer to the user manual for your machine.
Once the bobbin is in the case, it should be placed into the front of the machine, usually located in the seam plate. Carefully push the bobbin into the case and make sure it is secure. Once the bobbin is in place, the machine is ready to be loaded.
Loading the Machine
Now that the machine is threaded, its time to actually load the machine. To do this, start by winding the bobbin up in the machine. This can be done by either pushing the winding pin or the hand wheel, depending on the model of the machine.
Once the bobbin is wound, pull out the thread from the bobbin and to the take up lever. Wind this thread over the take up lever a few times and then pull both threads behind the needle. You can now check the tension of the thread, make sure it is not too loose or too tight.
With the thread correctly loaded, the machine will be ready. Now it is time to start sewing!
Running a Test Stitch
It is always recommended to run a test stitch with any machine before starting an actual project. This can help to ensure that all settings are correct and that everything is running smoothly before you start sewing your project.
To run a test stitch, start by threading the top of the machine. Then, set the stitch to a test stitch. Finally, choose the length and width of the stitch you would like to use and start the machine. You can then use the machine to test the stitch and make sure everything is working as it should. After the test is finished, you should be able to start working on your project.
Using Different Stitch Types
When using a Brother sewing machine, it is possible to produce a wide variety of different stitches. This includes straight, zigzag, and decorative stitches. To switch between these stitches, simply use the stitch selector dial. This will allow you to choose the stitch you would like to use.
With some modern sewing machine models, it is also possible to create custom stitch designs. This can be done by selecting the custom stitch option on the machine. Custom stitches can be selected from the machine’s memory, or they can be created by manually entering a stitch pattern. This can be very helpful when creating more complex sewing projects.
Working with Different Fabrics
When working with fabrics, it is important to use the correct settings for the type of fabric being used. This can help to make sure that the fabric is not damaged while sewing.
Most Brother sewing machines will have settings for a range of fabric types. This includes settings for normal fabrics, leather, knits, and even stretch fabrics. Make sure to refer to the user manual of your machine to check what settings you should use for your fabric type.
Maintaining a Brother Sewing Machine
To ensure a Brother sewing machine remains in good condition, it is important to regularly maintain the machine. This includes regular cleanings, oilings, and replacing any worn parts as needed.
Cleanings should be done after each use or after each project. This will help to ensure that any dirt, dust, or lint does not build up in the machine. Oilings should also be done after each cleaning to ensure the moving parts are well lubricated. Finally, worn parts, such as needles and feet, should be checked and replaced when needed.
Adjusting and Replacing Needles
Regularly checking and replacing needles is also important to ensure the machine is working properly. This should be done at least once per month, or as needed. To replace the needle, start by loosening the needle grip and then carefully remove the old needle.
Once the old needle has been removed, you will need to select a new needle that is compatible with your machine based on the type of stitching you are doing. Once the needle is selected, the needle should be pushed into the needle grip. Once the needle is in place, the needle grip should be tightened and the needle should be checked for any signs of damage and replaced if necessary.
Using Different Pressure Feet
Another important factor to consider when using a Brother sewing machine is the pressure foot that is used. Depending on the type of project you are working on, it may be necessary to switch out the pressure foot to ensure the best results.
This can be done by first removing the old foot. Then select the new foot that is compatible with the project you are working on. Snap the new foot onto the machine and it will be ready for use. Again, always make sure that the foot is compatible with the fabric and project you are working on.


