Preparing the Machine
Before threading a sewing machine, the user should prepare to work by having the correct needle size, the correct thread type and the correct bobbin. It is important to read the manual that comes with the machine to know the types of thread and needles that are compatible. The machine should be in an appropriate working environment and the table should be at a comfortable height.
Threading the Upper Part
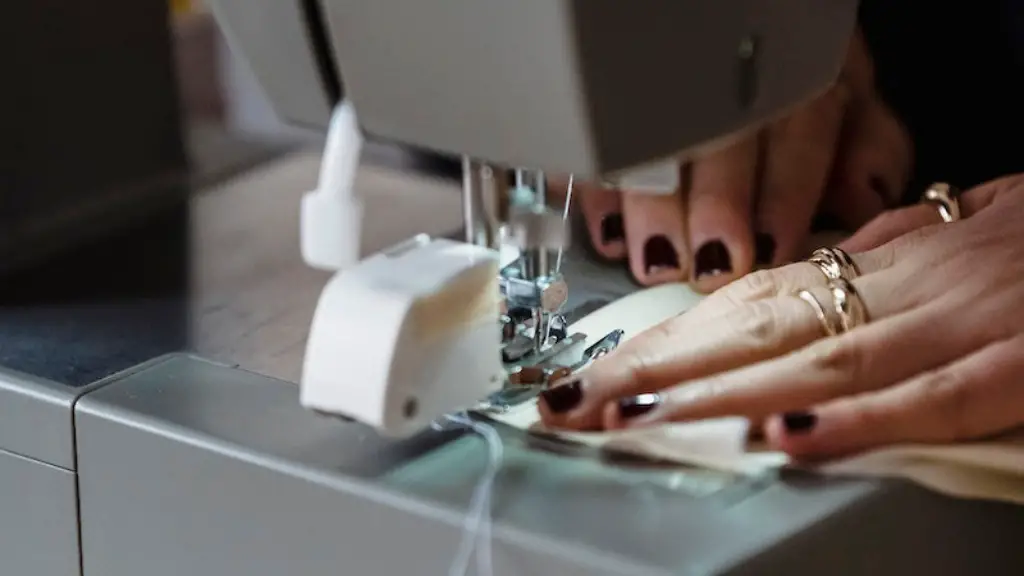
The top thread runs from the spool of thread in the top of the machine over several guides and eventually goes through the needle. Turning the large numbered wheel on the right-hand side of the machine will raise the needle and presser foot, making the bobbin case and the threading path easier to access. Once the needle is raised, the spool of thread is fitted onto the spool pin. At the top of the machine, the thread is then guided through the various channels and around the tension discs. The thread is then passed through the hook of the take-up lever and into the needle eye.
Threading the Lower Part
When loading a bobbin, ensure that the user has the correct size and type for the machine. Once the bobbin is full, use the bobbin winding thread to pull the thread under the tension spring. Pass the thread around the bobbin winding tension disc, then spread some of the thread into the slot at the side of the bobbin. Release the winder stem and press the foot pedal to get the thread properly wound around the bobbin. To insert the bobbin into the machine, the needle area needs to be opened by raising the needle bar. The bobbin is then placed into the bobbin case with the thread following the number sequence.
Troubleshooting the Thread
If the thread on the bobbin and the spool of thread get tangled, the user needs to stop threading and loosen the threads around the tension discs. To loosen the threads, the thread should be unwound from the tension discs and the tension should be reduced. If there is a problem with a stitch, the thread may need to be changed as it is likely to break due to lack of tension or enough thread for the stitch.
Cleaning the Machine
Regular maintenance is necessary to ensure a correctly functioning machine. The bobbin area and the areas where the thread passes should be checked for dust and lint build-up. To clean the machine or to change bobbins, the user may need to lift the bobbin casing. Some machines also come with a detachable foot, enabling the machine to be cleaned with greater ease.
Adjusting the Tensions
One of the most important elements of fixing a stitch problem can be achieved by adjusting the tensions on the machine. The top tension dial should be balanced with the bobbin thread tension so that the threads form stitches that can be seen on both sides of fabric. If the tension is off, the user needs to follow the instructions in the manual to adjust it.
Seam Quality
Getting the perfect seam quality requires the user to practice different stitch and fabric combinations with the machine. Depending on the fabric and the stitch, different configurations might be needed. For example, when sewing a delicate fabric the user should use a longer stitch length to prevent the thread from snapping. The user should practice different stitch lengths and tensions until the desired seam quality is achieved.
Threading the Needle
Threading the machine needle is the last step in the process. The thread needs to be laid on the needle from the left side and the thread should be pulled up slightly. Then the thread should be laid across the back of the needle, following the thread guides on the machine until it can be pulled through the needle eye.
Types of Thread
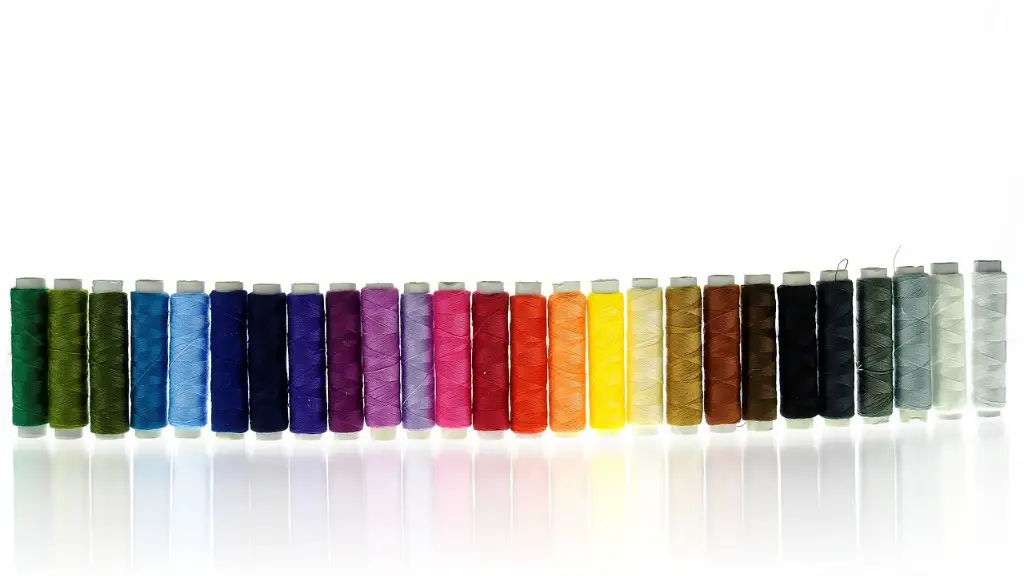
The type of thread used is just as important as the other elements of sewing. Different thread types can be used for various stitching techniques such as decorative, stretch or plain stitches. The correct thread for the job should be chosen depending on its material, elasticity and thickness. Cotton threads usually offer the most accurate stitches, whereas polyester threads can be used for a number of purposes due to their strength and versatility.
Inspecting the Machine
Once the thread is loaded and the machine is ready to use, an inspection of the machine needs to be done. Check that all of the thread paths are properly aligned and each of the loops is at the right tension. Ensure that the needle is in the correct position, the bobbin is functioning correctly and the stitch length is set properly. If any problems are found, these should be adjusted before any further stitching is attempted.
Colour Matching
Colour can make or break a sewing project, so it is important to ensure that the thread used is a perfect match for the material. Choosing the correct thread colour is difficult but there are a few methods to make sure it is correct. It is recommended to compare a single stitch of the thread to the fabric to determine the most accurate colour match. If the project involves using many different colours of thread then it is a good idea to test each colour against the fabric.
Correct Thread Position
Once the thread is loaded, the next step is to ensure that the thread is positioned correctly on the needle. When holding the top thread the user should pull it up and to the right, then the bobbin thread should be looped around the needle to the left side. This will ensure that when the needle is pushed down it will create the correct stitch pattern. It is important to check that the thread is correctly pulled up when stitching as this will affect the seam quality.
Maintenance Tips
Regular maintenance of a machine is important to ensure that it works correctly and lasts for a long time. Machines should be oiled every few weeks, depending on how often they are used. The machine should also be cleaned each time it is used and the bobbin area should be checked for any lint or dust build up. Keeping a machine clean and properly serviced will ensure that it works correctly and efficiently.


