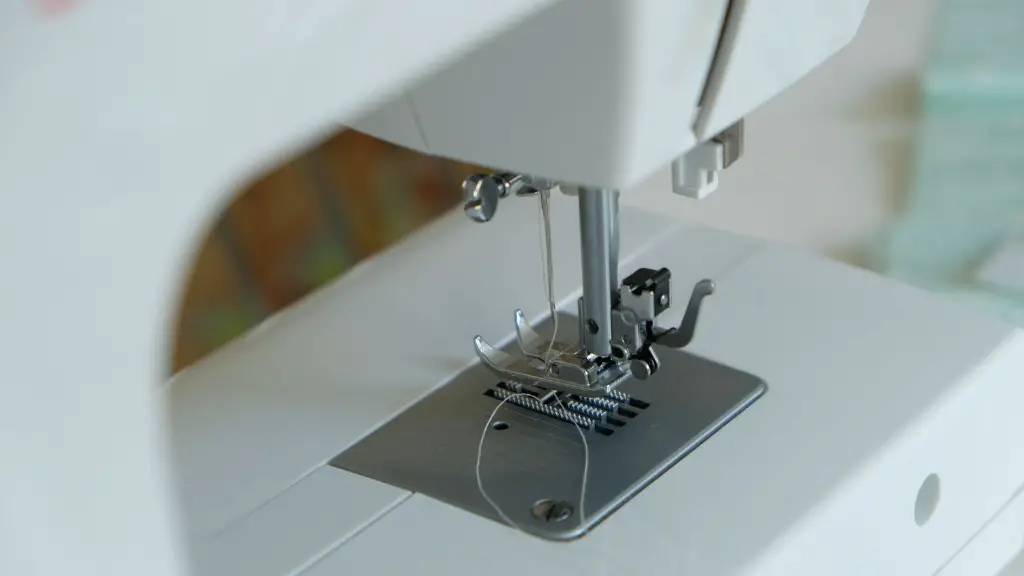
Using a Kenmore sewing machine can help you achieve nearly any type of project you are creating. If you don’t know how to lower your feed dogs on a Kenmore sewing machine, don’t worry. It is easy to do and will assist your sewing endeavors. Understanding how to lower the feed dogs on your Kenmore sewing machine will help you achieve a finer and more detailed stitch.
Before attempting to lower the feed dogs on your Kenmore sewing machine, ensure you have the instruction manual from your machine. If you do not have the manual, you can find a copy online. This will explain home to lower the feed dogs according to your model.
To lower the feed dogs on your machine, start by unplugging your machine. The feed dogs are typically found below the needle plate on a Kenmore sewing machine. To lower the feed dogs, slide the lever to its lower position. It is advised to test the machine with different stitches and tensions to ensure you are making the desired adjustments.
You may find that the feed dogs have risen again. You can pin down the lever with a small piece of paper, or tape, to make sure they stay in the lower position. Before substituting part of the machine, be sure to refer back to the manual as some parts may contain electronic connections and/or screws. For more permanent feed dog lowering, contact your Kenmore authorized service provider.
When using the lower feed dog option, keep in mind that it will affect how the stitch looks. You may find that the length of the stitches vary and that the fabric can gather easily as the machine moves along slowly. To compensate this, you can set the machine speed to a slower setting and use a larger needle.
Knowledge of the differences between a raised and lowered feed dog on your Kenmore sewing machine will be helpful. The lower feed dogs will allow your fabric to move more freely and gently, allowing you to better control the fabric as well. It will also allow you to stitch in a free motion. The free-motion stitching is ideal for creating a quilt as this method allows you to move the fabric as you stitch.
Maintenance
To ensure the longevity of your sewing machine, you should always keep your Kenmore sewing machine in a clean, dry area. Dust particles can easily get into those small crevices and to void any malfunction, it is important to at times visit an authorised service centre for routine maintenance. This will ensure your machine is working correctly and will ensure that all lubed areas such as the thread take-up lever, the needle bar, and other areas are lubricated correctly.
Properly cleaning the feed dogs and the tension discs on a regular basis is also essential in the care of a sewing machine, especially a Kenmore sewing machine. These areas will prevent threads, fabric and other particles from getting stuck underneath the needle plate and in other small places. If these particles are not removed, they can cause poor stitch quality. All these parts must then be lightly oiled during a regular cleaning.
Dusting the sewing machine is also important. Quickly wipe off the dust as it accumulates over time. Special attention should be paid to the needle plate area, often this area tends to accumulate dust particles and threads. The needle area must be totally clear in order for yourKenmore sewing machine to work effectively.
Threading the Machine
Threading the Kenmore sewing machine is easy and straightforward providing all the steps are followed correctly. Firstly, you should find the bobbin spindle and make sure your bobbin is inserted correctly. Secondly, you should make sure the lower thread is threaded properly and tightened to the tension disc. Thirdly, carefully insert the needle using the threader and ensure it is pushed all the way in. Lastly, you should follow the thread along the two upper thread guides, the two take-up levers, and the two thread tension discs. Once the needle is threaded and pulled out, your needle should be threaded properly.
It is also important to make sure the presser foot is up and that the thread is in a clockwise direction when you manually turn the upper handwheel. If all these steps are followed correctly, the thread should catch and lock itself onto the bobbin. Then, the Kenmore sewing machine should be ready to sew.
Fabric Considerations
Every project you create on a Kenmore sewing machine will require different fabrics. Every fabric requires a specific needle size, thread, setting and stitch length. Neglecting to paying attention to this information may result in poor quality fabric. To avoid this, you should use the correct needle for the type of fabric you are working with. For example, a standard needle should be used for woven fabrics and a ballpoint needle should be used for knit fabrics.
The thread should be matched to the needle size and fabric. Different threads work better with different fabrics. It is important to match the thread correctly for the quality of the stitch and the fabric. Not using the correct thread, could cause the fabric to pucker or tear when the stitch is created.
The stitch and length setting is also an important factor when working with your Kenmore sewing machine. The stitch and length should match the fabric you are working with. If a heavier or lighter fabric is used, the stitch and length should be adjusted. Generally, stretch knits and woven fabrics have different stitches and different settings depending on the type of fabric used.
Basic Sewing Skills
Although the concepts behind sewing are relatively simple, there are a few basic skills that every beginner should be aware of when using the Kenmore sewing machine. Knowing when to use pins and when to just use chalk can be essential to a quality project. Pins should be used when sewing thicker fabrics so the fabric pieces stay together as you sew. Chalk should be used when stitching thinner fabrics to create a fine, precise stitch.
Twisting the fabric while you sew is not recommended. Twisting and tugging the fabric as you sew can cause it to rip and create an uneven stitch quality. When sewing a pattern or curved lines, you should use fabric weights and clips to keep the fabric in place. Fabric weights are relatively inexpensive and are very helpful when beginning projects.
It is also essential to understand the concepts of top stitching and backstitching. Topstitching is used to join two pieces of fabric together and backstitching is the securing of a stitch at the beginning and end of a seam. Knowing when to use each technique will ensure better stitch quality.
Creating Buttonholes
Creating buttonholes is one of the most important tasks you will do as a beginner. To create buttonholes using a Kenmore sewing machine, you will need to select the buttonhole stitch on your machine. Once this is done, mark the fabric and the size of the buttonhole, then lower the feed dogs to keep the fabric in the same position while you change the stitch.
Once the feed dogs are lowered, you will then select the buttonhole stitch and begin stitching around the marked area. Once the stitch is completed, you will find a small gap in the middle of your buttonhole. To make a nice buttonhole, you must reinforce the sides. To do this, you should use a wide zig-zag stitch to reinforce the buttonhole on either side.
When the buttonhole is complete, use a seam ripper to carefully cut the opening of the buttonhole. Take extra precaution when cutting the opening as this will make or break your buttonhole. Once the opening is cut, you can insert the button and your buttonhole should be complete.
Using Darners
A darner is one of the most essential tools when it comes to mending and repairing fabrics. A darner is simply used to tie off knots and secure loose ends. To do this, you will need to attach the thread to the needle and make a knot at the end. Then, thread the needle up through the backing fabric, bring the needle across the tear and back up again.
Make sure the thread is snug and secure as you pull the needle through the fabric. You may also want to use a few pin or clips to keep the fabric in place as you sew. This technique is not only used to mend or repair fabrics, but can also be used to create small ornaments.
Troubleshooting
It is normal for issues to arise when using a Kenmore sewing machine, but it is important to know how to troubleshoot quickly and efficiently. Generally, problems stem from incorrect threading, incorrect tension settings or bobbin issues. Before you contact your service centre for assistance, check threading, tension and bobbin tensions.
The most common issue is when the thread tangles. This is usually caused by the thread looping around the bobbin hook. To avoid this, ensure your needle is threaded correctly and that your bobbin hook is facing the correct way. You may also want to check the thread tension, the tension should be even across the top and bottom of the fabric.
Lastly, the bobbin tension should also be even. If the bobbin tension is too tight or too loose, the thread may break or tangle. Checking the bobbin tension before every use will ensure a smooth problem free run. If any of these problems arise, adjusting any of these settings should solve the issue.
