Drafting the Pattern
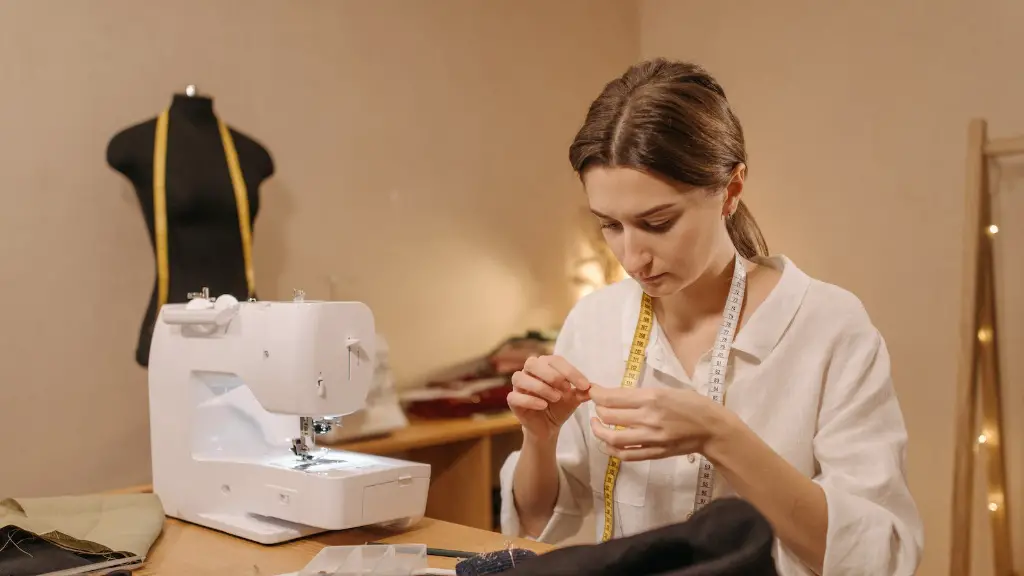
Making a dress requires extensive knowledge when it comes to drafting the pattern. From measurements and calculations to being familiar with the different fabrics, the process entails an understanding of the outcomes. Professional tailors use the dimensions of their clients, who are usually measured with a tape measure, in order to create an exact replica of the dress they want. The most important measurements when drafting a pattern include the chest, waist, and hips. The patterns may display different necklines and hemlines, sleeve styles, and features like pockets.
Once the pattern is drafted, a prototype, also known as a “mock-up,” is created. This dress blueprint provides a template which the fabric and thread will be used to create the real dress. This process is completed for the fittings of the dress; the dressmaker notes the measurements taken from the person wearing it, and the changes to be made. Those changes and markings then become part of the pattern.
Organising the fabric and thread
Organising the fabric and thread is the second step towards making a dress. It enables an efficient and effective way of sewing, while also giving the dressmaker a clear understanding of the time allocated for making the dress.
Organised fabric makes it easier to identify the sections to be cut and allows for an accurate calculation of the total amount needed for the dress. Generally, the type of fabric depends on where the dress will be worn and the purpose. Cotton, rayon, linen, and polyester are some of the most common types of fabrics used in making dresses. Furthermore, thread colours must be carefully selected to provide a smooth and seamless appearance for the dress.
Cutting and Seaming
The process of cutting and seaming is the next step in making a dress. It is one of the most important stages in dressmaking. It involves cutting out the pieces of the dress from the pattern and the fabric.
The individual pieces from the patterns are first pinned onto the fabric and cut so that when sewn together, it will shape the dress. If a lining will be added to the dress, the lining pieces are included in this step. Dressmakers then sew the pieces using a sewing machine. This is usually done by hand, with the help of a seam ripper. The sewing machine seams the pieces together so that they are ready for the next step of dressmaking.
Fitting and Adjusting
When the dress is ready, a fitting should take place to make sure that the dress fits the person wearing it. Before the fitting begins, the dressmaker must decide where to place the neckline, shoulder line, back line, and other important markings.
The dressmaker should also decide where to place darts and pleats as these will help create the shape of the dress. This step requires the person wearing the dress to stand in front of a mirror so that the dressmaker can assess the dress and make any necessary adjustments. The dressmaker should examine that the front and back of the dress fit the person properly. Once the adjustments are made, the dressmaker may ask the person wearing the dress to walk in it to make sure the dress is comfortable and stylish.
Finishing Process
Once the fittings have been completed, the dress is then ready for the finishing process. This is when the dress is checked for any loose threads, seams, or hems. It is important for dressmakers to check for any small imperfections that may distract from the overall look of the dress.
After the dress has been completely checked, the dressmaker can then begin the embellishment process. This is when the dressmaker adds any ornaments or accessories to the dress, such as ribbons, lace, buttons, or any other decorative elements. This process is done to create a unique and personalised look for the dress.
Pressing
The last step in the dressmaking process is pressing. Pressing is an essential part of dressmaking as it will help smooth out any fabrics and create a crisp, neat finish. Dressmakers use an iron to press the dress. This process helps to flatten out seams, borders, and hemlines, as well as fix any puckering or wrinkles. The dressmaker must also consider the types of fabric before pressing, as some fabrics require a pressing cloth in order to avoid any damage.
The Different Parts of a Sewing Machine
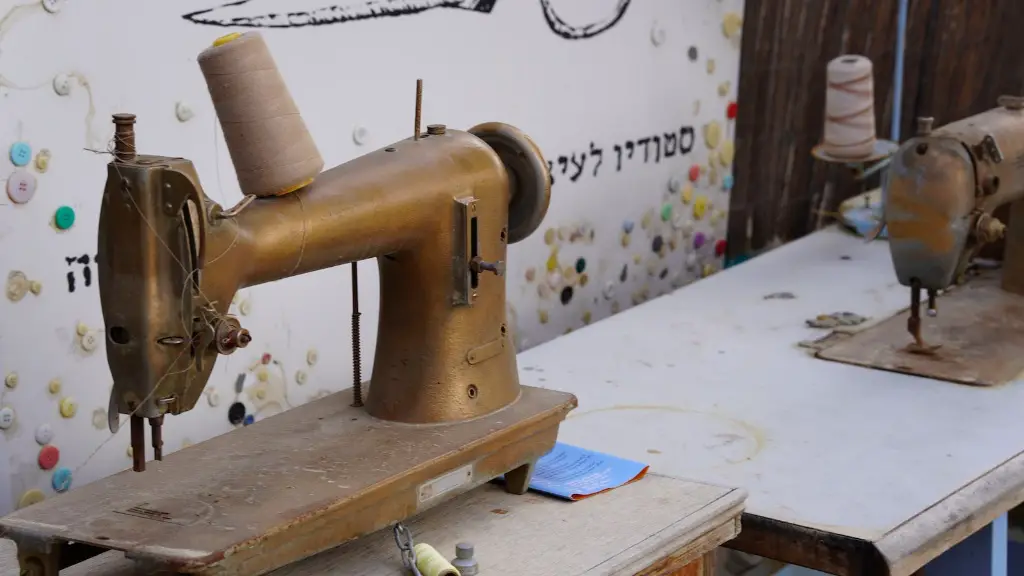
In order to make a dress, it is necessary to understand the different parts of a sewing machine and how they work. A sewing machine consists of many parts that coordinate with one another to produce a dress.
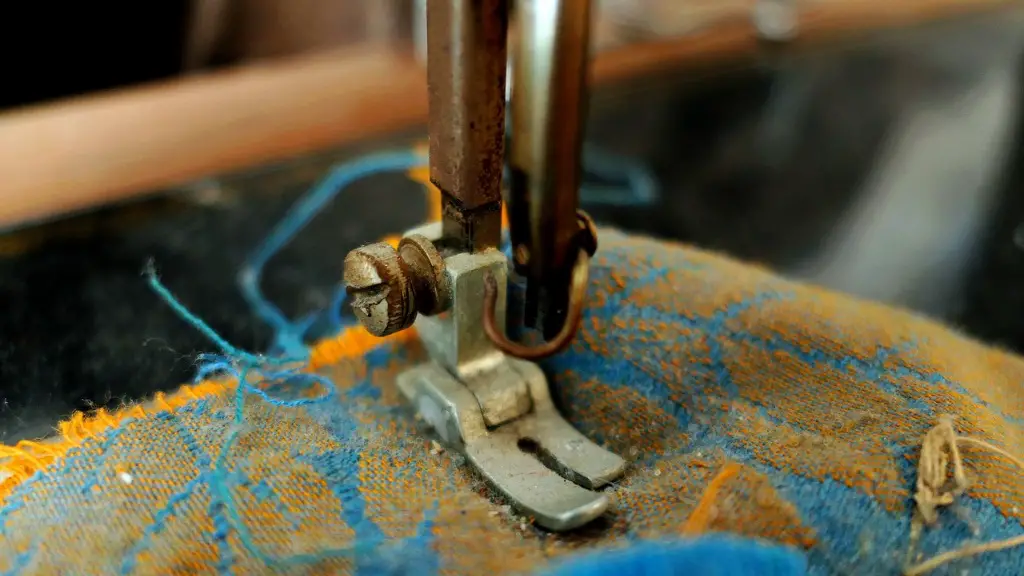
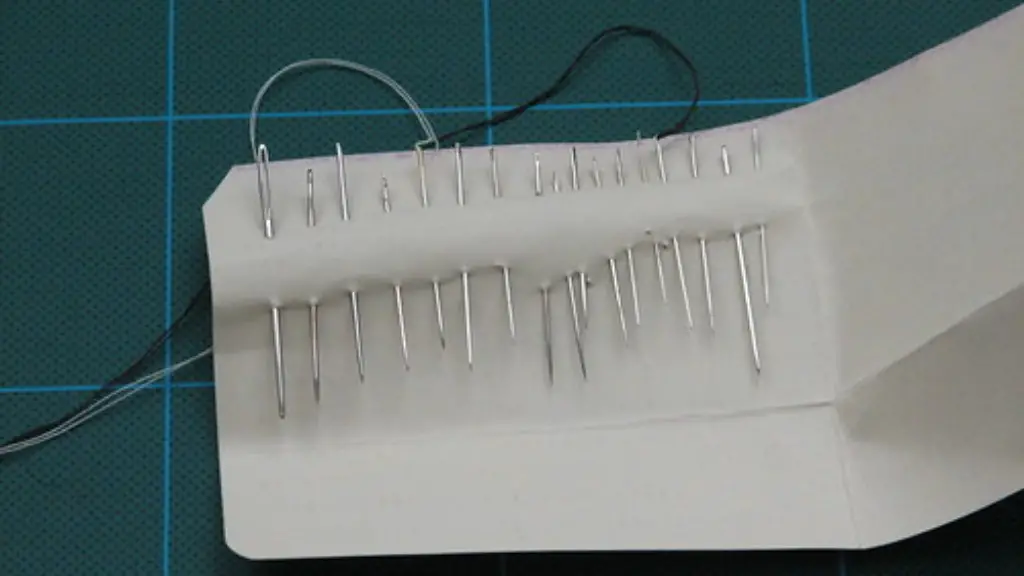
The most important parts include the needle, thread, arm and foot, presser foot, and thread gripper. The needle is the part of the machine that pierces the fabric and guides the thread through it, while the thread is the material that sews the fabric together. The arm and foot are the lever and pedal used to operate the machine. Meanwhile, the presser foot holds the fabric in place while it is fed through the needle. The thread gripper holds the top thread in place while the bottom thread is fed through the needle.
Setting Up the Sewing Machine
Sewing machines can be used to make a variety of clothes and require a few standard steps for setup. Firstly, the fabric should be cut to the pattern and pinned to a board, such as a cutting board or ironing board. Secondly, the sewing machine should be set up with the type of thread, needle, and presser foot necessary for the process.
When setting up the sewing machine for a dress, it is important to know the type of fabric being used and the thread used for it. This way, the needle used can match the fabric and the thread used will be able to withstand the rigours of the sewing machine.
Running the Sewing Machine
Designed to run in a smooth and continuous motion, the sewing machine is the last step in the process of making a dress. When running the sewing machine, the arm and foot should be used to knit the fabric together. The arm should be moved to the front and the foot should be pulled back and then forward again to move the fabric through the machine.
The arm should be used to guide the fabric gently to ensure it’s not partial to tearing or stretching. The foot pedal should be constantly adjusted depending on the fabric and the stitches being used. The dressmaker should also check for any skipped stitches or tangles that could cause the machine to malfunction and the fabric to be damaged.
Threading the Sewing Machine
Threading a sewing machine is an important step, as incorrect threading can cause issues with the stitches on a dress. Thread should be selected according to the type of fabric being used and the complexity of the dress. Thread should also be strong but thin enough to go through the eye of the needle. The machine should be threaded in the correct order, starting with the spool, then the thread guide, the thread take-up lever, the tension disks, and finally the needle. After it has been correctly threaded, the machine should be tested on scrap fabric to check for any imperfections.
Anchoring the Seams
When sewing a garment, such as a dress, it is important to anchor the seams correctly. This ensures that the fabric remains flat and the seams do not pull or come apart. One of the methods of anchoring the seams is to use a back stitch. This technique creates a polished finish and is one of the most common types of stitching. It involves sewing a single, short stitch, and then another stitch of the same length and direction, which anchors the seam in place. To ensure that the fabric remains in place, the dressmaker should secure the seams with pins, if necessary.
Finishing the Dress
Once all of the seams have been anchored and the dress has been finished, it’s time to move on to the final step: finishing the dress. This involves adding a few decorative details, such as buttons, zippers, snaps, and lace. These embellishments can be sewn onto the dress by either hand or by machine. If using a machine, the dressmaker should use a seam ripper to secure the pieces in place.
After these final details are added, the dressmaker should then check the dress for any loose threads or hems and trim them off. After the dress is fully checked and approved, the dress is ready to be sent off for the wearer to enjoy for years to come.


