Making your own face mask is becoming increasingly more popular and doable, even without a sewing machine. The simple, straightforward methods to create your own face mask will help you keep yourself and others safe, while also exercising a little bit of creativity and resourcefulness. Here are a few things you will need before you begin.
Materials Needed
At a bare minimum, to make a face mask without a sewing machine, you will need cloth material, scissors, glue or adhesive, and an extra material such as baking paper, paper towel, or coffee filter for a filter pocket. Apart from these essentials, a few other tools you may want to consider using are safety pins, tape, ruler, and a marker. The cloth material should be at least two layers of tightly woven fabric, such as cotton or flannel. You can also find pre-made filter pockets for face masks at your local craft stores. Additionally, instructions for face masks can be found online.
Step One: Cut Your Material
Using a ruler and marker, measure and mark out your face mask. Make sure to make the mask larger in case you need to adjust it later on. Cut the material carefully with your scissors, making sure to cut an extra piece of filter material if you have chosen to use it. Make sure to save any scraps of material, as these can be used for other purposes, such as nose pieces, though these are not necessary unless you are making multiple masks.
Step Two: Attach The Pieces
Next, you will want to attach the pieces of fabric together. If using glue or adhesive, you may need to do a few coats and wait for each to dry before continuing. Additionally, to make sure the fabric remains attached, you can use safety pins or tape. If using safety pins, make sure to place them away from the edges of the mask. It’s also important to remember to place the filter pocket in between the two layers of fabric. Once the pieces have been attached, try the mask on for size and adjust the size as needed. It is also important to consider that the mask should fit snugly to your face, but should not be too tight.
Step Three: Sew The Edges
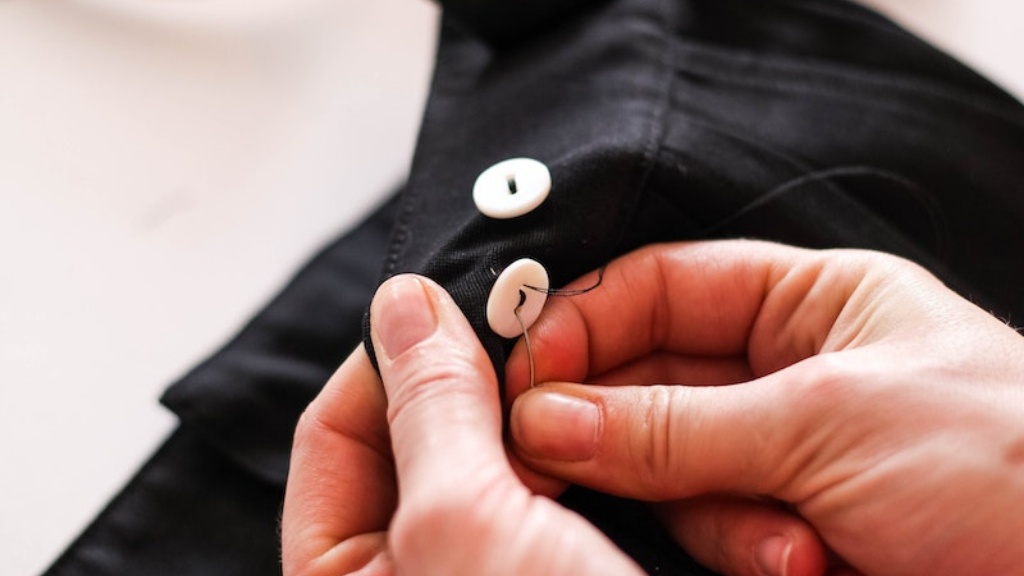
Once you’ve adjusted the size, attach the edges of the fabric together. If you do not have a sewing machine, hand sew the edges together with a needle and thread. Start at one edge, and use a stitching pattern of your own preference, such as a simple running stitch or a more elaborate pattern. Make sure that all edges of the fabric are secured together.
Step Four: Wear Your Face Mask
Once the edges of your fabric have been sewn together, try your newly made face mask on to make sure it fits comfortably. You may also want to insert a filter if you have chosen to use a filter pocket. After that, your face mask is ready to use. Wear it any time you will be in contact with another person, or any time you may come into contact with potentially contaminated surfaces. Replace your face mask regularly, and if it gets damaged or dirty, discard it and make a new one.
Additional Steps
Apart from the basic steps of making your own face mask, there are a few additional steps you may want to consider. First, you may want to consider adding an additional layer of fabric, such as cotton batting or fabric interfacing. This additional layer provides extra protection and enhances the fit of the mask. Additionally, if you are making multiple masks, you may want to include a metal nose piece and elastic ear loops. These pieces are easily available at most craft stores and can help secure the mask to your face.
Care Tips
When using your face masks, it is important to maintain proper care and hygiene practices. Wash your face mask regularly with soap and warm water, or if you face mask is machine washable, you may want to consider washing it with the rest of your clothes. Additionally, make sure to dry your face mask completely after each use. Dryers are not recommended, as they can damage the fabric and reduce the effectiveness of the mask.
Heat Transfer Printing
If you want to take your homemade face masks to the next level, you can consider using a heat transfer machine to print patterns and designs onto them. Heat transfer machines are relatively inexpensive and are easy to use. They are perfect for adding extra flair and personality to your face masks, and are a great way to showcase your own creativity.
Washing Tips
To make sure your homemade face masks last longer, you may want to follow some simple washing tips. First, always wash your masks with warm or hot water, as this is the most effective way to destroy any potential harmful bacteria and viruses. Additionally, you should never add fabric softener to your masks, as this can reduce the effectiveness and safety of the material. Finally, be sure to lay the masks out flat when drying so that the fabric does not become misshapen.
Consider Adding Elastic Ear Loops
Adding elastic ear loops to your homemade face masks is an easy way to make them more comfortable and secure. The elastic ear loops should measure between 10-14 inches, and can be trimmed to fit any size face. They are also easily available at most craft stores. Before attaching the ear loops to your face mask, make sure to measure them carefully and make sure they fit comfortably and securely around your ears.
Other Uses For Fabric Scraps
You may find yourself with leftover fabric scraps from making your homemade face masks. If this is the case, you can put these fabric scraps to use. One option is to make reusable shopping bags, which are becoming increasingly popular as people look for ways to reduce their plastic consumption. Additionally, fabric scraps can also be repurposed for making small pillowcases, quilts, and decorations for your home. There are countless ways to put your fabric scraps to use, so get creative and have fun!


