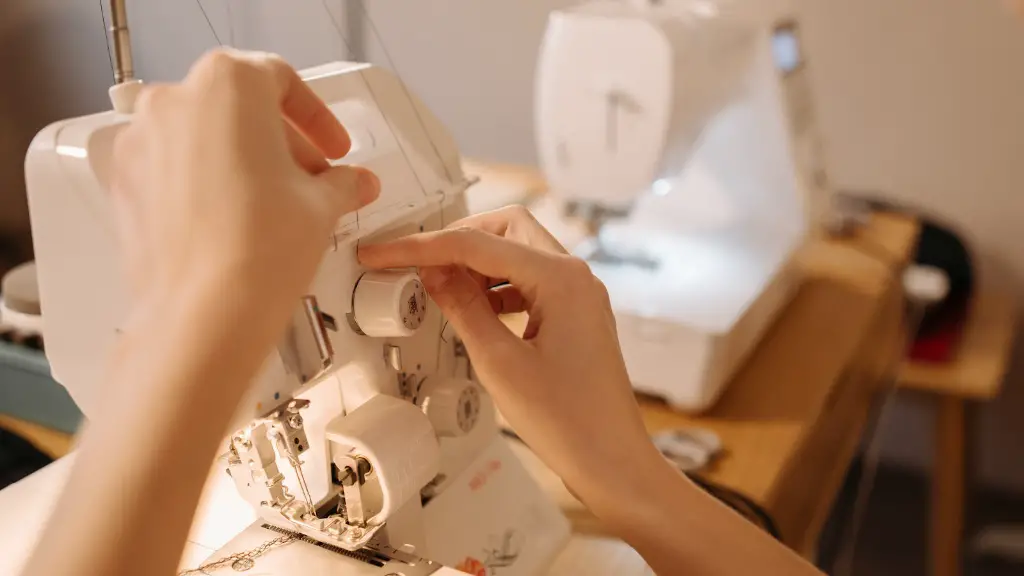
Making a lamp out of a sewing machine is a creative way to upcycle a sewing machine into an interior home decor piece. It is a great DIY project for those who have an old sewing machine they no longer use. With a bit of elbow grease and craftsmanship, the sewing machine can be turned into a functional lamp. It can also be used as a conversation piece to receive compliments from guests.
The first step in converting a sewing machine into a lamp is to disassemble the machine. First, check for any obvious parts that can easily be removed such as buttons, bobbins, drawers, or the motor. Be careful when uninstalling all of the parts sections, as some of the pieces may be brittle or easily breakable. Once all of the pieces are removed, the entire machine should be thoroughly cleaned and dried.
The second step in converting a sewing machine into a lamp is to prepare the wiring and switch. The wiring needs to be disconnected and securely insulated. It is also important to ensure that the wiring is compliant with National Electrical Code standards. Once the wiring and switch are in place, the lamp should be tested to make sure it is properly operating.
The third step in the process is to choose the appropriate lampshade. This step is crucial because it can determine whether the lamp fits in with the particular decor style. Consider factors such as color, size, shape, and texture of the lampshade before making a purchase. Choose the right kind of shade, so that the entire lamp looks cohesive.
The fourth step is to attach the lampshade and bulb. The lampshade should be securely attached to the base of the sewing machine and centered. Attach an appropriate light bulb, making sure not to exceed the wattage that is specified in the product manual. Once the bulb is firmly attached, the lamp should be tested to make sure it is properly operating.
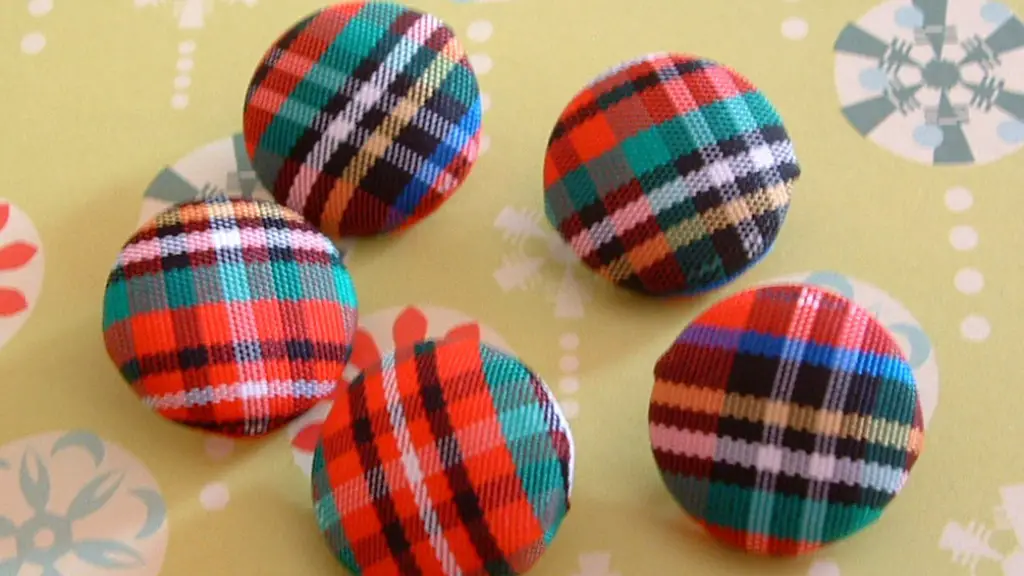
The fifth step is to decorate the lamp’s base. This step is essential in ensuring the lamp looks attractive and appealing. To add visual interest, consider adding a patterned fabric wrap to the base. Or, for an easier option, paint the base with a muted color or glitter. Any decorations that are added should be securely attached to the base.
Holes and Fittings
The sixth step is to drill holes and make fittings. In order to make the lamp look like an actual sewing machine, holes and fittings need to be drilled into the base, allowing for the original dissembled components to be placed precisely in their places. This is an important step; it gives the lamp a realistic sewing machine look.
The seventh step is to assemble the lamp. This is the fun part: it involves putting all of the pieces together and making sure they fit. Fit the components of the sewing machine securely on the lamp base and use the wiring and switch to connect them. Before turning the lamp on, make sure all of the components are firmly secured in place.
The last step is to embellish the lamp with more decorations and accessories such as ribbons, beads, and fabric. This is an optional step, but it can give the lamp a modern, unique touch. After the decorations are added, make sure the lamp is in working order and ready to be plugged in and turned on.
Safety Matters
Before starting the conversion process, safety should always be kept in mind. Working with electricity is potentially dangerous and should not be done without the guidance of an experienced professional. Do not attempt to work on a live circuit and always disconnect the lamp from the power source when working on it. Be sure to adhere to all of the safety measures detailed in the electronic manual.
As long as the necessary precautions are taken, making a lamp out of a sewing machine can be a fun and rewarding experience. An old sewing machine can be transformed into a beautiful and functional home decor piece. It is an excellent way to upcycle a household item and make it part of the decor.
Research and Resources
Making a lamp out of a sewing machine can be a time-consuming project, but it is ultimately rewarding. In order to make the process smoother, gather all the materials and tools before starting the project. Research what kind of lampshade, wiring, switch, and bulb will be best for the lamp. Also, check out resources online for detailed instructions and tips.
When tackling a DIY project like this, it is important to be prepared. Assemble the necessary tools and materials beforehand and make sure the electrical system is up to code. Lastly, understand the risks involved and allocate enough time and energy for the entire process.
Tools and Materials
In order to make a lamp out of a sewing machine, gather the tools and materials necessary for the project. To begin, obtain a sewing machine that is no longer in use. Also, get a lampshade according to size, shape, and color. Additionally, consider getting a switch, wiring, and a compatible bulb.
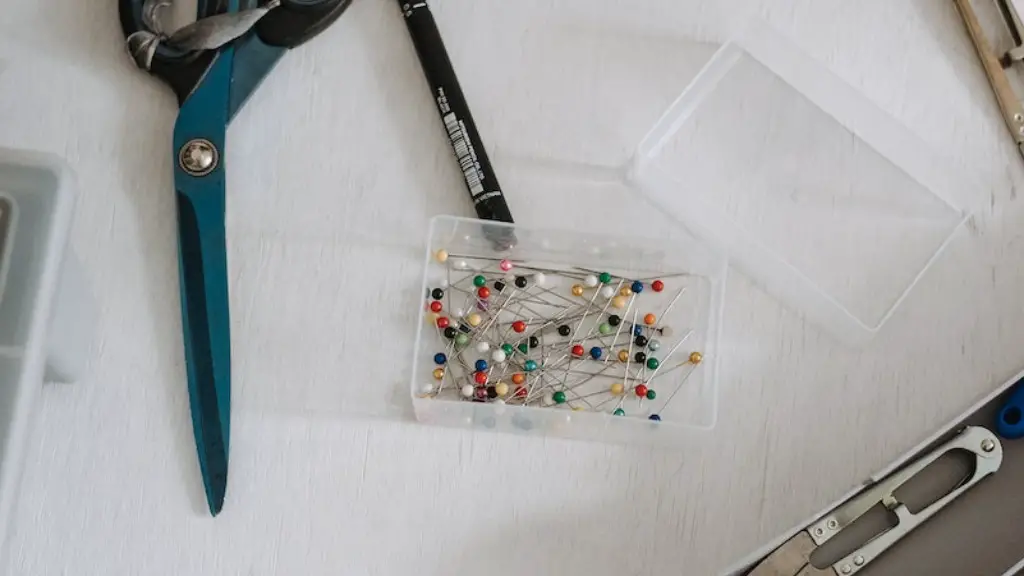
As for tools, acquire the necessary ones for safely dismantling the sewing machine. Examples are a screwdriver, pliers, and a set of Allen keys. Additionally, prepare tools such as a drill, an electric saw, and a power sander. The saw and sander can be used to make small adjustments and decorations on the base of the lamp.
If possible, wear safety glasses and protective gloves when handling tools and materials. A workbench or workspace should also be allocated for the project to prevent any damages or accidents from occurring.
Reinforcements
To make sure the lamp stands strong, consider reinforcing the base and parts. If the base is too wobbly, use cosmetic putty or another material to firm it up. To make sure the fixtures are secure, strengthen them with glue or screws. It is important to make sure all the parts are secured and fit to avoid any accidents or problems with the lamp.
When drilling any holes, be sure to use sharp and sharp-angled drill bits. This is important in making sure that all holes are clean, straight, and ideal for fitting the lamp components. Lastly, be sure to seal any screws or bolts in order to prevent any electrical shocks.
Conclusion of Process
When the project is finished and the lamp is complete, it is time to check the functionality and appearance. Test the lamp a few times to make sure the wiring is safe and secure and the light switch is in perfect working order. Revisit the decorations, if any, to make sure all of the added accessories fit with the overall look.
Making a lamp out of a sewing machine will take time and effort but could result in a one-of-a-kind home decor piece that adds a rustic and classic touch to the space. With the right materials and tools and a good understanding of the project, the sewing machine can be exquisitely converted into a lamp.
