Tools Needed for Sewing Patches
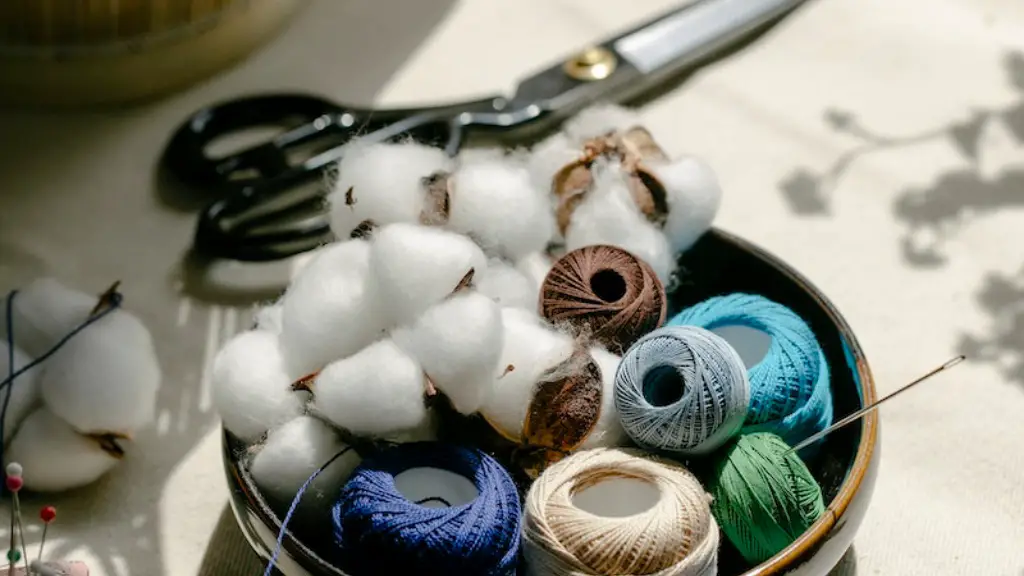
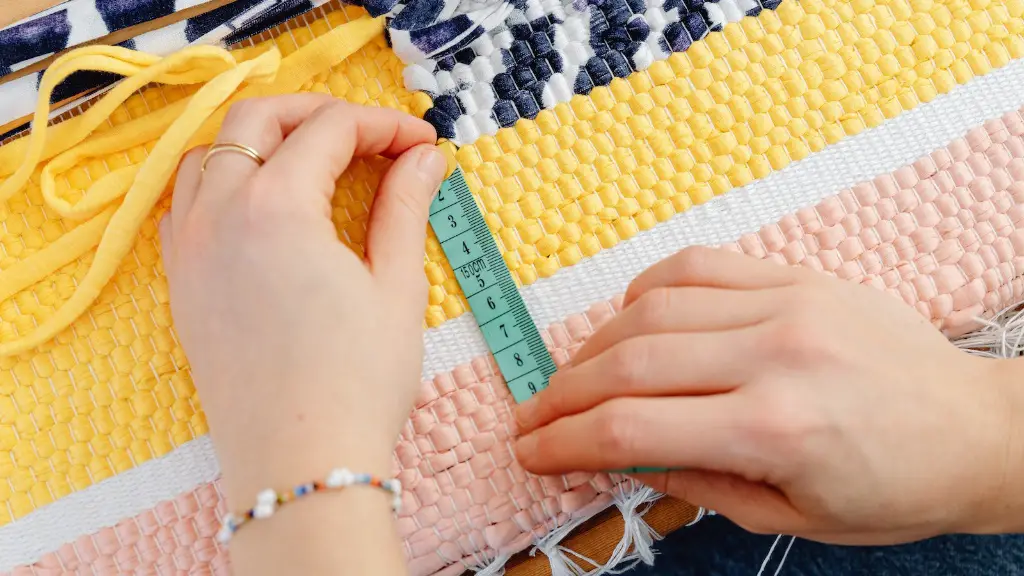
Before beginning to sew patches, it is important to have the right tools. Gathering the right supplies and materials is crucial to ensuring success in the project. Firstly, it is best to use a medium or heavy-weight canvas material as the base fabric. Secondly, a strong, few-ply thread is the best choice to secure the patch. This thread should be slightly lighter than the base fabric to make the patch stand out. Thirdly, different types of needle sizes and types are needed based on the fabric type, patch size, and thread size used. Finally, it is important to have scissors specifically used for cutting threads and a ruler for measuring the patch’s size.
Preparation
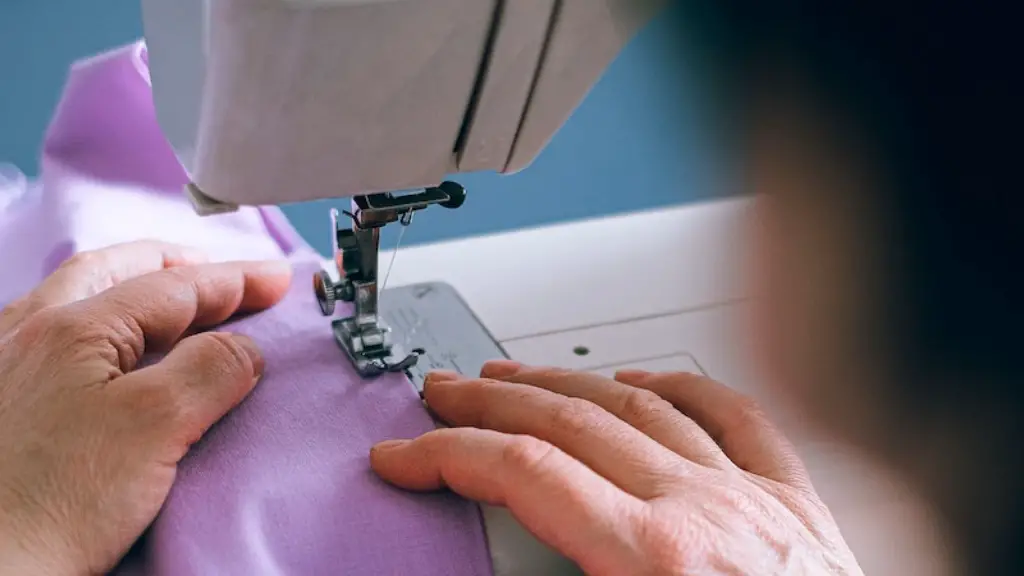
Before beginning the project, it is important to adjust the sewing machine settings for the desired effect. Depending on the raw materials used, adjust the tension, stitch settings, and presser foot appropriately. For heavier fabric, increase the tension and the stitch length, and switch to a walking foot if necessary. Taking the time to adjust the settings correctly will save time and effort in the long run.
Adding the Patch
Once the settings are appropriate, it is time to prepare the patch itself. If using a fabric glue or adhesive, carefully apply it to the back of the patch and let it set before proceeding. If the patch has a rough, unfinished edge, trim the edges with the scissors before beginning. Once the patch is ready, position it on the base fabric where desired using pins or clips.
Start Sewing the Patch
With the critical components ready, it is finally time to start sewing the patch. Begin by stitching a few small running stitches along the edge of the patch to secure it to the fabric. Then, slowly move the needle and fabric around the edges to keep the edges even and avoid ragged edges. To create a beautiful patch, use a thread the same color as the patch and make sure the stitches are evenly spaced. Keep in mind to stitch from the top side of the patch, as it will make it easier to remove excess threads later on.
Once the patch is nearly finished, anchor the stitch by reinforcing the first stitch and tie off the thread on the underside of the fabric. For an even neater finish, use a small pair of scissors and trim any excess threads or fabric around the patch.
Finishing the Patch
Finally, the patch is nearly finished and only one step remains: pressing the patch. To ensure that the patch adheres to the fabric, use a low heat and press the patch from top and bottom. Once pressed and cooled, the patch is complete and ready to be used.
Applying Patches with Heat Transfer Adhesive
If using a fabric with a heat transfer adhesive, the process is primarily the same. Start by reducing the tension and stitch length on the sewing machine. Then, place the patch on the desired location and adhere the adhesive to the patchback. Finally, press the patch to the fabric using low to medium heat and press.
Applying Patches with Fusible Webbing
Another method of applying patches to fabric is with the use of fusible webbing. This method eliminates the need for sewing and is best used when sewing is difficult. Start by positioning the patch on the desired location. Then, cut the fusible webbing to size and position the webbing on the patchback. Following this, cover it with a damp pressing cloth and slowly press the patch until the adhesive fully adheres. Once cooled, the patch is now secured and ready to use.
Applying Patches with Iron-on Adhesive
Finally, the last method for applying patches is with the use of an iron-on adhesive. Start by positioning the patch on the desired location. Then, carefully position the adhesive in the center of the patch before pressing with a low to medium setting. Once pressed and cooled, the patch is now secured and ready to use.
Effects of Patching on Clothing
In addition to using patches to repair or enhance clothing, the sewing of patches can also have a lasting effect on the fabric. Depending on materials and technique used, the patch may cause pilling, weaving, fraying, or discoloration. To prevent any of these problems, make sure to use a stabilizer on both the patch and the fabric while sewing. This will help ensure a smooth and even finish on the patch and reduce the long-term effects on the fabric.
Care and Maintenance of Patched Garments
Lastly, it is important to take proper care and maintenance of patched garments. As certain materials and adhesives may react differently to certain launders and cleaners, it is important to follow the instructions from the manufacturer to keep the integrity of the patch intact. Generally, it is best to clean and press the patched garment with cool and low settings and avoid sticking the patch into a dryer. Following this advice should keep the patched garment looking high quality and newly sewn for a longer period of time.
Altering an Existing Patch
Sometimes when using patches, it is necessary to alter a pre-existing patch or create a unique patch. The process of altering an existing patch begins by identifying the desired size, shape, and design. Once identified, begin by marking the desired shape and size on the patch before cutting away the excess material. After, carefully position and sew the new shape and size together with an appropriate thread, such as a narrow or invisible stitch.
Customizing Patches
For those looking to customize a patch or create a unique, one-of-a-kind look, there are several options available. A simple solution is to use fabric paint or fabric pens and free hand draw a design on the patch. Another option is to build the patch in layers, such as different fabrics and various textures, to give depth and interest. Finally, an option for those with more advanced sewing skills is to incorporate embroidery into the patch.
Caring for Sewing Machines
When sewing patches, it is important to properly care for the sewing machine as improper usage may lead to damage. Before beginning any project, make sure to remove any lint or fluff around the bobbin area or the needle plate. In addition, replacing the needle often is necessary to avoid problems with threading or tension. It is also important to oil the machine regularly to keep the gears and pulleys working smoothly. Lastly, if repairs are needed, make sure to take it to an experienced repairman instead of attempting to fix it yourself.
Using Bonded Nylon Thread
The use of Bonded Nylon Thread is commonly used when sewing patches. One of the benefits is its strong and long-lasting hold compared to other types of threads. However, it is important to remember that Bonded Nylon Thread should be hand-waxed before beginning a project to avoid any complications. This wax will help prevent the thread from tangling, fraying, and knotting.
Attaching Patches with Sewing Machines
When sewing patches, using a sewing machine instead of hand-sewing is often used. Sewing a patch on a machine is way more time efficient and the finished look is more polished and professional. To properly attach the patch, start by choosing the right materials and tools suitable for the project. Then, it is important to adjust the settings on the machine for the desired effect, such as tension and stitch length. Finally, carefully position the patch on the fabric and slowly sew the edge with even stitches. The most important tip to remember is to use a few-ply thread as it will ensure a secure and lasting hold for the patch.


