Tools Needed
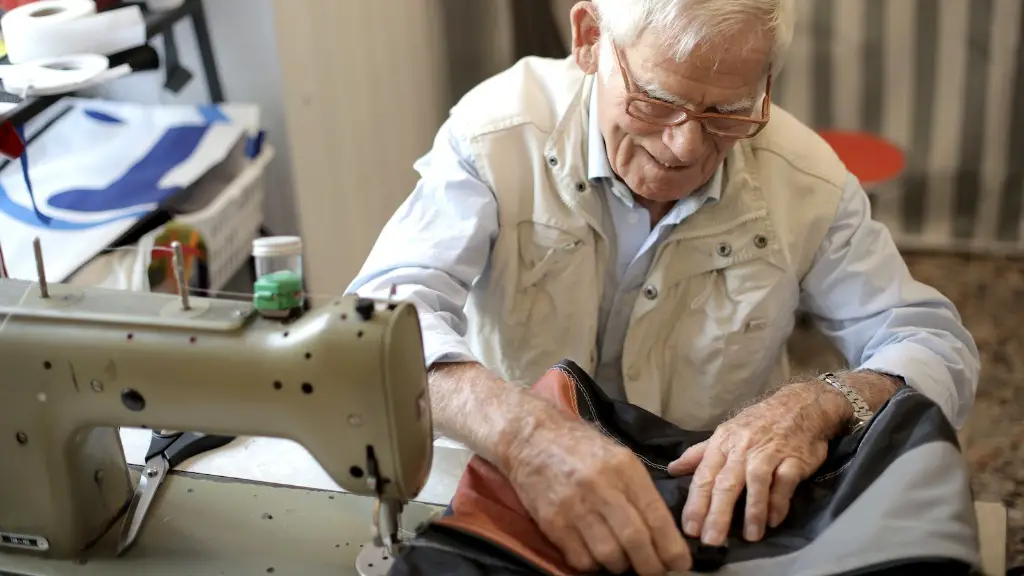
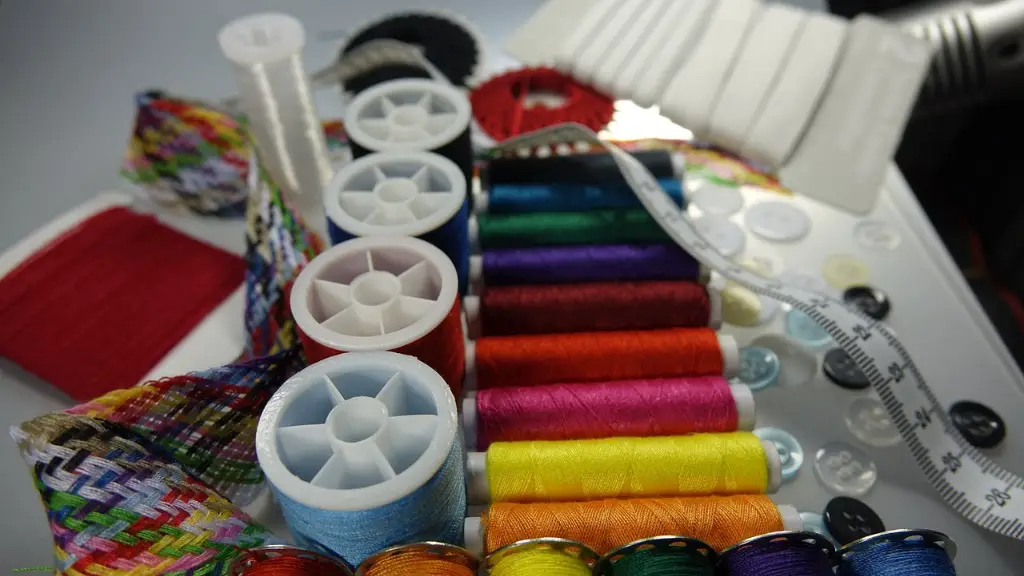
Before proceeding with the steps to make a pillowcase with a sewing machine, there are certain tools that one needs to have. The primary tool that is necessary is a sewing machine. It is best to use a general purpose machine with a zigzag and stretch stitch. Necessities such as a cutting mat, pins, scissors, measuring tape, thread, cotton fabric and clear ruler are also needed. Other tools that can be helpful include seam rippers, fabric marking pencils and a fabric iron. It is important to assemble all the tools before beginning so that one can stay organized throughout the process.
Cutting the Fabric
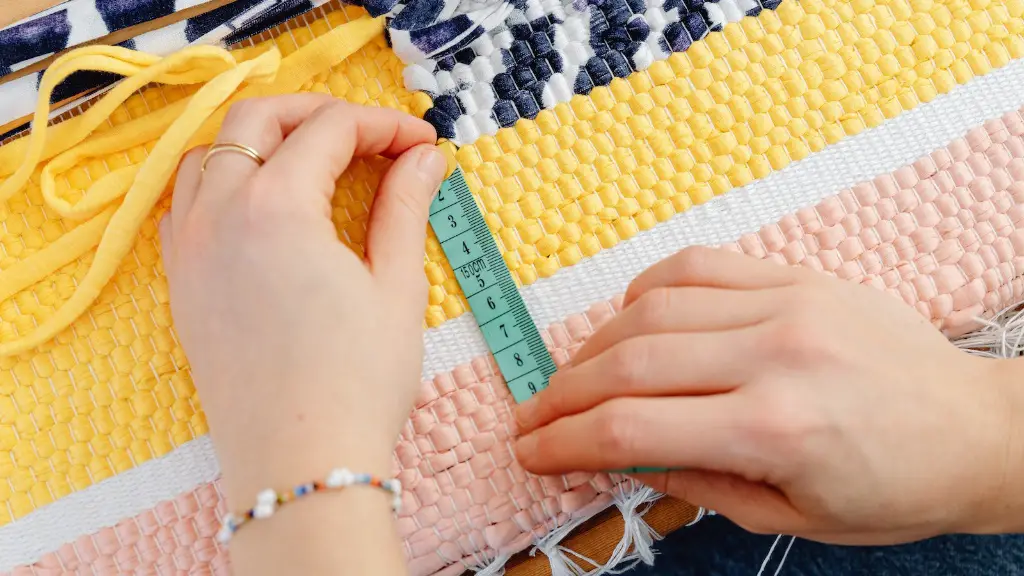
The first step is to cut the fabric. This is best done by laying out the fabric onto the cutting mat and using the ruler and measuring tape. Two pieces of fabric should be cut in the same dimensions. One piece will be the front of the pillowcase while the other will be the back. It is important to allow extra space along the sides due to the fabric shrinkage that may occur.
Stitching the Pillowcase
Once the two pieces of fabric are cut, the next step is to stitch the pillowcase together. Start by placing the two pieces of fabric together with the wrong sides out. Make sure that the edges are neatly aligned and then pin them together. Next, sew along the sides of the fabric with a 1/4 inch seam allowance. Make sure that you are using the zigzag stitch for the sides of the fabric. Once the sides are stitched, turn the pillowcase inside out to reveal the right side of the fabric.
Finishing the Edges
The third step is to finish off the edges of the pillowcase. This is done by topstitching around the edges of the pillowcase. This will make it easier to slide the pillow in and out of the pillowcase. You can use either the stretch stitch or a straight stitch to topstitch the edges. After the edges are finished, it is important to press the fabric to give the pillowcase a neat and polished look.
Adding the Casing
The fourth step is to add the casing for the opening of the pillowcase. This is done by folding the fabric in equal amounts and then stitching it together. Make sure that the opening of the pillowcase is on the inside so it will not be visible from the front. After the casing is made, you can use fabric ties or buttons for closure of the pillowcase. This will ensure that the pillow remains securely in the pillowcase.
Including Embellishments
The fifth step is to add decorative embellishments to the pillowcase. This step is completely up to the individual’s own preference and creativity. Consider adding a ruffle or ribbon along the edges, adding fun fabric prints, or making the pillowcase reversible by adding fabric to the back side. This step is entirely optional and can be skipped if desired.
Securing the Edges
The sixth step is to secure the edges of the pillowcase. This is done by using a zigzag stitch along the edges. This will prevent the fabric from fraying over time. It is essential to use the zigzag stitch to ensure that the fabric stays in place.
Caring for the Pillowcase
The last step is to care for the pillowcase. It is important to take the necessary steps to keep the pillowcase in good condition for a longer period of time. Machine washing the pillowcase in cold water on delicate mode is recommended. Avoiding bleach and excessive heat drying is also important.
Adding a Monogram
Monograms are a great way to make a pillowcase personal. It is possible to add a monogram to the pillowcase using a few simple steps. First, decide on a font. This can be done by selecting the font that can be found on the computer or a specific font that is purchased. Next, use a fabric marking pencil to trace the letter on the pillowcase and then use a straight stitch to create the monogram. Finally, use a fabric iron to adhere the monogram onto the pillowcase.
Creating Custom Design
Instead of buying a readymade pillowcase, it is also possible to make custom designs. This can be done by sketching out the pattern or design on a piece of paper, transferring it onto the fabric and then cutting it out. It is important to use tailor’s chalk to trace the pattern and mark the fabric. Sew the pieces together according to the pattern and finish the seams with a zigzag stitch.
Incorporating Trim
Trims are a great way to spruce up an ordinary pillowcase. Consider incorporating fringe trims, lace trims, or beaded trims to the pillowcase. Cut the amount of fabric needed for the trim and slowly sew it onto the pillowcase. Choose the right thread that matches the fabric and use a zigzag stitch to adhere the trim. Make sure to take care with the trim as to not pull too hard on the fabric and be aware of the trim shrinkage that may occur.
Adding Applique Designs
Consider adding applique designs to the pillowcase for a unique and personal touch. Applique designs are sewn onto the fabric and can be made from a variety of fabrics such as cottons, suede, leather and felt. Trace the applique design onto the back of the fabric and cut it out slightly larger than the design. Use a narrow zigzag stitch to adhere the applique onto the fabric.
Embellishing with Embroidery
Embroidery is a great way to make an ordinary pillowcase stand out. There are many different embroidery techniques such as appliqué, satin stitch and chain stitch. Pick an embroidery design and transfer it onto the fabric using a fabric marking pencil. Use a special embroidery needle and thread to create the stitch and follow the lines of the design. After the design is finished, use a fabric iron to adhere the stitches.


