How to Thread the Needle on a Sewing Machine
Threading a needle can be a daunting task for a new sewer, so here a few key tips and tricks to help you successfully complete this critical first step in machine sewing. Before starting, you’ll need to have the right type of thread and make sure you know how to identify the components of the threading process.
Steps to Thread the Needle
Before you begin, make sure you have the right type of thread for your project. Generally speaking, you’ll want to use an all-purpose thread for most purposes, but for more specialty fabrics, you may want to choose an appropriately sized and weighted thread. For example, if you are sewing with heavier fabrics, you may want to use a heavier thread.
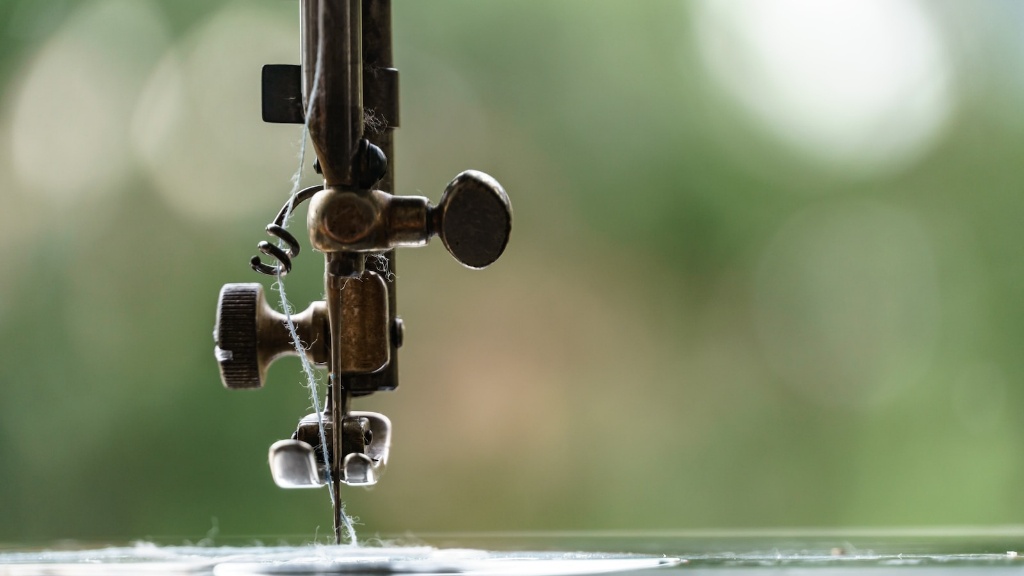
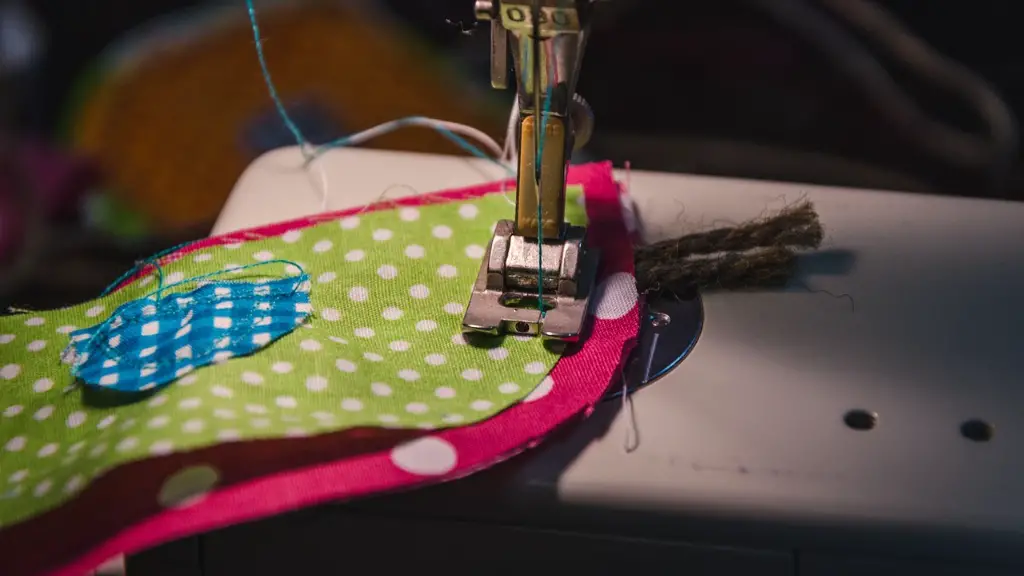
The next step is to locate the different components of the threading process. On most machines, the thread spools are usually on the side of the machine, while the take-up lever,thread guide and needle threader are usually located on the front of the machine. Once you’ve identified these components, you can begin threading the needle.
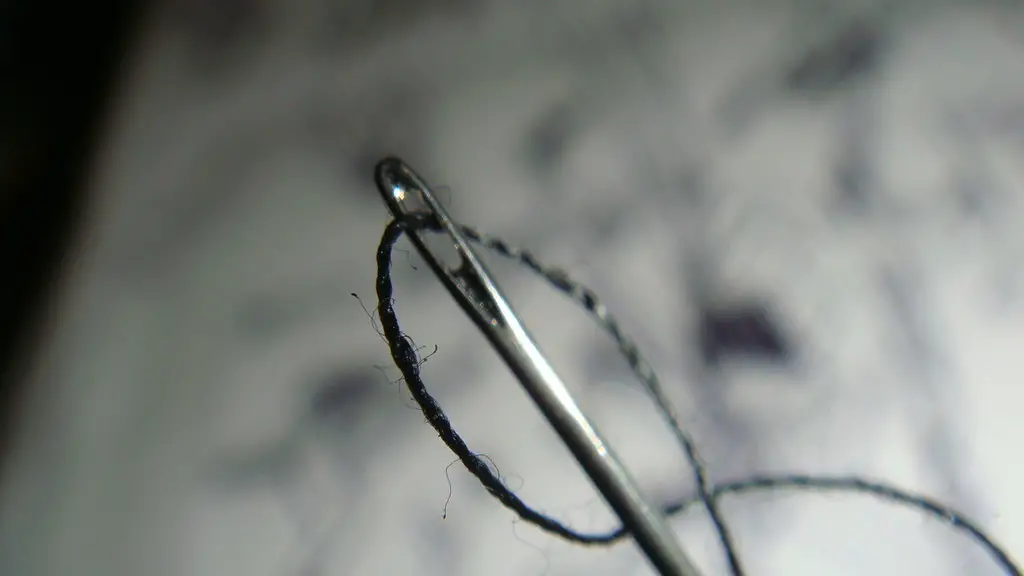
The first step is to pull the thread from the spool and thread it through the take-up lever. To do this, simply pull the thread taut and wrap it around the lever a few times. Next, guide the thread through the thread guide and into the needle threader and then pull the thread through the eye of the needle. Make sure you pull the thread taut and don’t let any excess thread hang down. Finally, pull the needle threader down, and the thread should be securely thread through the eye of the needle.
Troubleshooting Tips
If you find that the thread is slipping and not staying secure, the most likely cause is that the thread is too loose. Make sure you pull the thread taut, and then wrap it around the take-up lever a few times. This should ensure the thread stays secure, and you won’t have to worry about it slipping. Additionally, make sure you are using a high-quality thread designed for machine sewing. Low-quality threads can easily break or slip, leading to frustration and delays.
If you find that the thread keeps getting stuck in the needle threader, the problem is almost always caused by using the wrong type of thread. Make sure you are using an appropriately sized and weighted thread for your machine knitting project. Additionally, make sure you pull the thread taut and don’t let any excess thread hang down.
Finally, if the thread keeps breaking, you could be using a thread that is too thin or weak for the project. To avoid this, make sure you choose a high-quality thread designed for machine sewing. These threads usually have a thicker and stronger weave and will stand up to frequent use and fabric weight.
Essential Factors to Consider When Threading
Thread tension is an important factor to consider when threading the needle on a sewing machine. If the thread tension is too loose, the thread won’t be able to securely hold the fabric together, resulting in a poor stitch. Conversely, if the thread tension is too tight, the thread can break, resulting in frustrating delays. Always make sure to adjust your thread tension and check it regularly, especially if you’re using a new type of thread.
Another factor to consider is the size of the needle. Generally speaking, you’ll want to use a needle appropriate for the type of fabric you are working with. For heavier fabrics, a larger needle is usually best, while for delicate fabrics, you’ll want to use a smaller needle. Always make sure to double-check the size before proceeding, as using a needle that is too large or small can have a big impact on the results of your project.
Finally, it’s important to ensure the needle is properly inserted into the machine. A loose or improperly inserted needle can cause serious problems with the quality of your stitch, so always make sure to double-check the insertion before you start. Additionally, it’s always a good idea to check the needle for any signs of wear or damage before each use.
Choose the Right Thread
Choosing the right thread is an important step in successfully threading the needle on a sewing machine. Make sure you select an appropriate size and weight thread for your project, as well as make sure it is made for machine sewing. Additionally, you may want to consider using an all-purpose thread for most projects, as this will help to ensure your project is sturdy and secure.
To pick the right thread for your needs, you’ll want to take into consideration the type of fabric you are using as well as the overall weight of the fabric. Additionally, make sure you check the thread for any signs of wear or damage before each use. Finally, it’s always a good idea to select a higher quality thread, as this will help to ensure your results are flawless.
Techniques to Improve Your Threading Skills
Threading the needle on a sewing machine can be an intimidating task, but with a few tips and tricks, you can learn to do it with ease. For starters, you’ll want to brush up on the basics. Make sure you have the right type of thread, identify the critical components of the threading process, and understand the essentials of thread tension and needle size.
In addition to the basics, practicing threading the needle on a regular basis is a great way to stay sharp. Additionally, it’s a good idea to practice threading with different types of thread, fabrics and needle sizes to gain a better understanding of the process. Finally, if you find yourself struggling, there are numerous tutorials available online to help you brush up on your threading skills.
Choosing the Right Sewing Machine for Your Project
When selecting a sewing machine for your project, it’s important to find a machine with the right features and capabilities for your needs. Generally, you’ll want to consider factors like the size of the fabric, thread weight and stitch capability, as well as the type of fabrics you’ll be working with. Additionally, make sure the model you select is compatible with the thread spool you plan on using, as some machines have specific requirements.
It’s also a good idea to factor in convenience when selecting a machine. If you plan on quilting and embroidery, for example, you’ll want to look for a machine with adjustable speed and stitch lengths, as well as a built-in thread cutter for fast and easy threading. Additionally, most quilting and embroidery machines come with a large selection of stitches and features that make it easier to tackle larger and more intricate projects.
Finally, it’s important to factor in the cost of the machine. Depending on the type of project you plan on tackling, a budget machine may be sufficient. However, if you plan on doing heavier fabrics, or tackling large and complex projects, it may be worth investing in a more advanced machine with more features and capabilities.
Tips for Clean and Neat Sewing
Sewing can be a tricky and tedious task, and achieving a neat and clean finish can be quite a challenge. To make things easier, it’s important to start with a good foundation. Make sure you’ve got the right type of thread, the correct tension and a properly inserted needle. Additionally, when threading the needle, make sure you pull the thread taut and wrap it securely around the take-up lever before inserting it into the needle threader.
In addition to the basics, it’s important to practice good technique when sewing. Make sure you use consistent and even pressure as you sew, and make sure to use smooth, continuous motions. If you find you’re struggling with keeping the fabric taut, you may want to consider using a quilting frame or sewing hoop to help keep everything secure and in place. Additionally, it’s always a good idea to work with natural fabrics, such as cotton or linen, as this will help to ensure a neater and cleaner finish.
Finally, it’s important to take your time and double-check your work. Make sure all the seams are properly aligned and that you haven’t missed any important details. Additionally, make sure you check the stitches on the reverse side of the fabric for any signs of unevenness or skipped stitches. With a few basic tips and a bit of practice, you’ll be sewing neat and clean stitches in no time.
