Preparing the Workspace
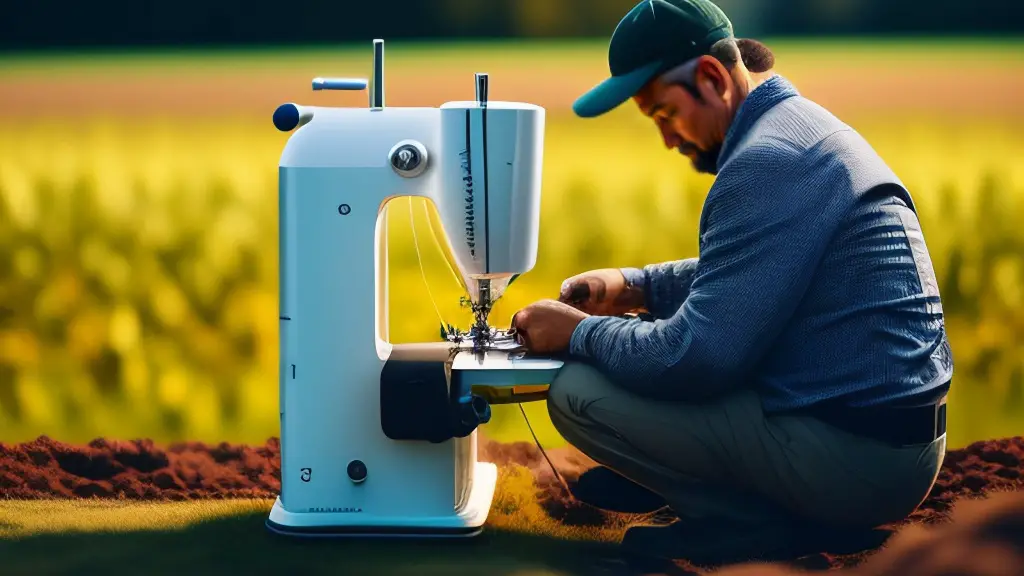
Creating a sewing machine table can be a fun and satisfying project, but it requires ample preparation prior to starting. It’s important to consider the space you need for sewing and cutting fabric, as well as the size and type of table that will work best with the size of your machine. Having a designated workspace can help create an efficient and organized sewing environment.
Selecting Table Materials
Most sewing machine tables are constructed using wood, such as plywood, MDF or particle board. Each of these materials offers its own advantages and disadvantages. Plywood is often the most popular choice because it’s lightweight, easy to cut and shape, and affordable. MDF is a more durable option and doesn’t require sanding, while particle board is the most affordable choice, but is prone to dents, chips, and scratches.
Precise Measurements
Making the perfect sewing machine table requires accurate measurements and attention to detail. Measure the length, width, and height of your sewing machine, and then use those measurements to determine the size of the table. You should also consider the height of the table in relation to your own height and comfort. Most tables are approximately 28 to 32 inches in height, but this can vary depending on the type of machine and the user’s preferences.
Cutting and Assembly
Once the measurements and materials are determined, it’s time to cut the wood and begin assembly. Depending on the type of materials and tools used, this part of the process can vary significantly. If you’re using wood and basic woodworking tools, the process is relatively straightforward. Cut the wood based on the measurements, use wood glue and screws to secure the pieces together, and then sand and seal the wood before adding a finish.
Making Adjustments
Once the basic table is assembled and the wood is sealed, it’s important to make any necessary adjustments to optimize the sewing environment. If adjustable feet are included with the table, those should be installed first. Then, the table should be placed on a flat, level surface and the feet adjusted for any necessary height or angle changes. Finally, a tabletop over covers the top and adds a protective layer to the table, as well as convenient storage space.
Customizing the Table
Once the basic assembly and adjustments are complete, the next step is customizing the table for maximum utility. This can include features such as adjustable shelves, cutouts for cords, and drawers for storage. Many sewers also add accessories such as cutting mats, drafting rulers, and lighting to make their workspace even more efficient.
Using the Table
Once the table is customized and organized, it’s ready to use. Before sewing, make sure the table is on a solid, flat surface to ensure the fabric stays in place while cutting and sewing. Additionally, many sewers find it helpful to use a lapboard or other type of stabilizer to prevent the machine from shifting or scratching the table.
Caring for the Table
Taking proper care of the sewing machine table will ensure it has a long life. Clean the table regularly, especially if it’s used for food preparation or used in a crafting area. Avoid cleaning products that can damage the finish or the wood, and reapply a protective layer periodically to prevent scratches and damage.
Storing the Table
If the table isn’t being used frequently, it’s important to store it correctly to protect it from dust, water, and other things that can damage the wood over time. If possible, move the table to an indoor space that is climate-controlled and not exposed to excessive moisture. Additionally, use dust cloths to cover the table and protect it from any dirt or debris.
Optimizing the Table
Once the sewing machine table is in use, it’s important to optimize it for maximum efficiency. This can include investing in organized storage options like a station for threads and bobbins or special containers for scissors and measuring tapes. Additionally, a space for pre-cutting fabric can be useful for larger projects.
Lighting the Table
Good lighting is essential for the success of any sewing project. Using a desk lamp or overhead lighting that illuminates the workspace is key to make sure the fabric and machine are visible and working correctly. It’s also important to adjust the lighting as needed to ensure consistent and accurate work.
Adding Accessories
Adding accessories to the sewing machine table can make the workspace more comfortable, organized, and functional. Popular accessories include craft caddies, spice racks, and magazine organizers, all of which can help keep the space organized and clutter-free. Tailors usually opt for additional items, such as thread stands, rulers, and pincushions. Also, many sewers like to add bright or colorful accents, such as fabric remnants or cushions, to personalize and beautify their work area.
Organizing Supplies
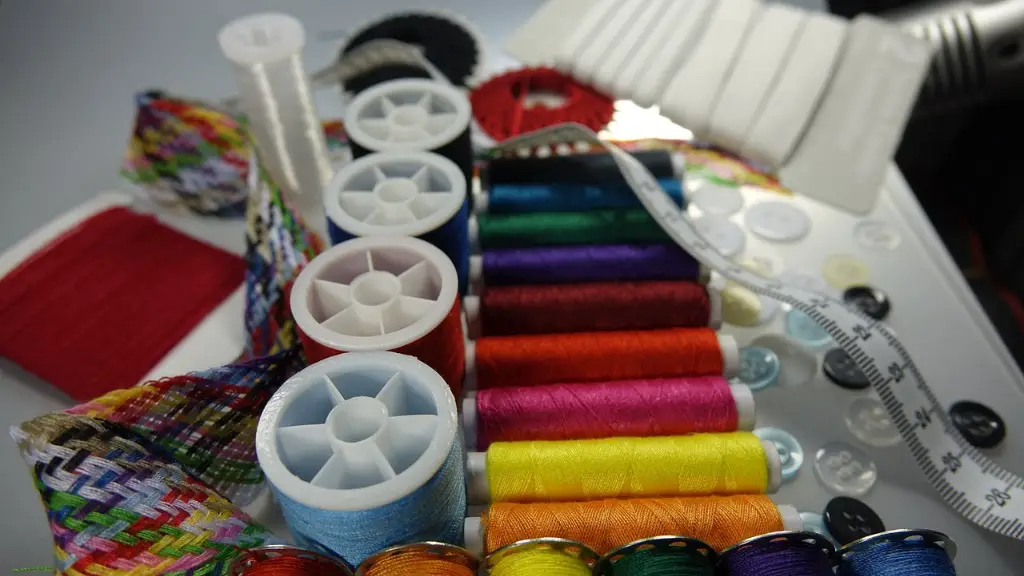
Organizing and storing supplies is an important part of having an efficient sewing machine table. Many sewers choose to store supplies in the drawers, on shelves, or in containers to keep everything organized. Items such as thread, needles, buttons, and fabric scraps can all be stored in special containers, while larger items like scissors and fabrics can be placed in baskets or on shelves.
Protecting the Table
It’s important to protect the table from wear and tear. This can be done by using cutting mats and ironing boards when needed, and cleaning and waxing the table occasionally. Additionally, use coasters on the table and keep anything that might leave a stain or damage the wood, such as glue, away from the surface.
Incorporating Electronic Devices
Incorporating electronic devices into the sewing machine table can be a great way to make the workspace more functional and organized. This can include LED lamps, music systems, computers, and automated sewing machines. If you choose to add electronic devices, be sure to consider the power requirements and safety features necessary for proper operation.
Choosing the Right Fabric
Choosing the right fabric for a project is an important part of having a successful sewing project. Make sure to select the right type of fabric for the project, as well as the right color and pattern to achieve the desired aesthetic. Pre-washing and ironing fabric before cutting is also recommended to prevent shrinking later.
Enhancing Efficiency
Having an efficient sewing machine table is essential to ensure the workspace is organized and projects are completed in a timely manner. To maximize efficiency, sewers can use tools such as thread stands, pattern weights, and pin cushions to manage the materials and keep track of progress. Additionally, having a designated space for storing supplies and materials can help ensure everything is easily accessible.
Labeling Supplies
Proper labeling of supplies can help ensure the sewing machine table remains organized. This can include labeling drawers and shelves with notes, stickers, or other labeling systems. Additionally, it’s important to periodically refill and restock supplies to make sure everything is easily accessible.
Choosing the Best Thread
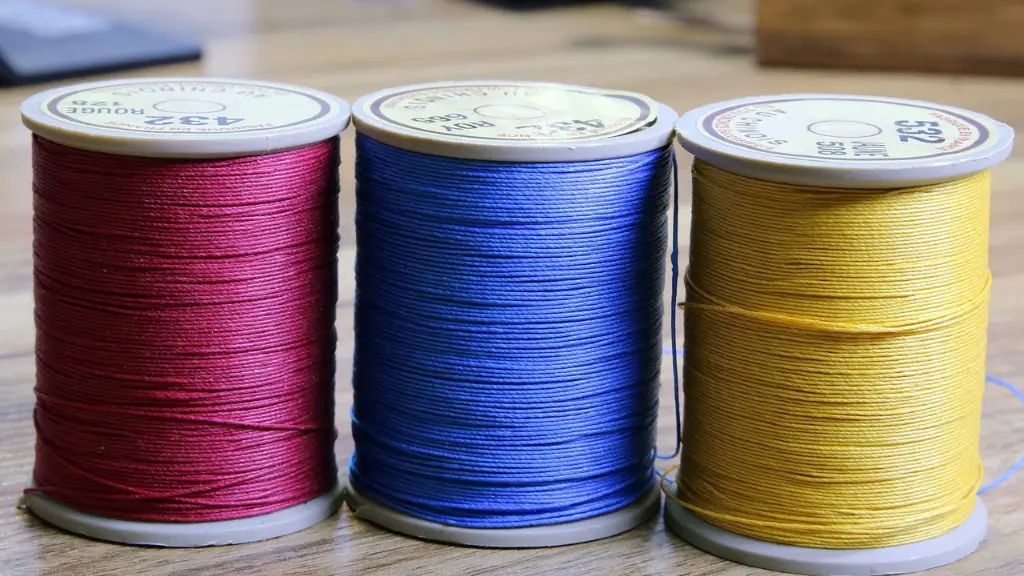
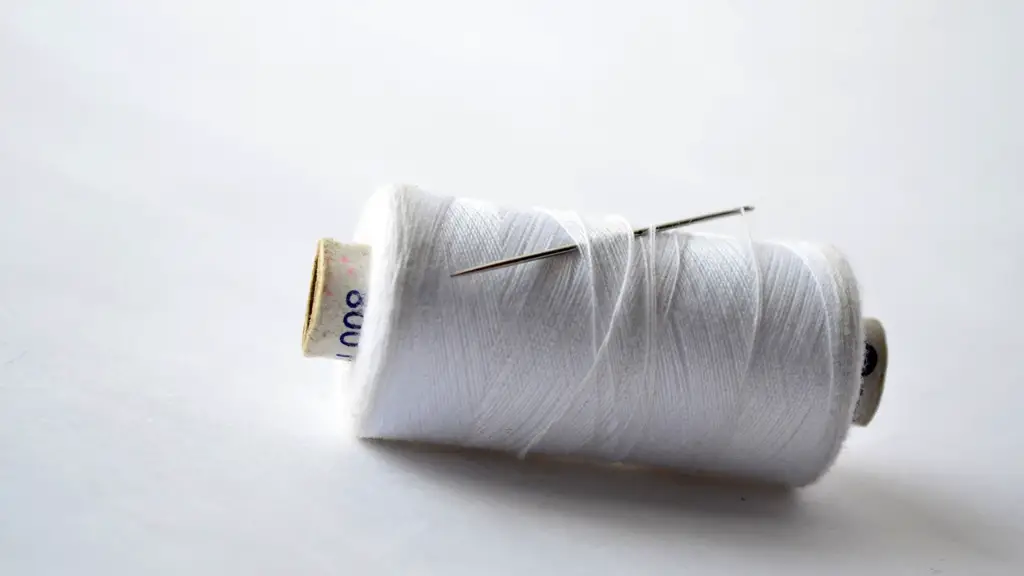
Selecting the right thread for a project is an important part of having a successful sewing machine table. Consider the type of fabric being used, the color and weight of the thread, and the type of stitch being used. Additionally, there are special threads for specialty garments or fabrics that may be needed for specific projects.
Calculating Fabric Needs
Calculating the amount of fabric needed for a project is an important step for successful sewing. Make sure to measure the type of fabric being used and accurately calculate the yardage required. Additionally, it’s a good idea to add a few extra inches in case of mistakes or miscalculations.
Accessorizing the Table
Accessorizing the sewing machine table can add a personal touch and make the sewing experience more enjoyable. Consider adding touches, such as fabric banners, artwork, or lamps to make the workspace more inviting and comfortable. This can help foster creativity and inspire new projects.
Making the Surface Slip-Resistant
The sewing machine table should be slip-resistant to ensure the fabric and machine are safely secured to the surface. There are many ways to make the surface slip-resistant, such as using sandpaper to roughen up the wood, or using rubber mats or strips to cushion and secure the fabric.
Protecting the Machine
Protecting the sewing machine is key to ensuring a long life and proper functioning. This can include using a personalized cover or dust cover to keep the machine in top condition. Additionally, to protect the machine from accidental bumps or falls, consider using a machine cradle or other secure storage systems.
Organizing the Table
Organizing the sewing machine table is key to having a smooth and efficient workspace. This can include creating a designated spot for the machine and fabric, labeling containers and drawers, and keeping track of supplies. Additionally, many sewers find a desk calendar or task list helpful for tracking progress and meeting deadlines.
