Calculating the Materials Needed
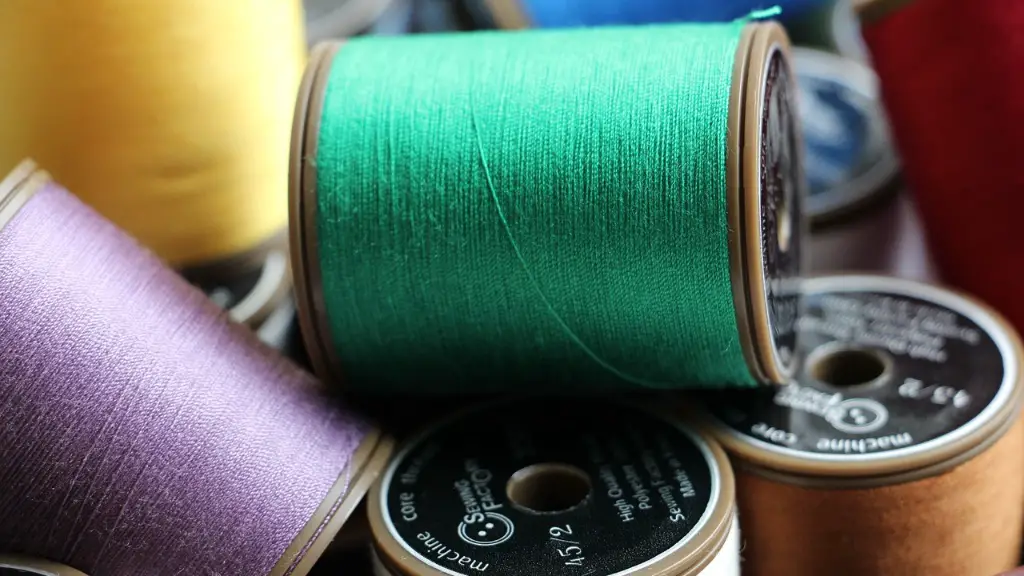
Before beginning to make a sewing machine tote, you must calculate the materials needed. Measure the overall size and shape of the tote and work out how much fabric is required. Then, decide on what type of fabric is appropriate for the tote. Generally, cotton is the top choice because of its durability and weight. If the tote is to be used as a travel bag for your sewing machine, select a sturdy canvas type or waxed cotton fabric. A waterproof lining is also beneficial for protection. You also need to choose a fabric for the handles and straps, as well as the closure. If adding embellishment, ensure you have the matching threads, sewing notions, and notions to hand.
Cutting the Pieces
Using a suitable pattern, cut the fabric pieces according to the measurements needed. All pieces of fabric should be cut with the right sides facing up. Double check that the right sides of the fabric are facing each other when cutting the pieces. If additions such as pockets, straps, pleats etc are to be added, allow extra fabric for these to be sewn onto the main tote piece. Consider the pattern when cutting to ensure that the design stands out in the finished article.
Stitching the Seams
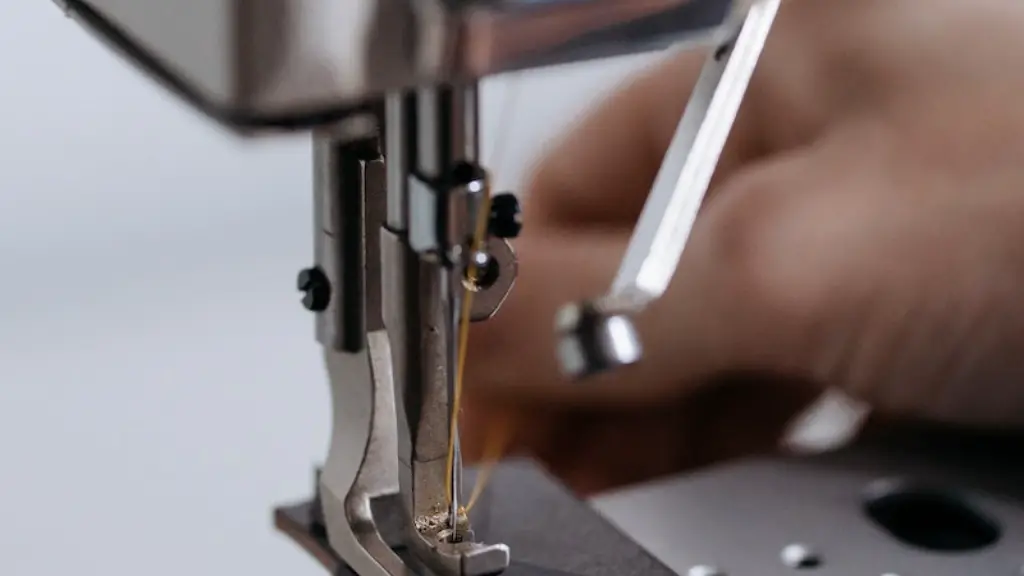
Once the pieces have been cut and laid out in the desired manner, pin them with the wrong side of the fabric facing up. This way, you are able to sew the seams starting from the right side of the fabric. Start by sewing the side seams using the sewing machine. Ensure that the fabric is not stretched or twisted in any way during the stitching process. If a zipper or ties are to be added, add them at this stages. Processed for adding straps, or handles, can also be done at this point.
Boxing the Corners
Boxing the corners on the tote increases its storage space. Begin by folding the corners right sides together and pin them in place. Stitch them together at a right angle and then trim excess fabric. Use an iron to press the corners flat, this aids in the boxing process while making it look neat and tidy.
Adding Small Details
Once the tote has been boxed and stitch together, it is time to add the details. If a pocket or other storage area is required, sew these onto the inner or outer side of the tote. Pockets can be made from the fabric or from a different material such as vinyl or canvas. Also add any extra straps or handles required according to the design at this point.
Adding Embellishments
If you wish to add embellishments to the sewing machine tote, do it at this stage. You can use embroidery thread and a sewing machine to add intricate details to your tote. Embellishments can be for aesthetic purposes or for functional purposes. If functional, choose embellishments such as metal hardware or an extra zippered closure.
Constructing the Outer Layer
Once the basic design of the tote is complete, it is time to add the outer layer of the tote. Decide between a lining or an unlined tote. For the lining, measure the circumference and cut a lining piece accordingly. Sew the lining piece to the tote with a wrong side of the fabric facing out. The right side of the fabric should be hidden on the inside.
Adding the Handles/Straps
Now that the main piece is complete, the handles or straps should be added. This will help the user to carry the tote comfortably. Choose a suitable material for the straps and cut the pieces to the desired length. Make sure that the strap is wide enough for the user to hold it comfortably. Sew the straps to the sides or the top of the bag.
Types of Closures
Finally, add a closure to the sewing machine tote. A closure is important in order to secure the top of the bag and avoid spillage of the items inside. Common types of closures for totes include zippers, magnets, drawstrings, or buttons. Consider the purpose of your tote when deciding which type of closure to use.
Making The Pattern
Pattern drafting is the first step in making a tote. Use a large piece of paper or fabric to create the pattern, marking all important measurements onto it. Decide how many panels will be needed and also any details such as pockets and pleats. Once the pattern has been created, use it to create the fabric pieces which will be used to make the tote.
Adding Hardware
Hardware such as metal feet, zip pulls and closure clasps can be added to the sewing machine tote. These can provide a professional look and also make it easier for the user to access the contents of the tote. Hardware pieces should be added before the lining is applied in order to have easy access.
Assembling the Liner
The liner should be assembled at this point. Choose a material suitable for the liner, such as cotton or flannel, and measure and cut out pieces according to the pattern. Stitch the liner and finish the edges. Sew it to the outer pieces ensuring all edges match and the right sides of the fabric are facing each other.
Finishing the Bag
Finish the edges off with bias tape or a simple zigzag stitch. Check the entire exterior of the bag for any loose threads or gaps and fix any issues. Make sure that the handles are securely stitched and the closure functions perfectly.
Safety Considerations
When it comes to making the sewing machine tote, safety is of paramount importance. Ensure your work area is clean and well lit, and no exposed strands of thread or fabric are present that could cause an injury. Always use sharp scissors and needles, and use gloves when needed. Be mindful of any sharp objects in the tote and pad them if required.


