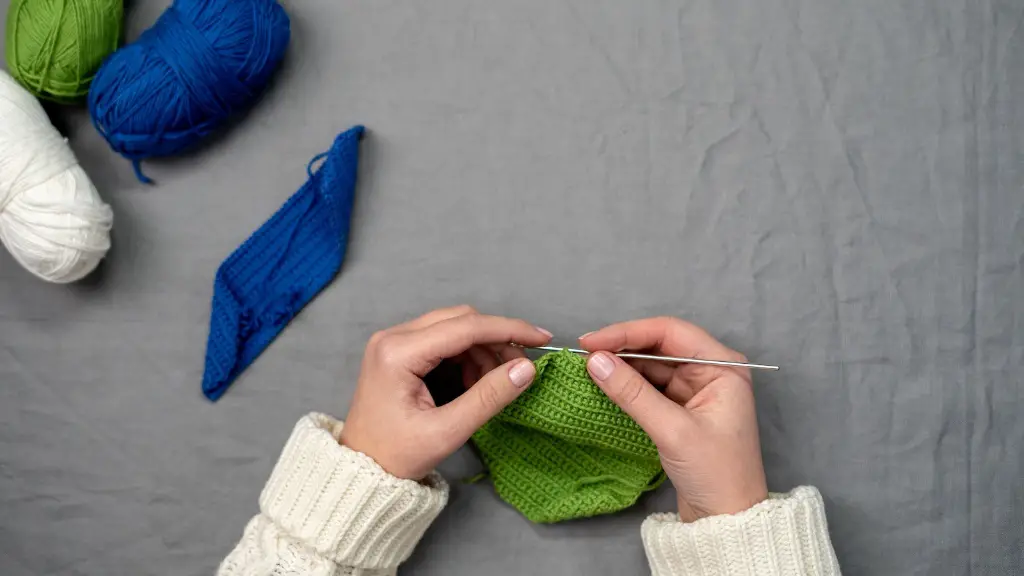
Overview of Making a Garter
Making a wedding garter is a great way to add a personal touch to the special day. It’s also a fun and practical project, as it requires no sewing machine to complete. This guide offers some tips and tricks on how to craft a garter without one.
Choosing the Materials
When it comes to creating a wedding garter without using a sewing machine, the most important factor is that the fabrics are properly secured. Materials that are strong, stretchy, and comfortable are ideal for the task. Some recommended materials for hand-sewn garters include elastic, lace, tulle, and nylon strips. The material should be able to hold the weight of the beads, ribbons, and other trims that are usually used to decorate garters.
When selecting a fabric, it’s important to make sure that it complements the dress color and has enough width to fit around the bride’s thigh. Consider sewing two layers together to make a double-layer garter and make sure to select one with a comfortable fit.
Creating the Garter
Once the materials have been chosen, it’s time to make the garter. Begin by measuring the circumference of the bride’s thigh or waist. Cut the fabric according to the measurements, leaving approximately one inch extra on each edge for hemming. Then, pin the two ends of the fabric together.
To make a strong, stretchy garter without a sewing machine, use a zigzag stitch and a wide zigzag stitch, which can be created using a special needle. Alternately, a whip stitch or backstitch can be used. To ensure the stitches are extra secure, it’s a good idea to make a few crisscross stitches across the garter. Once the fabric has been sewn together, use a needle and thread to trim the edges and add any embellishments.
Attaching the Garter
After the garter has been completed, it’s time to attach it to the bride’s clothing. Start by tucking the end of the garter into the waistband of the gown and slipping a safety pin through the fabric. Then, use a piece of invisible thread and needle to attach the other end of the garter to the back of the gown. This will ensure the garter stays in place and looks neat.
Finishing Touches
Now go back and add any embellishments. A few simple touches can go a long way in making a garter special. Beads, pearls, floral appliques, ribbons, and vintage buttons are all excellent for adding subtle sparkle and flair. If a bride is crafty, she can also embroider her initials, a special phrase, or her new last name onto the garter for a personal touch.
Once the embellishments have been attached, secure the garter in place with a hook-and-eye closure. This will make the garter easier to put on and take off, and it will make sure that everything stays in its place.
Using a Professional Garter Maker
If the idea of making a garter from scratch is overwhelming, another option is to create one with the help of a professional garter maker. Many of them offer custom made garters as well as ready-made ones, so even if a bride isn’t comfortable with making her own, she can still get the perfect garter for her special day.
Caring for Garters
The most important thing to remember when caring for garters is to avoid using heat, such as an iron or dryer. This can cause the material to shrink and lose its shape. Instead, hand wash the garter gently with mild dish soap and lay it flat to air dry.
Tips for Keeping the Garter in Place
Some brides opt to wear their garters over their dresses or trousers to prevent them from sliding down. This can help keep the fabric securely in place, while still giving them the freedom to move around. Additionally, some brides opt to wear a pair of socks underneath their garter to give it some extra grip and keep it from slipping.
Making a Reusable Garter
When making a wedding garter without a sewing machine, it’s important to use materials that are designed for wear and tear. Elastic is a great choice as it will take the shape of the wearer and hold its shape for many years. If a bride chooses to make a garter out of a fabric such as chiffon, she should also make sure that there is a lining on the inside to keep it from fraying.
Showing Off the Garter
Once a bride has made or purchased a garter, she can show it off with a garter toss or another special ceremony. This is a fun way to celebrate the couple’s unity and make the ceremony more memorable.
Donating the Garter
At the end of the reception, a bride can opt to donate her garter to charity or pass it down to a family member or friend who will appreciate it. This is a lovely way to preserve the memories of the wedding day and offer the garment to someone who will cherish it for years to come.
Preserving the Garter
Since garters are usually made from delicate and intricate materials, it’s important to store them properly. Wrap the garter in acid-free tissue paper and place it in an acid-free box. If a bride wishes to have her garter preserved for a long time, she can opt for a preservation kit that is designed especially for wedding keepsakes.
Giving the Garter as a Gift
A garter can also be the perfect gift for a bridesmaid or other special person in the bride’s life. It’s a unique and heartfelt way to say thank you, and to show how much someone means to the couple.
Making a Matching Garter
An additional option is to make a matching garter for the groom. This is a great way to complement each other’s outfits and add even more personalization to the wedding. The process is the same, but be sure to measure the groom’s waist or thigh and choose a fabric that matches the bride’s.
