Step-by-Step Guide
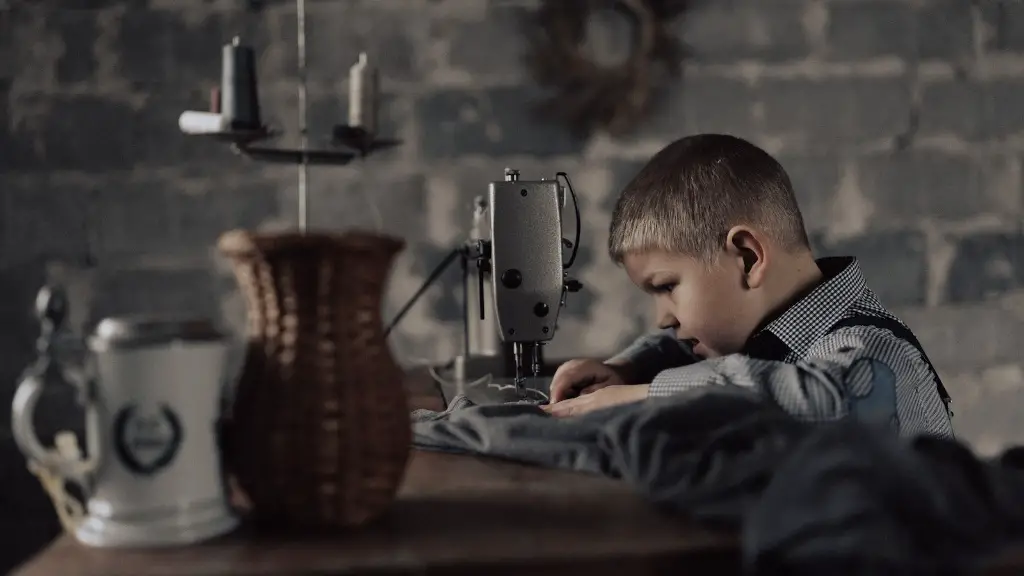
Making a wig on a sewing machine is a great way to create a custom-made, stylish hairstyle. Sewing a wig requires patience and practice. But, with an understanding of the basics of wig construction and design, as well as the basic tools and materials, almost anyone can create a beautiful and unique wig.
Materials
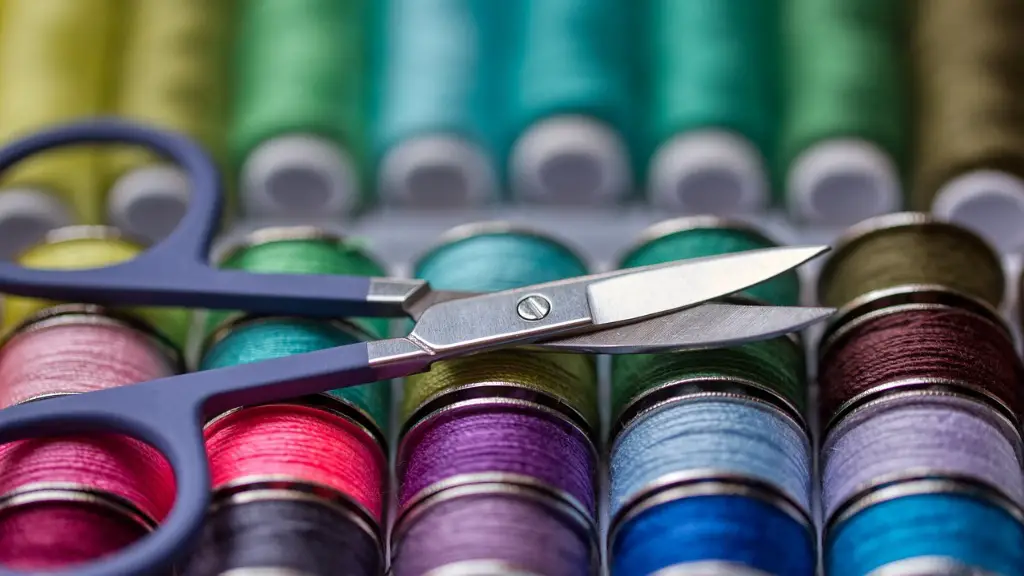
The materials you need to make a wig on a sewing machine include the following: wig cap, wig hair, thread, a wig stand, wefting needle, scissors, measurements, and a sewing machine. The wig cap is the base of your wig and should be made out of a material that is comfortable and lightweight. The best materials are lightweight mesh or knitted fabrics. The wig hair should be 100% human hair, as synthetic hair can become tangled and matted easily.
Tools
The most essential tools you need are a sewing machine, thread, a wig stand, and a wefting needle. A standard straight stitch sewing machine is best for this project, but if you don’t have one you can use a zigzag stitch. The thread should match or complement the wig hair’s color. A wig stand ensures that the wig is held properly and securely while you are working. The wefting needle can be used to securely attach the hair to the wig cap.
Measuring the Cap
Before you begin sewing the wig, you need to measure the wig cap. Use a measuring tape to measure the circumference of your head, starting at the middle of your forehead. The wig cap should fit snugly on your head and have an extra inch or two of fabric to allow for a comfortable fit. The diameter and depth will depend on the style you are looking to achieve. Once you have measured the wig cap, cut it out of the fabric you have chosen.
Cutting the Hair
Once the wig cap is cut out, the next step is to cut the wig hair. Take your time to ensure that you have cut the hair into even sections. You can use a wig stand for this process, as it will help keep the wig hair in place. It is important to be careful when cutting the wig hair, as it can easily become tangled or matted. Cut the wig hair into sections that match the size and shape of the wig cap.
Attaching the Hair
Once the hair has been cut, it is time to attach it to the cap. Begin by taking small sections of the hair and placing them against the inside of the wig cap. Use the sharp end of the wefting needle to attach the hair to the fabric. Make sure you use even stitches and that the hair is securely attached. You can attach the hair in a variety of styles, such as in a natural part or in a straight line.
Sewing the Wig
Once all of the hair is attached to the cap, it is time to sew the wig. Begin by using a standard straight stitch on the outer part of the wig. Make sure the stitches are even and that the stitch is securely pulling the hair in place. Once the outside of the wig is sewn, turn it inside-out and begin sewing the inside. This will ensure that the wig is secure and will not come loose.
Styling the Wig
Finally, it is time to style the wig. Depending on the style you are looking to achieve, you can use a curling iron, flat iron, or blow dryer to curl, straighten, and adjust the wig hair. When styling the wig, be sure to take your time and apply products sparingly. This will help ensure that the hair remains healthy and will last a long time.
Caring for the Wig
After you have finished styling the wig, it is important to take steps to ensure that it stays in good condition. To do this, always use a high-quality shampoo and conditioner specifically formulated for wigs. When brushing or combing the wig, be sure to use a wide-toothed comb that is not too sharp. Additionally, it is important to store the wig properly and keep it away from any direct sunlight or heat sources.
Buying a Wig
If you do not feel comfortable making a wig on a sewing machine, but still want to have a custom wig, then there are many wig retailers that can help. When buying a wig, it is important to make sure that the wig is made of quality materials and is comfortable and lightweight. Additionally, it is important to ensure that the wig is made in a reputable shop that offers a warranty and customer support.
Making a Wig on a Professional Machine
For those who want to create a more professional-looking wig, a professional-grade sewing machine and industrial-grade wig-making tools are available. This type of equipment is more expensive than the standard tools and materials, but it will allow you to create wigs that are of higher quality and more intricate in design. When using a professional-grade sewing machine and industrial-grade tools, it is important to read the instructions and safety guidelines provided.
Conclusion
Making a wig on a sewing machine is a great way to create a unique and stylish hairstyle. With the right materials and tools, you can create a beautiful and long-lasting wig. Finally, if you do not feel comfortable making your own wig, you can always purchase a wig from a professional wig maker.


