Oil Requirements
A sewing machine Singer generally needs periodic oiling in order to maintain peak performance and extend its service life. Oiling the Singer machine is relatively simple and straightforward, but there are some oiling requirements that must be taken into consideration. Sewing machine oil is a specific type of oil made specifically for the purpose of oiling sewing machines. Such oil is found at sewing supply outlets and big box stores that specialize in such products. Sewing machine oil needs to be non-detergent and free of any additives that would impede the free movement of the machine’s parts. It also needs to be a light type of oil, such as a light weight engine oil or a light weight sewing machine oil.
Identifying Places to Oil
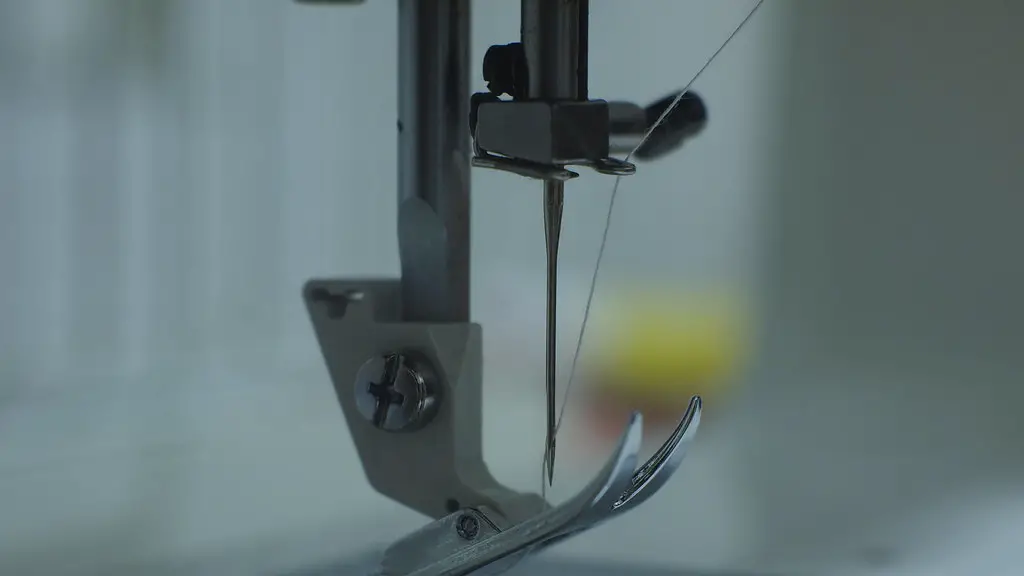
Once you’ve identified the locations to oil on the Singer machine, the next step is to locate them and figure out how to go about oiling that part of the machine. Generally speaking, the essential places to oil on a Singer machine include the needle bar, the stitch regulator, and the thread guides. The needle bar is the part of the machine that moves up and down when you are stitching. The stitch regulator regulates the speed and tension of the stitches. The thread guides are the supports for the thread as it passes through the machine.
Preparing for Oiling
When it’s time to begin oiling the Singer machine, you must take certain steps to ensure proper oiling and protection of the sewing machine’s parts. First, turned off and unplug the sewing machine. Doing this will add an extra layer of safety while handling the machine and its parts. Then, using a paper towel, carefully wipe off all excess thread, dirt, and lint from around the parts to be oiled.
Applying Oil to The Sewing Machine Parts
Applying the correct amount of oil to the areas of the Singer machine that need it is also essential and should not be taken lightly. A preferred method of oiling the machine is to use a plastic eyedropper to apply the oil with precision and control. Place a few drops of oil into the holes and grooves of the needle bar and the thread guides and lightly tap the areas with your finger or a screwdriver handle to ensure that the oil reaches all of the inner parts of the machine. Be careful not to over-oil the sewing machine, since excess oil can damage the machine’s parts over time.
Checking For Possible Wear and Tear
In addition to oiling the Singer machine, it’s also important to check for any signs of wear and tear on the sewing machine’s parts. As the stitching progresses on the Singer machine, check the needle bar, thread guides and stitch regulator for signs of excessive wear. If you do notice anything that appears to be causing a malfunction in the stitching process, contact a professional to inspect and repair the machine.
Cleaning the Machine
Once the oiling process is complete, the next step is to clean the machine. Cleaning the Singer machine is essential in order to remove any residue left behind from the oiling process. After cleaning, make sure that the machine is completely dry before you start sewing with it. Make sure that the bobbin case is clean and the bobbin is wound evenly. Be careful not to get too much oil anywhere else on the machine, as this could damage it.
Examining The Oiling Process
Once you have finished the oiling process, examine your work to make sure that everything has been oiled properly. Check to make sure that all needle bar, thread guides, and stitch regulator have been oiled properly, without over-oiling any of these parts. After examining the sewing machine, you are ready to sew again.
Removing Excess Oil
If you do happen to over-oil the Singer machine, it’s important to remove the excess oil as soon as possible. The easiest way to do this is to use a paper towel, or a soft cotton cloth, to wipe away any excess oil from the machine’s parts. Make sure to be thorough and to completely remove all the excess oil from the parts.
Conclusion
Oiling a Singer machine is a relatively simple process. It involves locating the machine’s essential parts to oil, ensuring proper oiling technique, examining your work, and removing any excess oil. With regular oiling and maintenance, you can keep your Singer machine running smoothly, and extend its lifespan.


