Basics of Zigzag Stitch
Zigzag stitching is a popular machine-stitching technique used commonly to prevent raw edges of the fabric from fraying or to add visual interest to your project. It creates wavy horizontal lines of stitching and is used in many decorative applications from quilting to hemming. The machine creates a continuous line of stitching, so it is important to understand the basics so you can get started with making beautiful projects.
Zigzag stitch is generally a knit stitch. In other words, it’s not formed from straight stitches, like a straight stitch. Instead, it creates a series of curved stitches arranged side-by-side. The type of stitch used to sew a zigzag stitch can vary depending on the specific machine, but all have the same basic characteristics.
When the stitch is evenly spaced on both sides of the fabric, skimming over every fabric thread(or ‘weft’) in between, it is referred to as a blanket stitch. To create a zigzag stitch, the machine needs to be able to control the arch of the stitches so they are moving away from the center of the fabric. This creates an even look, as the stitch remains the same length and spacing within each arch. If the distance between the stitches varies, the zigzag will not look as uniform.
The stitch length on the zigzag should be adjusted depending on the desired outcome. A longer stitch length creates a larger opening for the stitch, allowing for more movement, whereas a shorter stitch length provides a tighter and more secure finish. Generally, the longer the stitch length, the thicker the stitch will be, and the shorter the stitch length, the more delicate it will look.
Setting up the Machine
Before you can create a zigzag stitch, you need to ensure that the machine is set up correctly. Depending on the machine, some steps can be skipped, others may need to be adjusted. Always read the manual and follow the instructions the manufacturer provides.
Start by making sure the machine is threaded correctly. Check the tension of the thread, as this will affect the outcome of the stitch. The tension should be adjusted slightly depending on the material you are working with. Then select the pattern for the stitch, as most machines have a variety of zigzag pattern options.
It is also important to set the stitch length. If the machine is set to a longer stitch, the stitch will look more open and can be used for decorative purposes. However, if you need a more secure finish, a shorter stitch length should be used. Likewise, the stitch width should also be adjusted. If it is set too wide, the fabric edges may be pulled away from each other, distorting the shape.
Once you have adjusted the settings, test out the machine to make sure the zigzag stitches are being formed correctly. Move the fabric and observe the machine while it sews, as it should give you a much better idea of how the pattern is forming.
Tips and Techniques
Before you start sewing, it is important to make sure your fabric is prepped correctly. If you are sewing a curved or angled edge, make sure the fabric is already in place and not moving, as once you begin stitching the fabric may be pulled out of shape.
For more secure stitch, it is recommended to use interfacing or an underlayment. This can help to prevent the fabric from being pulled into the machine and creating an uneven stitch. Additionally, this will help to maintain the shape of the stitch, as the interfacing will absorb any strain on the thread.
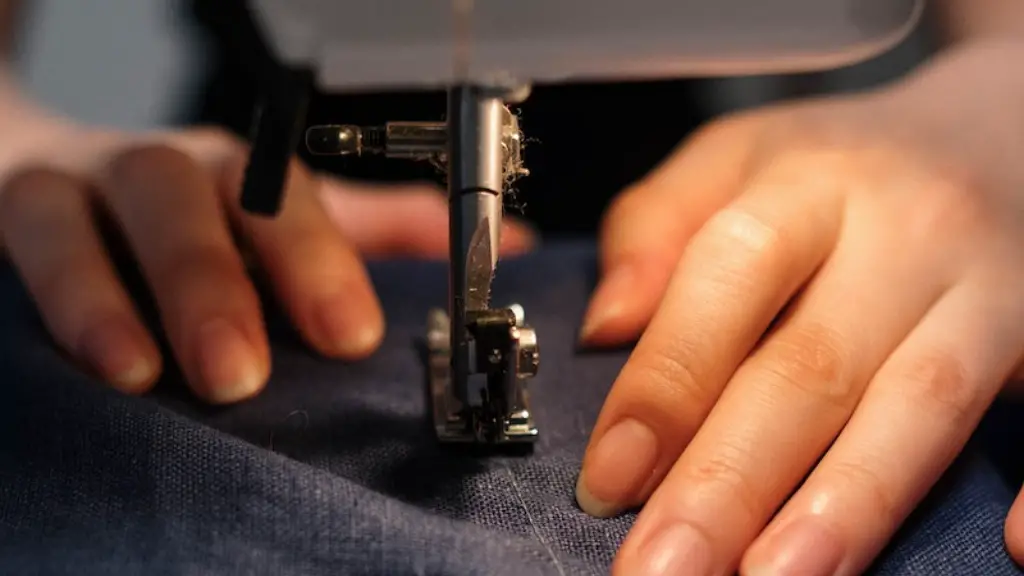
When stitching in a zigzag, it is important to avoid backstitching. This can cause the fabric to pull, resulting in a distorted shape. When securing the stitch, ensure the fabric is held in place and move the machine slowly to create an even pattern.
It is also worth noting that different machines may have different settings for making a zigzag stitch. Be sure to refer to the manual provided with your machine and make any necessary adjustments before you start sewing.
Choosing the Right Thread
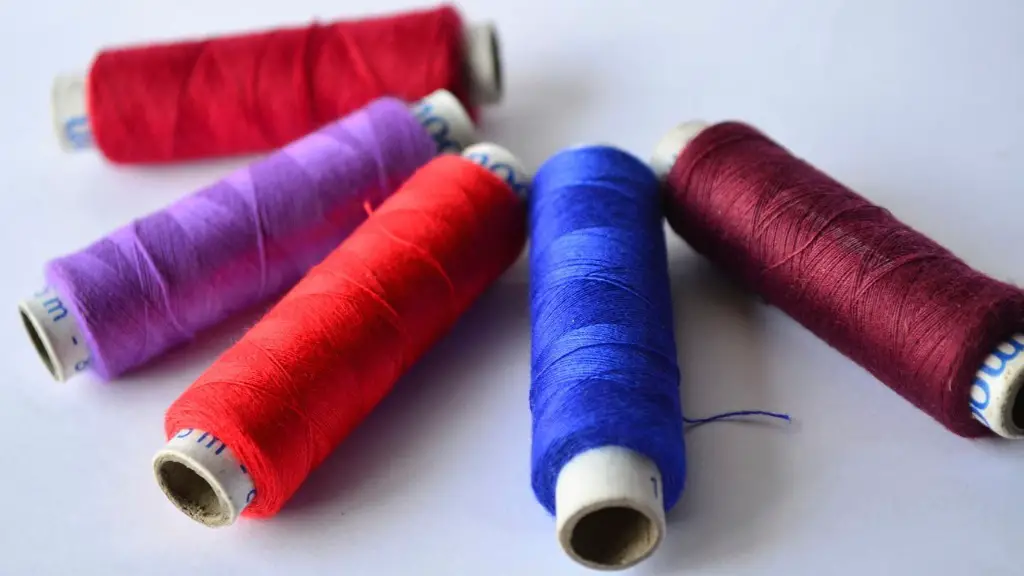
Different types of threads can be used for zigzag stitch, but it is best to select a thread that is suitable for the type of fabric being used. If you are sewing heavier fabrics, such as denim or canvas, choose a heavier thread as this will provide extra strength. For lighter fabrics, you may want to opt for a lighter thread as this will create a smoother finish.
The type of thread also needs to be considered. If you are using a synthetic fabric, use a polyester thread as this will provide the best results. Natural fibers, such as cotton and linen, should be stitched with a cotton thread. Nylon and silk threads are also suitable for delicate fabrics, as they can help to reduce bulk in the seam.
It is also important to make sure the bobbin is loaded with a thread that is the same color as the top thread. This will help to make sure the stitches look uniform, as the bobbin thread is the one that forms the stitch on the underside of the fabric.
Conclusion of Zigzag Stitch
To make a zigzag stitch on a sewing machine, make sure the machine is threaded correctly and the tension is adjusted to the correct setting. Select the desired stitch pattern and set the stitch length and width according to your needs. Always use a suitable thread for the fabric and make sure the bobbin is loaded with a thread that is the same color as the top thread.
When stitching, ensure the fabric is held firmly in place and move the machine slowly to create an even pattern. It is also important to avoid backstitching, as this can cause uneven stitches. With a little practice and patience, you will soon be able to create beautiful zigzag stitches.
Ease of Use
Zigzag stitching is easy to learn and can be used for a wide range of sewing projects. It is a versatile stitch that can be used for a variety of purposes, such as hems and decorative stitching. As the stitch is easy to control, it is possible to create intricate patterns and shapes with minimal effort.
The stitch is well-suited for stretch fabrics, as the elasticity of the thread helps to prevent the fabric from being pulled out of shape. This means it is perfect for creating garments, such as leggings and t-shirts.
Similarly, zigzag stitch is also suitable for quilting and creating embellishments. The strong and flexible nature of the stitch means it is less likely to separate or tear, making it ideal for creating intricate designs.
The stitch can also be used to join two or more pieces of fabric together, creating a seam that is incredibly sturdy and won’t come apart. This makes it ideal for heavy-duty fabrics, such as denim and canvas.
Common Mistakes
When sewing with a zigzag stitch, it is important to keep in mind that the fabric can be pulled out of shape if it is not held firmly in place. Avoid backstitching, as this can cause the stitches to look uneven. It is also important to adjust the tension and stitch length for the fabric being used.
Using the wrong thread can also have an impact on the appearance and durability of the stitch. Choose a thread that is suitable for the fabric, as this will help to ensure the stitches look uniform and the fabric does not bunch up at the seam.
Sometimes, the fabric can slip while sewing, resulting in an uneven pattern. This can be prevented by using a guide or foot pedal to ensure the fabric is kept in place while stitching. It is also worth practising on scrap fabric, as this will help you to get a feel for the machine and the process.
Problem Solving
When using a zigzag stitch, it is important to be aware of potential problems and how to remedy them. If the stitch is not forming correctly on the underside of the fabric, make sure the bobbin is inserted and threaded correctly. Additionally, check that the tension is not too tight or too loose.
If the fabric looks lumpy or distorted, the tension is likely to be set too tight. This can cause the fabric to pull and the stitches to be uneven. To remedy this, adjust the tension and test the stitch on a scrap piece of fabric.
If the fabric looks too loose, the tension may be too loose or the stitch length may be set too long. Adjust the settings and ensure the fabric is held firmly in place while stitching. With a few simple adjustments, you should be able to achieve a neat and even stitch.
Final Considerations
When using a zigzag stitch, it is important to choose the appropriate stitch pattern and settings for the project. Different machines will have different settings and features, so always refer to the manual and follow the manufacturer’s instructions.
Take the time to practise on scrap fabric, as this will help you to become familiar with the machine and understand how the stitch works. With a little patience and practice, you will be able to create a variety of zigzag stitches suitable for different sewing projects.
Once you are confident in using the zigzag stitch, you can start to experiment with different patterns and techniques to create decorative and detailed designs. Make sure you use the correct threads and adjust the stitch length and width to create the desired effect.
