Step One – Measure and Mark the Button Hole
The first step to learning how to make buttonholes with a sewing machine is to measure and mark the appropriate position for the buttonhole. Start by measuring the button that you are going to use, so that you have a size for your buttonhole. Then use a fabric marker or a tailor’s chalk to mark the start and finish positions. If you have several buttons to make holes for, then you should mark all the positions before starting.
Step Two – Select the Right Stitch
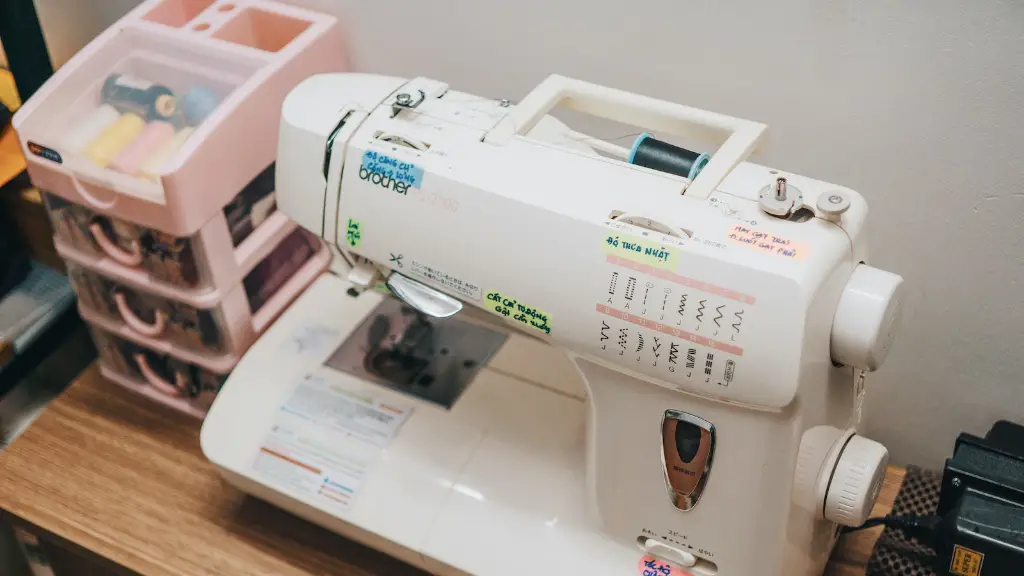
The next step involves selecting the right stitch on your sewing machine to make buttonholes. Most sewing machines will feature a buttonhole setting and include two or more options for different sizes of buttonholes. Alternatively, a zigzag stitch can also be used, but it may not be as secure as a buttonhole stitch. Check the manual for your sewing machine for clear instructions on the stitch settings for the button holes.
Step Three – Slide the Fabric
Once you have selected the right stitch for your buttonhole, begin sliding the fabric underneath the presser foot of your machine. As you start to sew, make sure to leave a short tail at the beginning. This will ensure that the beginning of your buttonhole is properly closed off. As you navigate the fabric along, keep your eye on the markings to ensure that you’re making the buttonhole the right size and at the right position.
Step Four – Sew the Buttonhole
Then the sewing machine will begin to make the buttonhole, with the needle going back and forth as it stitches. It’s important to be slow and steady as you do this and make sure that the fabric is securely held in place. Once the length of the buttonhole has been reached, stop sewing and raise the needle.
Step Five – Bar Tack
At this point, you need to make sure that the start and finish points of the buttonhole are securely fastened, or ‘bar tacked’. A bar tack requires the needle to be moved back and forth a few times through the fabric so that it strongly secures the start and finish points of your buttonhole. Make sure that you sew as close to the side of the buttonhole as possible.
Step Six – Cut the Buttonhole Opening
The last step is to cut the buttonhole opening. Use a seam ripper to open the slit by slipping it under the bar tack and carefully slicing along the length of the buttonhole. Once you’ve cut the opening, inspect the buttonhole to make sure that it’s the right size and shape.
Step Seven – Sew on the Button
Once you’ve completed all of the steps, you can proceed to sew the button onto the fabric. Make sure to sew it securely onto the fabric and test it out afterwards to check that the button can move freely through the buttonhole.
Tools Needed to Make Buttonholes
Making buttonholes with a sewing machine requires having some specific tools available. The most important tool needed is a sewing machine capable of making buttonholes. Besides this, you will also need a fabric marker or tailor’s chalk, a seam ripper and of course the corresponding thread and buttons. Make sure that all of these tools are available before you begin to make the buttonholes.
How Tight Should a Buttonhole be?
When sewing buttonhole stitches, it’s important to make sure that the hole is neither too big nor too small. If the hole is too big, then the button won’t fit through it properly and if it’s too small, then the buttons may be difficult to push through it. The general rule of thumb is that the buttonhole should be slightly smaller than the size of the button.
Should I Buy a Special Buttonhole Foot?
It is possible to buy a special buttonhole foot for your sewing machine. These feet are specifically designed to make buttonhole sewing easier, as they follow the shape of the buttonhole. They also assist with keeping the fabric in place as you sew and help to create a neater finish. But it’s not absolutely necessary to use a special foot and buttonholes can be made with any standard sewing machine.
Common Buttonhole Sewing Mistakes
When learning how to make buttonholes with a sewing machine, it’s important to avoid common mistakes. One of the most common errors is where the fabric slides as you sew, which makes the buttonhole wider than intended and also makes it difficult to secure the start and finish points. Another mistake is to sew a buttonhole that’s too small, making it difficult to fit the button through it. All of these errors can be avoided by following the steps outlined above!
Different Buttonhole Techniques
There are various techniques to making buttonholes, depending on the material, size, and shape of the button. For example, the traditional method involves manually marking and hand-sewing each buttonhole, but this is generally quite a laborious and time-consuming process. Another technique is to use a serger machine to make neat buttonholes with a single line of stitches. However, this is not suitable for all button types, given the limited stitch length and width of the machine.
Decorative Buttonholes
In addition to the traditional buttonholes, there are various ways to add decorative elements to make the buttonholes more interesting. One method is to add zigzag stitches randomly around the edges of the buttonhole. Alternatively, you can also try using different threads, such as embroidery thread, to add texture and visual interest to the buttonhole.
Decorative Buttons
To further enhance the look of buttonholes, you can also consider using decorative buttons. These buttons come in a wide array of shapes, sizes and styles, from classic to modern, and can be used to breathe life into a garment. When choosing decorative buttons, make sure to pick ones that are the right size for the buttonholes and match the fabric of the piece.
Advice from Sewing Experts
Sewing experts recommend practising the technique of making buttonholes a few times before making them on a finished garment. That way, you can get comfortable with the process and build confidence in your abilities. It’s also important to remember to adjust the stitch length, width and tension to suit the specific button and fabric you’re working with. Finally, some experts suggest always testing the finished buttonhole before sewing on the button. This way, if there are any issues, they can be addressed while the fabric is still out of the machine.


