Background Information
Sewing machines are designed to make tasks like mending, hemming and patching clothes, bags and other fabric creations faster and easier. By putting a lower bobbin in the sewing machine, the user can create a neat stitch on fabric, instead of relying on hand stitching. This article will provide step by step instructions on how to put a lower bobbin in a sewing machine.
Types of Bobbins
Before a user can start to thread the lower bobbin, they need to identify what type of bobbin is suitable for their sewing machine. There are different types of bobbins, and the correct one must be selected before continuing the process, as they are not all inter-changeable. Generally, a plastic bobbin is the best choice as it is less prone to snagging and is inexpensive. Metal bobbins are good for heavier fabrics, but can be more tricky to handle, so it’s important to consider the project that’s being worked on before deciding what type of bobbin to use.
Inserting the Lower Bobbin
Once the user has selected the correct type of bobbin, they can begin to insert it in the machine. First, open the bobbin compartment by removing the plastic cover. Use the hand wheel at the side of the sewing machine to lower the needle so it is touching the bobbin cover plate. Load the bobbin into the lower compartment, ensuring that the thread is running in the proper direction. After the bobbin is in place, close the bobbin compartment and reattach the plastic cover.
Threading the Lower Bobbin
Threading the lower bobbin is the process of connecting it to the machine. First, pull the thread from the spool and bring it over to the bobbin. Wrap the thread around the bobbin three times and then insert the thread through the hole in the top of the bobbin. Pull the thread under the bobbin and make sure to keep the new strand of thread separate from the existing tail. Once the thread is in the lower bobbin, pull it up and insert the end of the thread through the path in the bobbin case lid.
Tension Settings
While threading the lower bobbin, tension settings should also be addressed. The tension settings allow the user to adjust the bobbin thread so that it is neither too loose, nor too tight on the fabric. Each sewing machine has its own specific tension settings. Refer to the manual for the user’s sewing machine for instructions on the proper settings.
Securing the Upper Thread
After the lower bobbin has been threaded, in order to ensure that it is secured correctly, the user must thread the upper layer of thread. First, locate the upper threading spool. Then, follow the provided diagram and thread the machine, leaving the new thread below the tension discs. The thread should go through the take up lever and finally, loop over the hook on the top of the take up lever. The user should check to make sure that the thread is securely in place.
Testing the Thread
Finally, the user must check that the thread is properly set up before beginning a project. Setting up the thread correctly will ensure that a stitch will be formed properly and that the fabric will lay flat. To test the thread setup, make sure the needle is up and then rotate the hand wheel three to four times. If the thread is looping properly, there should be a neat connecting stitch visible when the user stops the machine.
Troubleshooting Common Problems
Although setting up the lower bobbin thread is relatively straightforward, there may be times when the user encounters difficulties. Common problems include the bobbin thread having too much tension or not enough tension, or the thread becoming tangled. To fix problems like this, the user should first refer to the manual and follow the provided instructions. If this does not help, the user should take their sewing machine to a professional to ensure that it is functioning properly.
Regular Maintenance
To ensure optimal performance, it is important that the user regularly maintains and cleans their sewing machine. If a user notices that their stitching is not coming out as expected, this could be due to the machine not being maintained. Regular cleaning and oiling will help to prevent any problems from occurring.
Designing and Creating a Pattern
Once all the steps of putting in the lower bobbin have been successfully completed, the user can begin to assemble a pattern. Designing and creating a pattern for a piece of clothing, bags or other fabric creation can be a rewarding experience and a great way to show off creative skills. The pattern will often be the first step in the overall project and sets the tone for what will be created.
Presser Foot Options and Positions
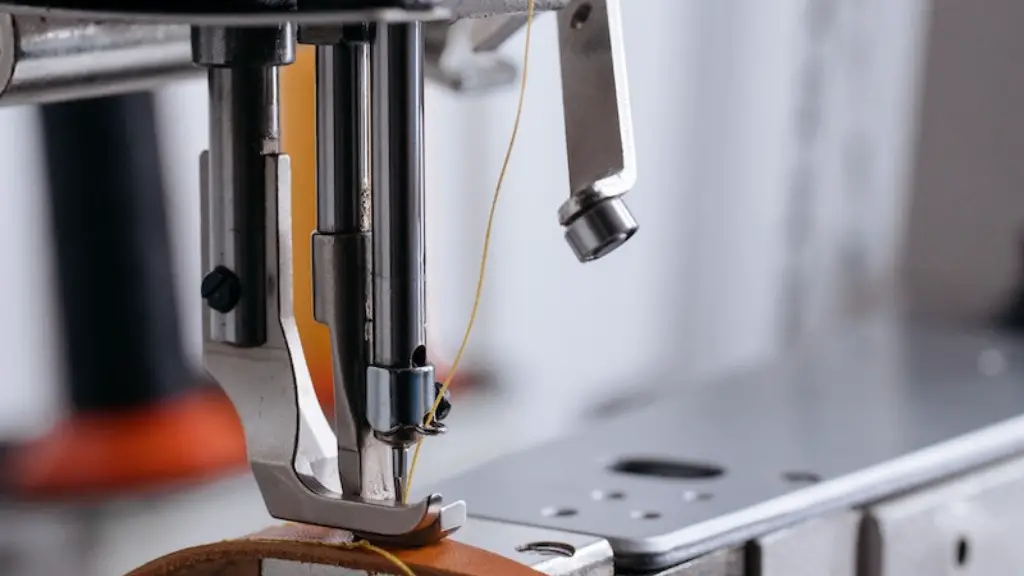
The presser foot is the piece of the sewing machine that holds the fabric in place while the stitch is being created. When working on a project, it is important to choose the correct presser foot for the material that is being used and make sure it is in the correct position. Different presser foot options and positions can allow for different types of stitches to be made, like a zigzag stitch or a straight stitch, so it is important to select one that is compatible with the fabric material.
Changing the Needle
A needle on a sewing machine should be changed regularly to avoid breaking or creating an uneven stitch. Different fabrics will require a different type of needle. Consult the user manual to find out which needle is compatible with a specific material. To change the needle on a sewing machine, the user must locate the release lever and press it down. After the needle has been removed, the new one can be inserted in the same manner and the machine can then be tested.
Checklist of Necessary Materials and Equipment
When working on a sewing project, it is important to make sure that all necessary materials and equipment are readily available. These items may include scissors, measuring tape, pins, fabric, thread and a seam ripper. Making a checklist of required materials and equipment helps to ensure that the user is prepared and will not run out of any materials during the project.
Tips for Securing Material
When working on a project, secure the fabric to the table with pins or weights to prevent it from moving when stitches are being created. Pinning fabric to the table also helps to keep the edges even, allows for the use of customized pattern markings and can help the user to experiment with inserts and trims.
Accessories and Embellishments
Adding accessories and embellishments to a finished project can help to give it a unique and personalized look. Accessories may include buttons, ribbons, sequins and lace. Adding these finishing touches can bring a project to life and make it stand out from the rest.
Storing and Caring for Sewing Tools
When the project is completed and all required materials have been gathered, it is important to store sewing tools correctly. Thread should be stored in an area with low humidity and away from sunlight to prevent tearing. Cleaning tools regularly and storing them in a dedicated box ensures that when the user is ready to start a new project, the tools are all available and in good condition.
