Materials Needed
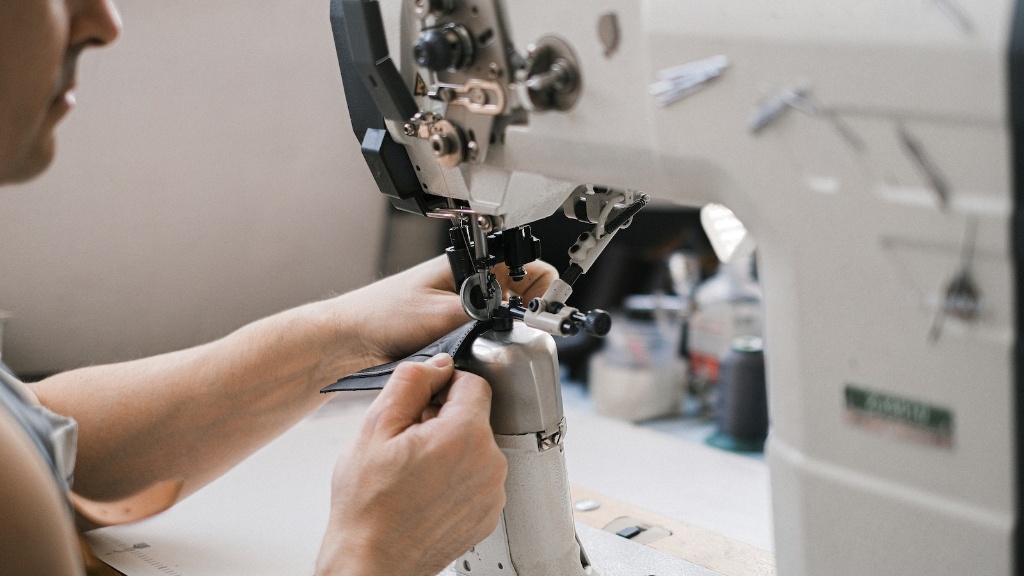
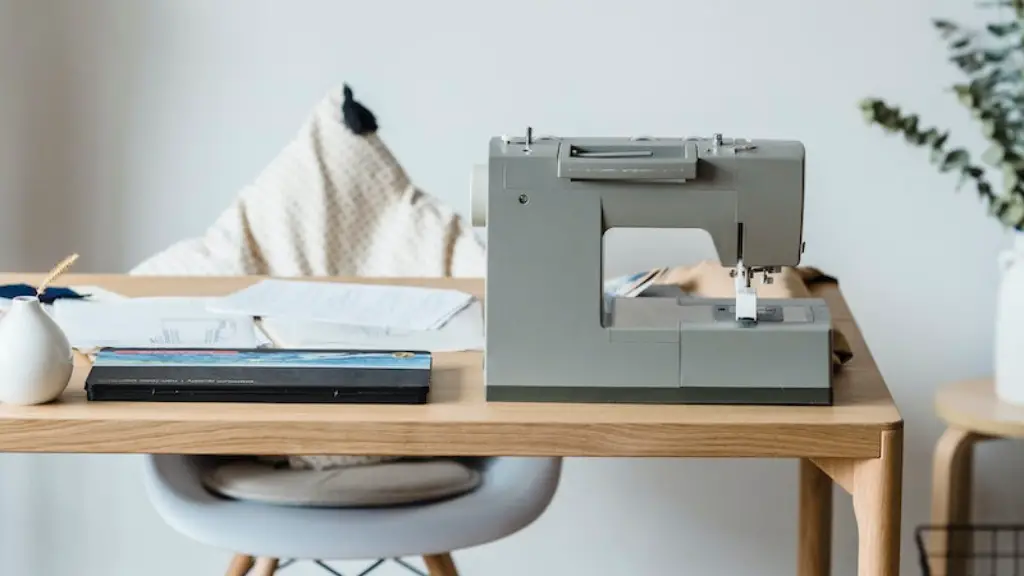
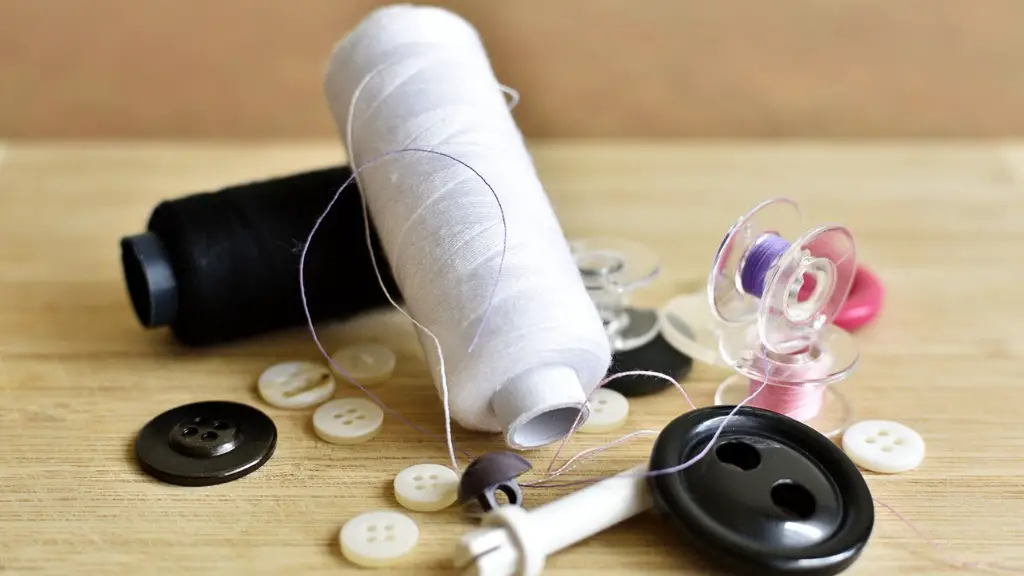
Scrunchies are a fun and easy way to accessorize a hairstyle and they can be made with a sewing machine in just a few minutes. Whether it’s for a special occasion or just to spruce up your casual look, making your own scrunchies with a sewing machine is the way to go. Before you can get started, you will need to collect the following materials: fabric of your choice, sewing machine and thread, scissors, safety pins, and an elastic band.
Designing The Scrunchie
The first step in making a scrunchie with a sewing machine is to have a plan. Consider the design, size, and shape of the scrunchie when deciding on the fabric and size of the elastic band. If you’re going for a more classic look, choosing a sleek, plain fabric will be the best choice. For those looking to make something a bit more creative, opt for bright, patterned fabrics or even glittery materials. When deciding on the size of the elastic band, take into consideration the size of the scrunchie you’d like to make as it will depend on how much or how little fabric you will be using. When you have a plan in mind, you can move on to the next step.
Cutting And Sewing The Fabric
Now that you have all the materials necessary, you can begin cutting the fabric. Taking into consideration the design of the scrunchie and the size of the elastic band, measure out the fabric size needed and cut it with scissors. Depending on the size of the material, you can either cut out one piece or cut out two pieces to sew together. If you are using two pieces of fabric, you will need to pin the two pieces together, making sure that the patterned sides are facing each other. Use a safety pin to hold the two pieces together before sewing. Once the fabric has been pinned together, use the sewing machine to sew together the two pieces, leaving a small gap at one end of the seam. This gap is where you will insert the elastic band.
Adding The Elastic Band
Before you can insert the elastic band, you will need to thread it to the safety pin. Depending on the size of the safety pin, you can either tie thread around the elastic band or twist the end of the elastic band and secure it with the safety pin. Once the elastic band is secured to the safety pin, it’s time to insert it into the scrunchie. Taking the opening at one end of the seam, insert the safety pin with the elastic band. Make sure that the thread is secured in the gap and then push the safety pin through the seam and pull out the elastic band. Once the elastic band is out, sew the opening shut with the sewing machine, leaving enough thread to tie a knot to secure the elastic band.
Finishing The Project
Before your scrunchie is complete, you need to tie the ends of the elastic band together in a knot. This will help ensure that the elastic band is securely attached to the scrunchie. Now that the scrunchie is complete, you can wear it or give it away as a special gift to a friend or family member.
Care And Maintenance of Scrunchies
While scrunchies are fast and easy to make with a sewing machine, making sure that they are cared for properly can help them last for a long time. To ensure that their bright colors and vibrant patterns remain intact, dry-cleaning is the best option. However, if dry-cleaning isn’t an option, then hand-washing with a gentle detergent and air-drying is also a great option. Also, make sure to store your scrunchies in a cool, dry place when they are not in use.
Colours, Fabrics and Patterns
Colours, fabrics and patterns are what make scrunchies the fun and stylish accessories they are. When selecting materials to make a scrunchie, there are many options to choose from. From solid colours to seasonal prints and trend-setting designs, the selection of fabrics and materials available is truly limitless. Depending on the look you want to achieve, you may want to opt for bright and bold colours or muted, floral patterns. The type of fabric you choose will also depend on the type of scrunchie you are making. For example, satin and velvet fabrics will create a more luxurious look, while lighter fabrics like cotton or linen give a more relaxed feel.
Creative Variations
Creating a scrunchie with a sewing machine doesn’t have to be limited to the style of the classic scrunchie. There are many different variations that can be created by incorporating different materials and techniques. For example, for a more modern, edgy look you could use leather or denim instead of fabric, as well as using hardware such as buckles or buttons to add a unique touch. You can also mix and match different types of fabrics and patterns to create scrunchie designs that stand out.
Embellishments and Jewellery
Embellishments and jewellery pieces can also be used to make a scrunchie more unique and eye-catching. Whether you use a few beads, sequins, and pearls, or you opt for larger statement pieces like charms or pendants, adding embellishments to a scrunchie will take it to the next level. You can also use ribbons and trims for a textured and layered look. The best part about using embellishments is that you can mix and match different pieces to create a design that no one else will have.
Custom Color Combinations and Textures
Custom colors and textures are popular choices for those looking to create a scrunchie that stands out from the rest. When combining colors and textures, consider the overall look and feel of the design you are trying to achieve. Using colors that compliment each other can create a sophisticated yet subtle look that can easily transition from day to night. Alternatively, if you are looking to make a fun, playful statement, incorporate bright colors and fun textures in unexpected ways. This will make your scrunchie stand out in the crowd.


