How to Oil an Industrial Sewing Machine
An industrial sewing machine can be a great tool to have on hand when taking on large sewing projects. Whether you are a professional tailor, crafter, or hobbyist, you will likely want to know how to oil your industrial sewing machine. Oiling your machine is an important part of maintenance, and you should oil your machine regularly to ensure its longevity.
The way you oil an industrial sewing machine can vary depending on the type of machine you own. In most cases, you will need to obtain lubricant from the manufacturer of the machine according to the instructions in the manual. Before you oil your machine, start by unplugging it from its power source. Then, use a cloth to wipe away any dust or particles from the outside of the machine.
Once you have wiped the outside of the machine, your next step is to apply the lubricant. Most machines require oil to be placed in specific areas, usually in or around the gears or moving parts of the machine. You should also oil any exposed metal surfaces and the needle bar to help reduce friction. Again, refer to your instruction manual to make sure you are applying the lubricant in the right place.
When oiling, use just enough to cover the area – too much oil can cause a buildup in the machine, which can lead to problems down the line. To make sure the machine works correctly, you should also clean any excess oil off the outside of the machine with a damp cloth. This will help to stop any unwanted mess or oil stains.
The frequency with which you should oil your machine will depend on the kind of projects you are working on. If you are using the machine for smaller projects, then you should apply oil every 10 to 15 hours of usage. If you are using the machine for heavier and more intense projects, then you should oil it every five to seven hours. Again, refer to your manual for specific oiling frequency recommendations.
Following the steps listed above should help you to oil your industrial sewing machine successfully and keep it in top condition. Taking good care of your machine and cleaning it regularly will ensure that it lasts a long time.
Presser Feet
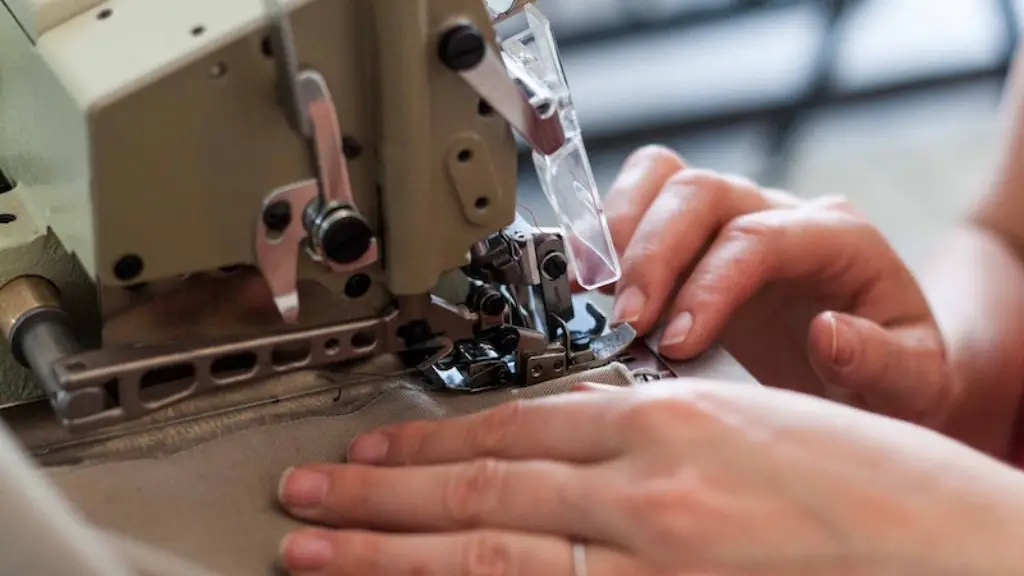
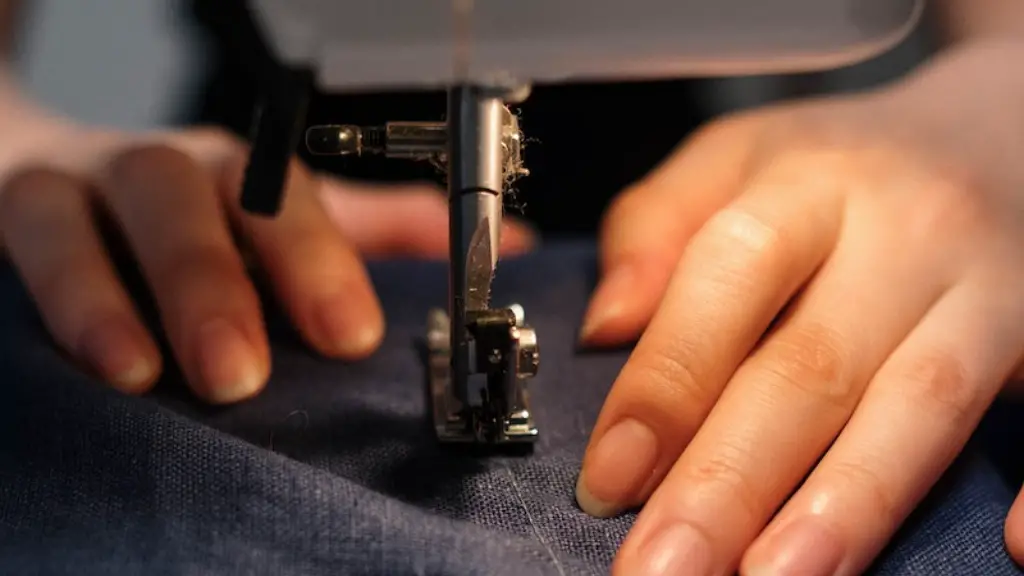
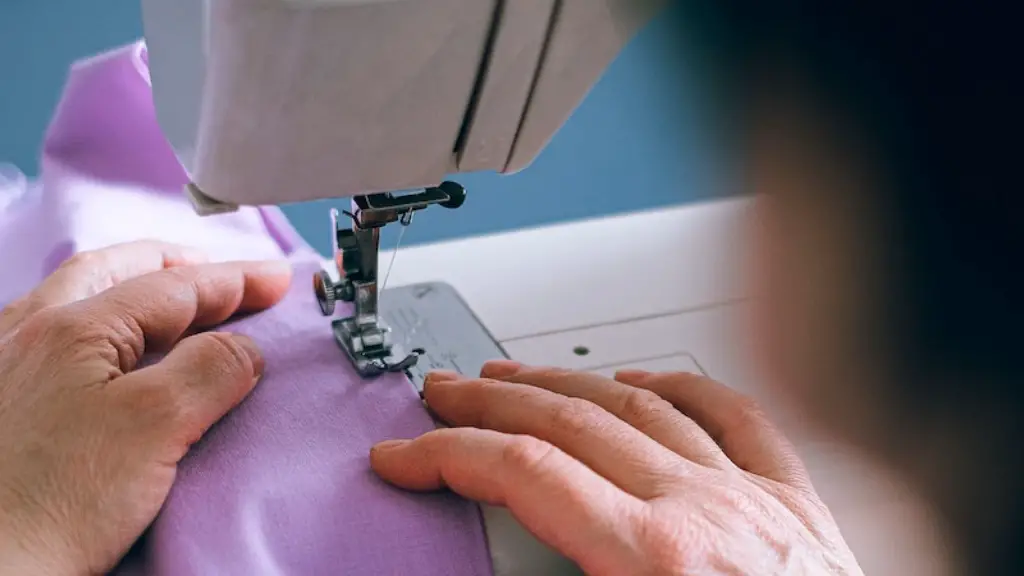
Presser feet are important elements to any industrial sewing machine. They help to press the fabric against the feed dog, so the needle can easily penetrate the material. With the appropriate presser feet, you can sew different types of fabrics easily and accurately. When you oil an industrial sewing machine, it is also important to clean and check the presser feet for any dirt or residue.
Presser feet can be changed out to suit different projects. Low shank presser feet are designed for small and lightweight fabrics, while high shank feet are designed for heavier fabrics. Some machines also include specialty feet that can help with specific tasks such as gathering, tucking, and gathering ruffles. Refer to your instruction manual to learn how to install and take off presser feet.
Presser feet are crucial to the process of sewing and it is important to make sure they are clean and in good condition to ensure the best results. By regularly checking and cleaning your presser feet, you can prevent any problems that could arise when you are in the middle of a project.
Accessory Parts
Industrial sewing machines come with a variety of accessory parts to help you with your projects. These parts include bobbins, needles, and thread cutters, among others. Thread cutters are particularly important when using an industrial sewing machine, as they help to evenly trim the edges of the fabric and help create neat stitches. When cleaning your machine, make sure to clean the accessory parts as well.
Needles are also essential to the process, and you should make sure to choose the best needle for the fabric you are working with. For example, a heavy-duty needle is ideal for heavy fabrics such as denim and canvas, while a light-duty needle is better for fabrics such as silk and chiffon. Bobbins are also important, and you should make sure to use the right size bobbin according to your manual.
When you oil your industrial sewing machine, it is important to inspect the accessory parts as well. Make sure there is no rust or buildup on the parts, and that they are properly threaded and ready to use. If any parts are damaged or worn out, it is best to replace them before starting a project.
Tension Settings
One of the most important aspects of using an industrial sewing machine is properly adjusting the tension settings. If the tension is off, it can lead to uneven stitches, puckering, and fabric bunching. The good news is that tension settings can easily be adjusted on most machines, and the manual will include instructions on how to do so.
When adjusting the tension, make sure to use the correct thread for the fabric you are using. Different types of threads and fabrics will require different tension levels, so it is important to make sure the thread is the right type for the fabric before adjusting the tension. To help you make sure the tension is right, you should refer to the manual for the recommended tension setting for the thread and fabric combination you are using.
When adjusting the tension, you should also clean the area around the tension discs to make sure there is no buildup. To do this, use a dry cloth, as oil can cause the tension discs to become sticky. Make sure to also oil the discs after cleaning them, but take care not to put too much oil on the discs as this can cause problems.
Troubleshooting
No matter how much you prepare and maintain your machine, there is always a chance of something going wrong. If you find that your machine isn’t working as it should, then the first step is to refer to the manual and attempt to identify the problem. If you can’t seem to find the problem, then you may need to contact the manufacturer or a professional for help.
If your machine is making strange noises or vibration, then make sure to check for any loose screws or parts. Even minor vibrations can cause problems, so it is important to make sure all the screws are tight and the parts are securely in place. It can also be a good idea to oil the gears and moving parts of the machine’s interior if they seem dry.
If your fabric seems to be bunching up or gathering as it feeds through the machine, check the feed dog to make sure it is clean and free of lint or dust. If necessary, use a cotton swab to clean the feed dog, but make sure to avoid putting too much oil on the feed dog as this could cause it to become sticky.
Finally, if your fabric is not correctly aligned when it passes through the machine, then try adjusting the stitch length. The stitch length tells the machine how many times the thread is looped around the needle during each stitch and can affect the way the fabric is fed through the machine. Refer to your manual for more information on adjusting the stitch length.
