How to operate a Brother Sewing Machine
Sewing machines have been around since the mid-19th century, making everything from clothing to automobile interiors. Owning a Brother sewing machine is a great way to tackle a variety of sewing projects without having to buy specialized equipment for each one. Knowing the basics of how to operate a Brother sewing machine will give you the confidence to tackle even the most challenging projects.
First things first, make sure the area in which you’ll be using the machine is free of dust and other debris. A clean workspace is essential to avoiding unnecessary mishaps while working with the machine. Before you begin, read all the instructions in the manual. Get a complete understanding of all the components of the sewing machine and go through the tutorial. There are many helpful videos online that will help you with the basics, as well.
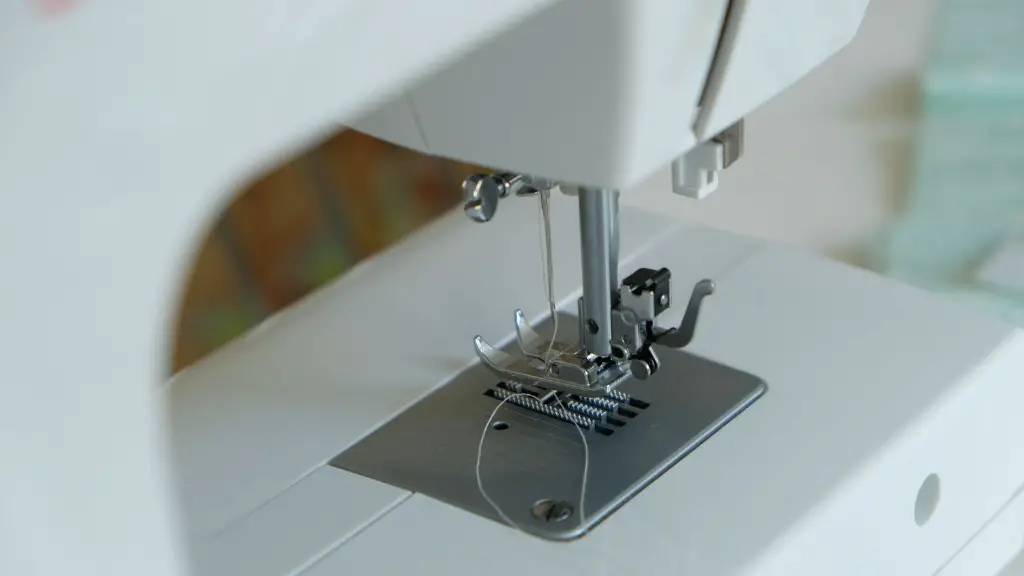
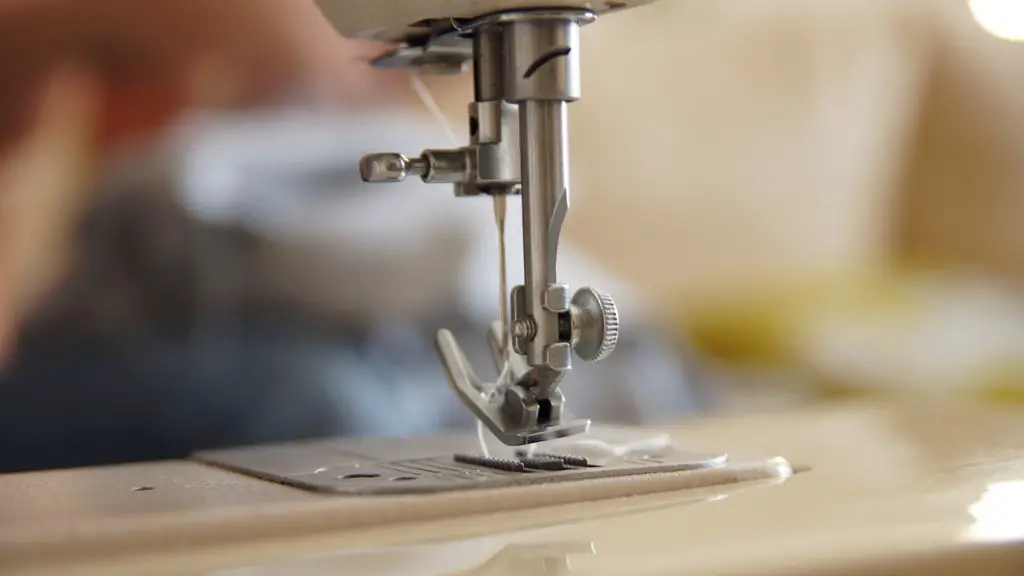
Once you are familiar with the components, familiarize yourself with the features of your Brother sewing machine. There are two common types of sewing machines – mechanical and electronic. Mechanical sewing machines typically involve turning knobs and dials for specific settings, while electronic machines are typically operated through a digital control panel. Adjust the settings to the type of fabric and type of stitching you will be doing. Change the needle for different types of fabrics and jobs as necessary. Make sure your presser foot is correctly installed and correctly configured.
Used correctly, a Brother sewing machine can easily handle both light and heavy-duty materials. There are several types of stitches that can be used depending on the type of fabric and the project you are working on. Familiarize yourself with the different stitches, such as straight, zigzag, overlock, bartack, blind hem stitch, and more, so that you can properly adjust and use the right one at the right time.
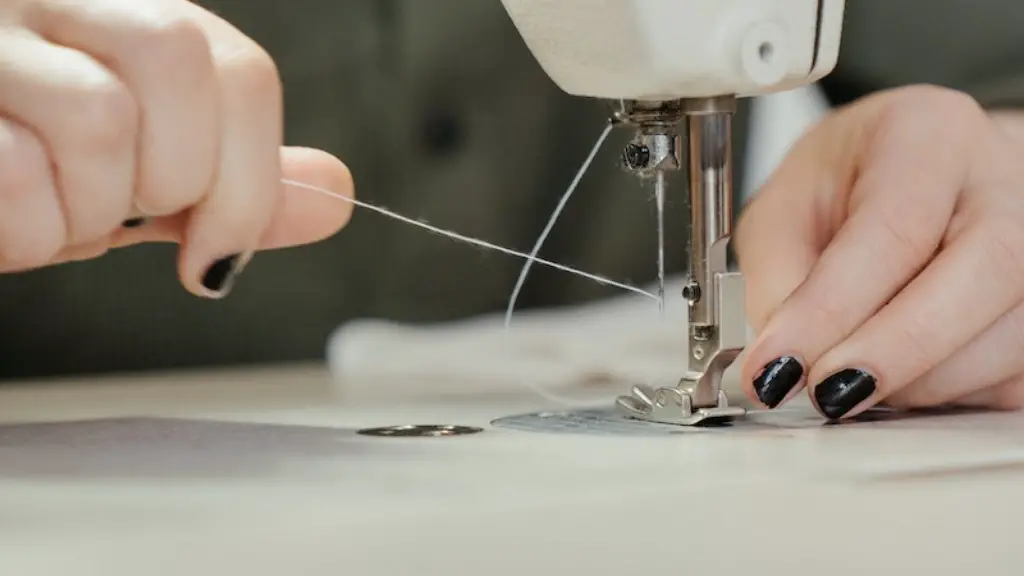
Next, prepare the material by washing or ironing it if needed. Set up the materials and move the fabric under the presser foot correctly. Insert a thread spool into the machine and thread the machine according to the guide. Once the machine has been correctly threaded, set the stitch length and other settings as necessary.
Start the machine. When you press the foot pedal, the material will start to move. Keep the fabric taunt, but not too tight. Move the fabric slowly and keep an eye on the needle and the stitch. If necessary, adjust the tension as you sew.
When you are finished, turn off the machine and remove the fabric from the machine. Make sure the presser foot is in the correct position before doing so. Cut the thread and attach the fabric as necessary. Inspect your work for any problems, and of course, enjoy the feeling of a job well done!
Lubricating the Machine
Though Brother sewing machines are built to last, they still require regular maintenance. Proper lubrication is essential to ensure that the machine stays in good condition. Check the lubrication points in the manual every few months and lubricate as necessary. This will help to keep the parts moving smoothly and will also help to extend the life of the machine.
It is important to use the right type of lubricant for your machine. Some Brother sewing machines require lubricants specifically designed for the type of machine, so check the manual before you purchase any lubricant. Use a small amount of lubricant in the areas marked in the manual. There is usually no need to use more than a drop or two for each point.
Make sure any lubrication you use does not damage other parts of the machine. Make sure to remove any excess lubricant that could seep into any moving parts. A cloth is usually sufficient to do this. Do not use an aerosol spray as this may cause the machine to malfunction.
Cleaning the Machine
Keeping your Brother sewing machine clean is essential to maintaining the proper functioning of the machine. Once you have finished sewing, make sure to wipe any lint or fabric particles off the machine. If necessary, use a small brush such as a paintbrush to get into small spaces and hard-to-reach areas.
Once you have brushed the lint away, use a damp cloth to wipe off any remaining residue. Do not use water directly on the machine as this could cause water damage. Make sure to always unplug the machine before cleaning it and make sure the cloth is damp and not wet.
Once the machine is clean, you can use machine oil in the areas marked in the manual. Use a small amount of oil and make sure to wipe away any excess. It is important to use the right type of oil, so check the manual before you purchase any oil.
Checking and Replacing Thread
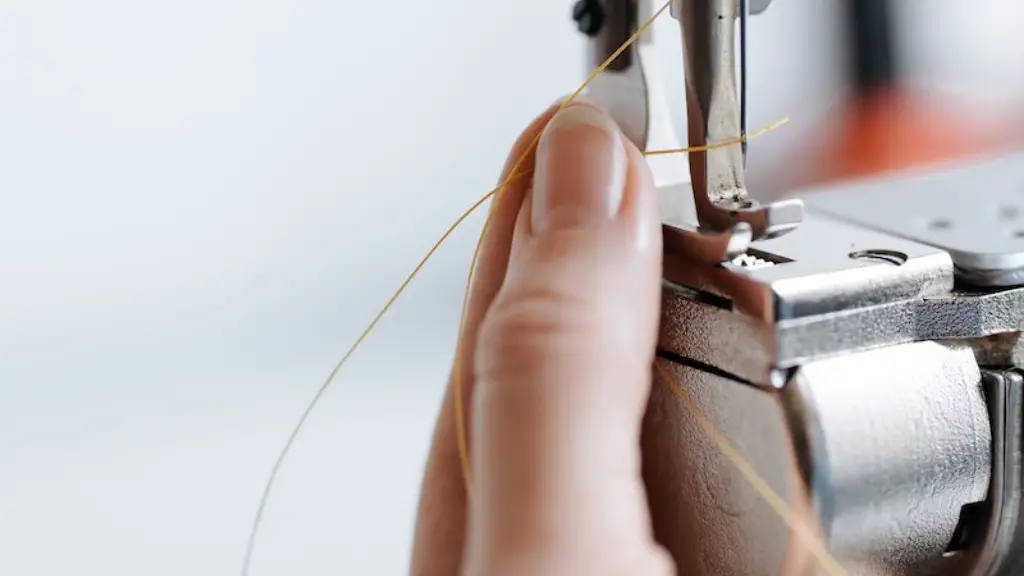
As you work, keep an eye on the thread level. If the thread runs out, or if you have a problem with the thread tension, you should change the thread. To change the thread, start by unthreading the machine. Make sure to unthread the needle and the bobbin before removing the thread from the machine.
Once the machine is unthreaded, remove the old spool and insert the new one. Thread the needle and the bobbin first, and then thread the machine as necessary. Make sure the needle is at the correct height and the presser foot is in the correct position before you start sewing again.
Adjusting the Needle Position
The needle can sometimes move out of position during sewing. This can create uneven stitches, so make sure to check the needle position every time you start a new project. With most Brother sewing machines, adjusting the needle position is easy. Simply locate the needle-positioning lever or knob and adjust it to the desired position.
If the needle is in the wrong position, it can cause skipped stitches, uneven or puckered fabric, and other problems. Make sure to check the needle position regularly to ensure that your projects turn out perfectly.
Replacing the Needle
Another important part of keeping your Brother sewing machine in good working order is replacing the needle. A needle is made up of two separate parts – the shaft and the point. The shaft is the part that attaches to the machine and the point is the part that goes through the fabric. As the needle gets older, the point can become dull or damaged, causing skipped stitches and other problems.
When you need to replace the needle, make sure to choose the correct type for your machine. In addition, make sure to pick the correct type for the task at hand. Different types of needles are better suited to different types of fabrics and projects. Once you have chosen the right needle, installing it is a simple matter of unscrewing the old one and replacing it with the new one.
Troubleshooting
Despite the fact that a Brother Sewing Machine is a reliable and well-made machine, problems can still arise. Common issues such as skipped stitches, bobbin tension problems, and thread bunching can often be solved by following the directions in the manual or by troubleshooting online.
If the problem persists, it is best to take the machine to a professional. Professional technicians can diagnose and repair any issues you may be having with the machine. They can also provide advice on how to keep your machine in good working order.
