Threading Your Overlock Machine
Many people are intimidated by the process of threading an overlock machine. The thought of having to manually thread each needle of the two- or three-needle machine is daunting, and it’s easy to understand why. Fortunately, most modern Singer overlock machines come with automatic threading devices that make threading the needles and loopers much easier and less time consuming. Here are some steps to help you master the art of threading your machine quickly and painlessly.
Step One: Familiarize Yourself With Your Singer Overlock Machine
Before you can begin threading, take a few minutes to familiarize yourself with the components of the machine. Knowing how each component of the machine works and how they interlock can help you be successful the first time you thread. Pay attention to the color-coded threading path and be sure to refer to the manual for additional assistance if necessary.
Step Two: Thread The Needles
Once you’re familiar with the machine, the next step is to thread the needles. Start by inserting the thread into the threading port, making sure the thread is resting behind the guide. After the thread has been inserted into the threading port, release the lever to lower the threading hook. Make sure you make the thread around the hook and eyelet before pulling the thread behind the eyelet and bringing the lever back up. Lastly, pull the thread straight down so the thread can be locked securely in the looper.
Step Three: Thread The Loopers
Next you will need to thread the loopers. This can be done in a few simple steps. First, place the thread in the appropriate threading port, then turn the hand wheel so that the arrow lines up with the thread, then draw the thread up through the threading port and make sure it is secured behind the guide. Now, pull the thread across the tension knob to the looper that is closest to the threading port, then wrap it around the looper and pull it through the eyelet before drawing the thread back across the tension knob to the opposite side.
Step Four: Adjust The Tension
Once the sewing machine is threaded, you will need to adjust the tension. Start by checking the recommended tension setting for the thread being used. This can usually be found in the manual that comes with the machine. Once you have the tension setting, turn the tension knob clockwise or counterclockwise to adjust. To test the tension, use a piece of cloth and sew a few stitches and if it looks good, you can begin using the machine.
Threading Your Overlock Machine With The Automatic Threader
If you don’t want to take your time manually threading the machine yourself, there is an easier way–with an automatic threader. The automatic threader comes with a set of instructions and safety measures that you should read and understand before proceeding.
To use the automatic threader, start by opening the device. Now, slide the thread guide into the looper holes, slide the thread into the color-coded slots and let the machine take care of the rest. Once the automatic threader has taken the thread to loopers, the machine will stop. Now you will need to press the button again to guide the thread around the loopers and press the button to stop when the thread is pulled tight.
Cleaning The Sewing Machine
Cleaning your Singer overlock machine regularly is essential for keeping it in good working condition. To begin, unplug the machine and use a damp cloth to clean off the top and sides. Avoid getting any water inside the machine itself. Then you can use compressed air to get rid of the lint buildup from the inside. Additionally, be sure to inspect the blades and needles for any nicks or abrasions.
Lubrication of The Machine
Sewing machines need to be lubricated regularly to remain in good working order. With a Singer overlock machine, use a non-sticky lubricant like a thin wire oil on all the metal surfaces such as the blades and needles. Additionally, lubricate the cam shafts, gears and lower shafts with a light-weight lubricant such as 3 in One Oil.
Storing The Machine
When it comes to storage, be sure to keep the machine in a cool, dry place away from sunlight. If possible, store it in its original box with the original packing material to make sure the machine doesn’t suffer any damage. Additionally, don’t forget to store the manual in a safe place so you can refer to it anytime you need to.
Troubleshooting Common Issues
If you’re experiencing any issues with your Singer overlock machine, there are a few things you can do to troubleshoot the problem. A common issue is a broken thread. If this happens, the first step is to try to re-thread the machine and if the issue persists, make sure all the needles and loopers are in the right spot. Additionally, check the tension and make sure it’s not too tight or loose. Lastly, inspect the tension knob and make sure it is not cracked or damaged.
Using Different Threads
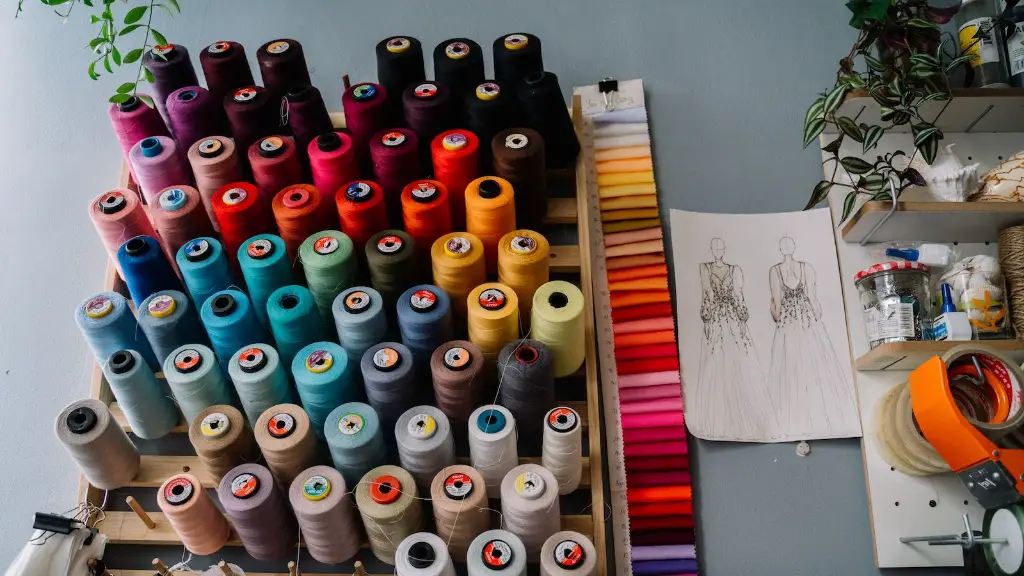
Another interesting factor to consider when using your Singer overlock machine is the type of thread you’re using. Some machines may require special thread for certain tasks and there are dozens of different types of threads out there. It’s important to consider the type of fabric or material you are working with when choosing a thread to use. Threads such as cotton, polyester or silk should be used for natural fabrics and for synthetic fabrics such as nylon, rayon or lycra, you should use a synthetic-based thread.
Replacing Parts On Your Machine
It’s important to remember that even if your Singer overlock machine looks like new, it will still need to be well maintained with regular cleaning and maintenance. Over time, certain parts may need to be replaced such as needles, blades, tension knobs and other components. To make sure your machine performs optimally, take the time to inspect the parts regularly and replace them when necessary.
Maintaining The Blades
The blades on your Singer overlock machine need to be kept sharp and properly adjusted at all times. To maintain the blades, you should use a blade sharpening stone or a blade grinding machine. Additionally, it’s important to adjust the blades and loopers periodically to ensure that they are cutting correctly and stitching neatly.
Choosing The Right Needles
When using your Singer overlock machine, it’s important to choose the right needles for the project. Generally, special needles are required for certain types of fabrics such as satin, denim or leather. You should always refer to the manual for the recommended needles for a given fabric or material. Additionally, some fabrics may require a double- or triple- sized needle for certain tasks.
Conclusion
Threading a Singer overlock machine can be daunting, but with a little practice and patience, it can be done easily and quickly. Be sure to familiarize yourself with the components of the machine first and then thread the needles and loopers accordingly. Additionally, make sure to clean, lubricate and maintain the machine regularly and choose the right type of thread for a given project. With a little time, you’ll be threading like a professional in no time.


