Tools Needed
When painting a sewing machine, it is important to collect the tools you need before getting started. You will need a wire brush, a vacuum cleaner, some rags, a paint brush with good bristles, paint roller, dust mask and gloves, in addition to the paint you have chosen.
Before you start painting, it is important to understand the ancient rule of painting: preparation is key. Start by vacuuming the exterior of the sewing machine thoroughly with a brush-attachment. Use a wire brush for any parts that are particularly grimy. Then wipe down the surface with a damp cloth and allow it to dry before applying a coat of primer.
Priming the Machine
Primer acts as a sealant, making the surface more smooth and providing a better surface for the paint to adhere to. It will also protect and prevent rust from eating away at your paint job. To start, shake the primer can and apply a thin layer on the sewing machine with a paint brush, making sure to cover hard-to-reach areas such as crevices and grooves. Allow the primer to dry completely, following the manufacturer’s instructions.
Next, use a vacuum cleaner or brush attachment to remove any dust or dirt particles, which can create small holes in your paint job. This step is especially important if you are painting metal surfaces. Once you are sure the surface is clean, you can proceed to paint.
Paint Selection
The paint that you choose is essential to the longevity of your paint job. For a sewing machine, it is best to select a paint with a glossy finish, as this will make the surface wear-resistant and easier to clean. The type of paint can also depend on the material of your machine. For plastic and metal surfaces, you can use acrylic-based enamel paint for a good finish, as it requires just one or two coats.
For wooden surfaces, it is important to select an oil-based paint as this will have longer durability than other kinds. However, oil-based paints tend to have a stronger smell and require more time for drying. Whichever paint you choose, make sure to read the instructions and safety precautions before applying it.
Painting the Machine
When you are ready to apply the paint, make sure to cover the areas you don’t want to get paint, including the plug by wrapping it in cling film. Begin with a thin layer of paint, using the organic strokes of a paintbrush. Start from top to bottom, while holding the bristles close to the sewing machine to avoid drips. Once the first layer is dry, you can add a second coat of paint in the same way.
When the paint has completely dried, wait a few days before applying a finishing coat of varnish. Alternatively, you can also use a spray clearcoat to shield the paint and make the sewing machine more resistant to scratches and wear and tear. While this is an optional step, it will add an extra layer of protection to your masterpiece.
Maintaining the Finish
It is important to take proper care of your paint job for it to last longer. You can make use of a soft cloth and a mild detergent to wipe the surface of the machine after every single use. This will help to remove the dust particles and dirt that can settle on the surface.
It is also important to avoid using harsh chemical-based products as this can damage the paint and have an adverse effect. Finally, make sure to store the sewing machine in a covered area that is protected from direct sun and other elements that can make the paint fade.
Safety Precautions
When painting a sewing machine, there are certain safety precautions you should follow. Start by ensuring adequate ventilation to avoid breathing in any of the fumes. Make sure to cover the surrounding area around you to protect it from spills, and always wear gloves and a dust mask to keep the paint from getting into your skin or lungs.
In addition to this, it is important to know the health risks associated with lead paint, which is usually found on older models. If you are not sure, you can use a lead test kit to determine if your sewing machine contains lead paint. If it does, make sure to take appropriate safety measures such as covering your mouth and nose with a masks, and wearing gloves and protective gear.
Removing the Existing Paint
In order to create a smooth base for your paint job, you may need to remove the existing paint on your sewing machine. Start by sanding down the surface with an orbital sander, but you will need to be careful not to sand too deep. Once the machine is sanded, use a vacuum cleaner to remove any dust.
Next, you can use stripping products on any areas of the sewing machine that have particularly thick layers of paint. You will need to wear a facemask and protective gear, and only use the stripping products as instructed. Once the paint is removed, you can begin the painting process.
Protecting the Mechanism
When painting a sewing machine, it is important to take steps to protect the mechanism from getting too much paint and thus affecting its performance. Before getting started, cover the smaller and less accessible parts with a plastic bag or tarpaulin to provide a barrier between them and the paint. If possible, you can also open up the sewing machine and remove the mechanism in order to ensure that the paint doesn’t flow inside.
Finally, it is necessary to protect the machine while drying. To avoid the paint from drying too quickly, do not place the machine near a direct source of heat, such as a radiator or an open window. In addition, never leave the machine out in the sun, as this could cause the paint to fade.
Applying Stencils
Stencils are an easy way to give your painting job an extra special touch. First, choose a stencil design and cut out the shape with a pair of scissors. Then, attach the stencil to the sewing machine firmly with masking tape, making sure no edges are left out. Use a small brush to apply the paint within the stencil area, making sure there are no holes or imperfections in your pattern.
Once you have finished, carefully remove the stencil and let the paint dry completely. To add a more polished look to the stenciled design, you can go over the edges with a brush for sharp lines.
Choosing a Color Scheme
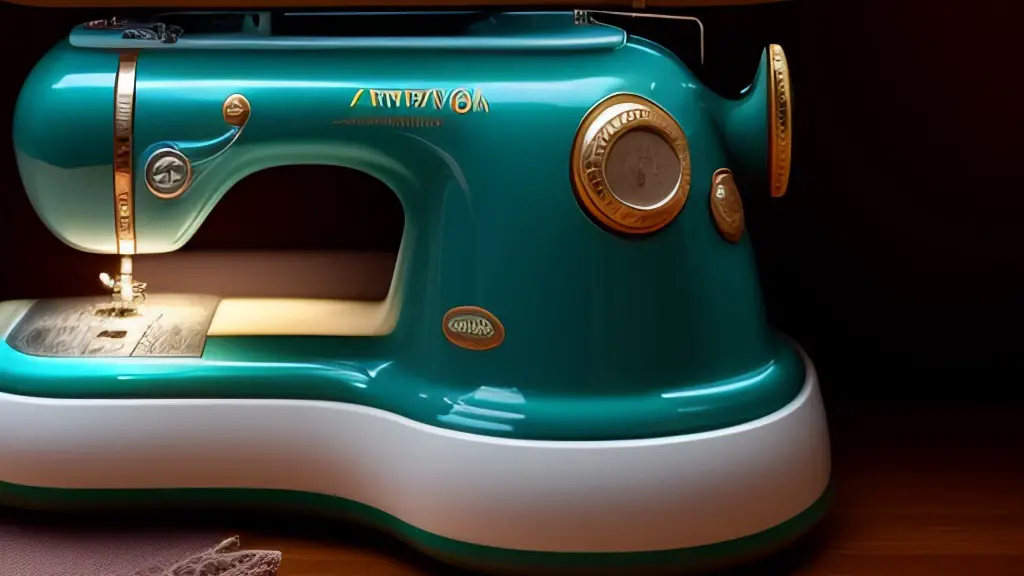
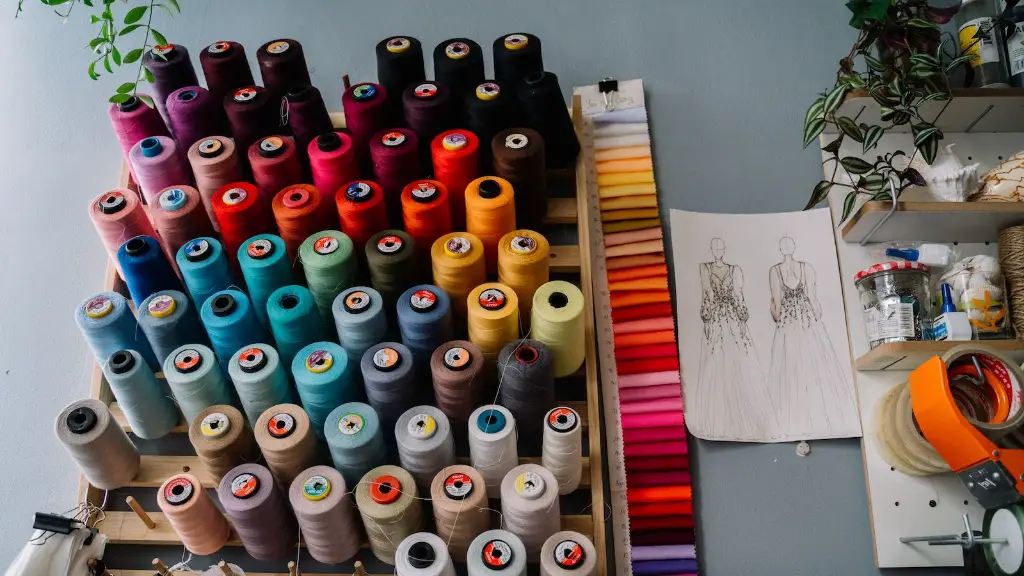
The color of your sewing machine is a personal choice, and it is important to select a color palette that makes the machine look aesthetically pleasing. Before you begin, you should think about the overall look you’d like to achieve. Is it bright and bold, or subtle and muted? Consider the purpose of the machine before choosing your color scheme, as well as its environment (home or professional studio).
Once you have decided on the color family, choose a few complementary shades to create an interesting and eye-catching design.You can either stick to a monochromatic scheme or mix and match a variety of colors, always keeping within the same range and tone.
Adding Finishing Touches
Once the paint has hardened, you can add some extra details to give your machine a unique look. Use adhesive vinyl strips to create a stripe pattern, or consider hand-painting a small pattern or logo. You can also add a layer of glitter to certain parts of the machine to give it a sparkling and glamorous touch.
When you have finished adding the details, you can then spray a protective clear acrylic sealant over the entire machine to make the details more prominent and to further protect the paint from nicks and scratches.
Final Tidy Up
Finally, it is important to make sure the entire painting process is neat and tidy. Make use of a damp cloth to wipe off any excess paint that may have splattered on the surrounding area. To get the job done faster and with less mess, you can get yourself a spray gun with a nozzle that can reach tight spaces. Once the surface is clean, you can leave it to dry and admire your handiwork.


