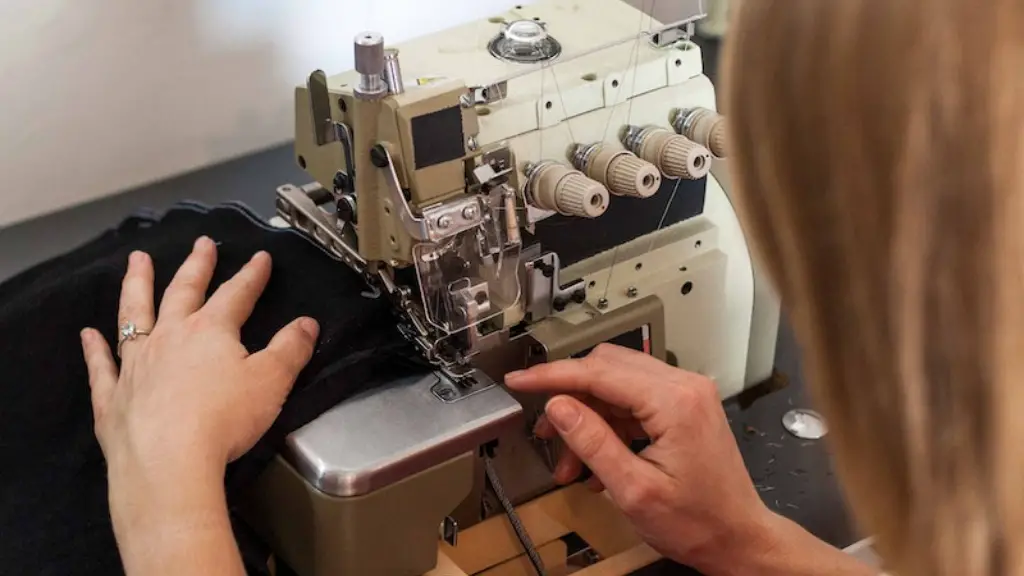
The thought of operating a sewing machine can be overwhelming. However, before you can begin to sew, you must learn to properly insert the needle into the sewing machine. Doing so may sound intimidating, but with a few simple steps, it can be quite simple.
First and foremost, familiarize yourself with your sewing machine. Depending on the make and model, the process of inserting the needle may vary. Refer to a basic instruction guide or owner’s manual to understand the process for the type of machine you will be using.
Once you are comfortable with the specific steps involved in inserting the needle for your sewing machine, be sure to check for any damage on the needle before placing it in the machine — burrs, bent tips, and broken eyelets can cause damage to the machine or material being sewn, and should be tossed out.
A key component of placing the needle into the sewing machine is deciding the correct needle size for the fabric. Select a needle that is both appropriate for the fabric and the weight of the material, measured in millimeters. The thicker the material, the higher the size of the needle you should use, as this will ensure that the needle will slip through the fabric without breaking in the machine.
When it comes to placing the needle, there are instructions provided on every machine that tell you how to set the needle. Most machines will have an arm or knob in the center of the back of the needle that allows you to raise and lower the needle. This arm needs to be pushed up before inserting the needle and locked into place.
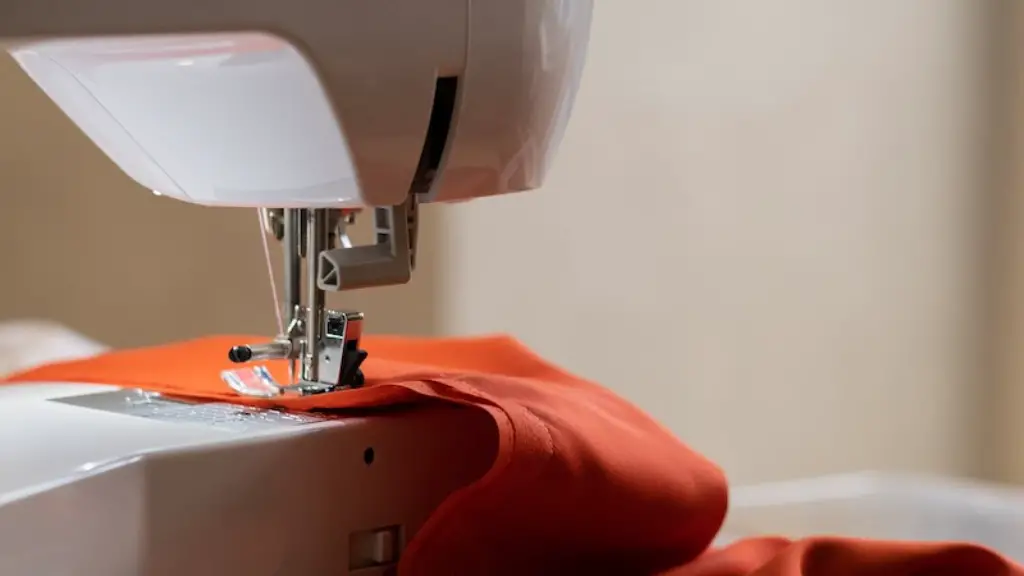
Now you can begin inserting the needle. You will need to loosen the small screw located on the side of the needle plate, and insert the needle with the long, thin portion facing away from you and downward. Make sure the flat edge on the back of the needle is facing the back of the needle plate as you slide the needle into the correct position.
The next step is to tighten the screw that holds the needle in place. You should be careful not to overtighten the screw, as this can cause the needle to break. To check if the screw is in the proper position, you can press the front of the needle, which should stop at the flat edge of the needle plate.
The final step is to lower the needle. Once the needle is inserted and secured in the sewing machine, lower the needle by pulling down the arm or knob on the back of the needle. Your needle is now set and you can attach your fabric and get started sewing!
Cleaning the Sewing Machine Needle
In order to keep your sewing machine functioning properly and avoid any damage to the machine, it is important to regularly clean the needle. A dirty needle can cause skipped stitches, tangles, and even breakage.
To start the cleaning process, you’ll want to unplug the machine from the electrical outlet and then remove the needle. After that, you’ll want to use a soft cloth or a brush to gently clean the small hole where the needle was inserted. Make sure that you are thorough in your cleaning and remove any dust or debris that may be hindering the needle from going up and down.
It is also recommended to clean the eye of the needle. A smooth eye of the needle is needed for threading and can be easily cleaned with a soft cloth. Lastly, ensure the flat shank of the needle is facing the back of the machine.
Troubleshooting
If upon completing the above steps you are having trouble getting the needle to set correctly, there are a few troubleshooting methods that you can try. First, check to make sure the needle is the correct size for the fabric and that there are no burrs, bent tips, or broken eyelets. If the needle has been adjusted incorrectly, try readjusting the needle and lowering it again.
Next, check the tension of the thread. If the tension is too tight, the needle may not be able to penetrate the fabric and will stay stuck in the raised position. Adjust the thread tension until it is loose enough to allow the needle to move up and down.
If those steps do not work, make sure the presser foot is in the proper position. The presser foot is what holds the fabric in place and when it is set too low, the needle will not be able to move up and down. Again, refer to your owner’s manual for specific instruction on how to properly adjust the presser foot on your machine.
Lastly, it is always a good idea to check the machine for any loose screws or parts that could be preventing the needle from functioning. If the machine has accumulated dust or lint, that can also block the needle from moving freely. Redistribute the parts or gather them and blow gently with a blow dryer to blow away any debris.
Safety Tips
Safety is always key when you are operating a sewing machine, so be aware of the following safety tips when using your machine. Always make sure that the power is switched off prior to any adjustments or changes being made. Additionally, make sure the needle is facing away from you when adjusting it and that the arm that lowers the needle remains in the up position until the new needle is secured in the machine. Lastly, never try to force the needle in the machine and ensure that your hands are kept away from the needle and other moving parts of the machine while it is in operation.
Useful Accessories
It can be helpful to have a few useful accessories on hand when placing the needle in the machine. A needle threader, for instance, can help you to easily insert the thread into the eye of the needle. A needleholder is also useful; it gives you a secure grip on the needle when you’re inserting it into the machine. If you find yourself frustrated with the needle placement process, a magnifying lens will give you an extra layer of precision.
Regardless of the specific sewing project you’re working on, placing the needle correctly in the machine is a critical first step. With the right understanding of the process, it can be relatively straightforward. With practice, you can learn to confidently and securely place the needle in your sewing machine to ensure a successful project!
Changing the Needle
It is important to change the needle in your sewing machine regularly, as the tip of the needle will become dull with use. With that being said, it is recommended to change the needle after every ten hours of sewing, or depending on the fabric used. Be sure to place the correct size needle for the fabric to avoid any fabric damage.
When it comes to removal of the needle, simply loosen the screw on the side of the needle plate and pull the needle upward. Grabbing ahold of the flat shank of the needle firmly, place the old needle aside. Then, place the new needle in the same position as the previous needle with the flat shank facing the back, and tighten the screw.
It is also a good idea to clean the machine after the needle is changed to keep it in good condition. An old toothbrush can be used to get rid of lint or dust in the housing of the machine. Then, use a soft, damp cloth to wipe away any residue on the outside of the machine, and you’re ready to begin sewing again!.
Maintaining the Sewing Machine Needle
Regular maintenance of the sewing machine needle is key to the longevity and performance of your machine. One way to do this is to use a quality lubricant oil on the needle. This will help keep the needle in good condition by keeping it from becoming clogged with thread or dust. As with any maintenance or repair, always refer to the manufacturer’s instructions to ensure you are properly lubricating the needle.
Another way to care for the needle is to check perspective and depth marks regularly. Both of these marks are located inside the bobbin case and need to be aligned in order for the needle to move up and down. Additionally, check for needle damage. Periodically inspect the needle and set aside any that are bent or have a cracked eyelet.
Lastly, protect your machine from dust and debris by covering it when not in use. This can help protect the machine from rust or damage caused by the build-up of dirt and particles.
Additional Safety Precautions
Sewing with a machine can be enjoyable and relaxing — but, safety should always be a top priority. Be aware of your space and be sure to eliminate any distractions or clutter. Make sure you are wearing comfortable, loose-fitting clothing that will not entangle in the needle or machine, and remove jewelry or objects that could get in the way or be potentially dangerous.
Also, remember to switch off and unplug the machine after each use and to never leave the machine unattended while it is running. Furthermore, avoid changing speeds while the needle is in the material and never let children use the machine without adult supervision.
