How to Put a New Needle in a Sewing Machine
Working with a sewing machine can be tricky. Even experienced sewers can find themselves stumped when it comes time to change a needle. Depending on the type of machine you have, putting a new needle in may seem daunting. Rest assured, putting in a new needle doesn’t have to be too hard or time consuming. To do it correctly, the only tools you typically need are a pair of tweezers and the new needle. Plus, after you do it a few times, it will become second nature and you won’t have to think twice.
Step-by-Step Instructions
To put a new needle in your sewing machine, simply follow these instructions:
1. Start by turning off the power to your machine. This is important, as it keeps the needle from accidentally moving while you’re trying to insert it.
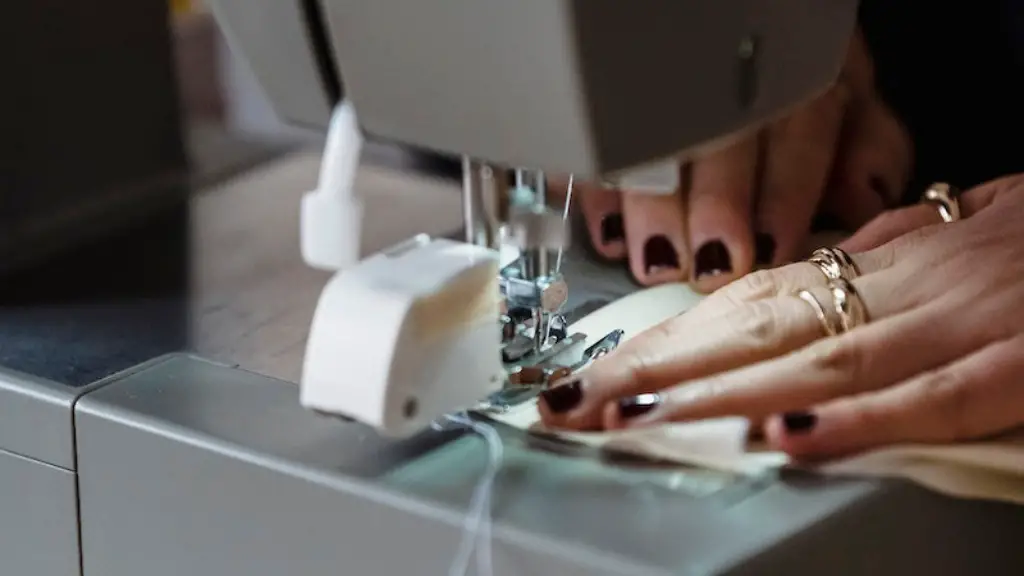
2. Remove the foot and needle plate, then remove the old needle. This can easily be done with a pair of tweezers.
3. Insert the new needle into the machine, being sure to line it up with the slot. It should fit snugly. Make sure the flat side of the needle is facing the back. This lets the needle move freely when it’s in use.
4.thread the needle. Be sure to thread it correctly to avoid any potential mishaps while stitching. If you’re not sure on how to thread a needle correctly, check your manual or find a tutorial online.
5. Reattach the foot and needle plate, and turn the power back on. If everything is lined up correctly and the needle is threaded, you should be able to start using the needle straight away.
Tips For Making Your Life Easier
When it comes to inserting a new needle in your sewing machine, there are a few tips that can make your life easier. Here are some of them:
1. Replace your needle often. It’s recommended that you replace your needle after 10-15 hours of sew time. This ensures that you are getting the best results from your machine and not running into any problems along the way.
2. Get the right type of needle for your machine. Each sewing machine requires a particular type of needle. Be sure to double check that the needle you are buying is suitable for your machine before buying it.
3. Store Needles Correctly. Once you have a few needles, you need to make sure that they are stored correctly. Keep them in an air-tight container, away from dust and moisture. This will help them to last longer.
Choosing the Right Needles
Choosing the right needle is key when sewing with a sewing machine. This is because different fabrics require different needles. Generally, needles come in two sizes: standard and heavy duty. Standard needles work best on lightweight fabrics, while heavy duty needles are meant for thicker fabrics.
It’s also important to pay attention to the needle point. The needle point helps determine how it will interact with the fabric. For instance, if you’re working with delicate fabrics, you may want to consider a ball-point needle, which protects the fibers from being pierced. On the other hand, if you’re working with heavy fabrics, you may want to consider a sharp or wedge-shaped needle.
Finally, before starting a project, make sure to double check the needle size and type. This ensures that you are using the correct needle and can get the best possible results.
Changing Your Needle
If you’re a casual sewer, you may not think about changing your needle often. However, if you’re a professional sewer, it’s important to switch needles on a regular basis. This ensures that the needle does not become dull or bent from overuse.
If you’re noticing any strange effects while sewing, such as skipped stitches or weak seams, it could mean that the needle is worn out. In this case, it’s best to change out the needle as soon as possible. This will keep both your machine and project in good condition.
Testing the New Needle
Once the new needle is inserted, it’s important to test it out. This helps ensure that everything is in working order. To do a simple test, take a small swatch of fabric and sew it. If the needle is working correctly, the fabric should move smoothly and you won’t have any issues. If it’s not working properly, you may need to adjust the needle.
You should also check the tension on the machine. This ensures that the thread is correctly threaded and not too tight or too loose. In general, a medium tension should work with most fabrics.
Caring For Your Needles
It’s also important to take care of your needles and to replace them when needed. This helps to extend their life and ensure that your projects turn out looking nice. To care for your needles, simply make sure to store them in a safe and dust-free environment. Additionally, make sure to inspect them regularly for signs of wear and tear. If any parts start to show signs of fatigue, it’s best to replace them with new ones.
Finally, make sure to clean your needles periodically. This helps to remove any stuck on dirt or lint, as well as any built up residue such as oil or grease. It also ensures that the needle will run smoothly and work effectively.
Final Thoughts
Puting a new needle in a sewing machine may seem intimidating, but it’s actually a fairly straightforward process. To make it even easier, make sure to have a pair of tweezers on hand, as well as the correct type of needle for your machine. Lastly, don’t forget to check the tension on the machine before starting your project.
In addition to changing the needle, it’s also important to take care of it. This includes storing it in a safe and dust-free environment, inspecting it for wear and tear and cleaning it periodically. Doing these simple tasks can help to extend the life of your needles and improve the quality of your work.
