Checking if Sewing Machine is Threaded Correctly
Different makes and models of sewing machines can each require a slightly different threading order. Before proceeding, consult your sewing machine instruction manual for details, or watch an online demonstration video specific to the make and model of sewing machine you will be using. Once you have determined the threading order for your particular machine, you can start threading the bobbin and upper thread.
Threading the Upper Thread
Threading the upper thread of a Singer Simple sewing machine involves lining up the thread with the appropriate guides. Magnified markings on the machine make it easier to thread the upper thread by helping you make sure there is no tangling or slipping. Double check that the tension disk marked with a red dot is correctly installed into the upper tension wheel. Position a spool of thread on the spool pin, and feed the thread into the upper tension wheel.
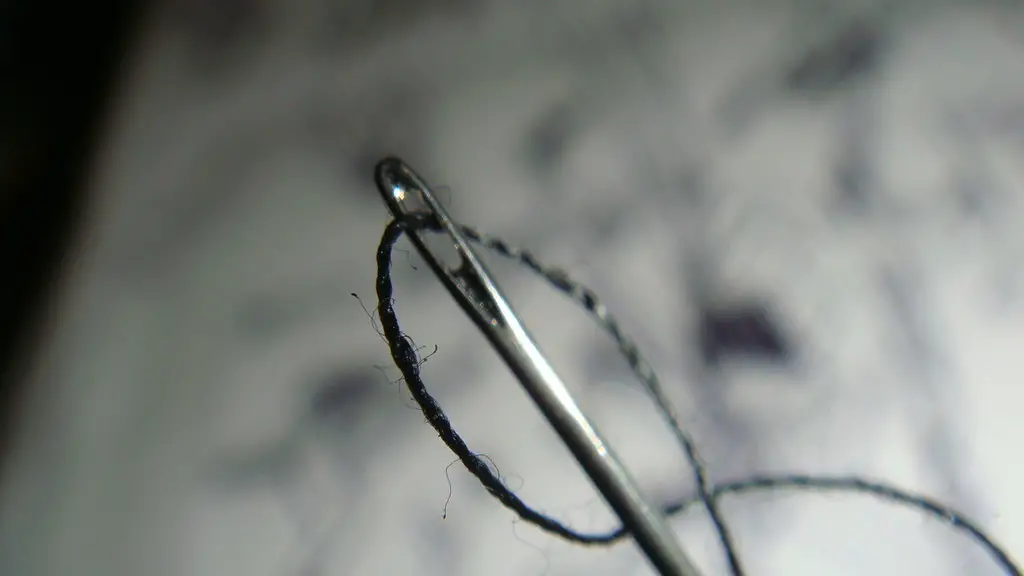
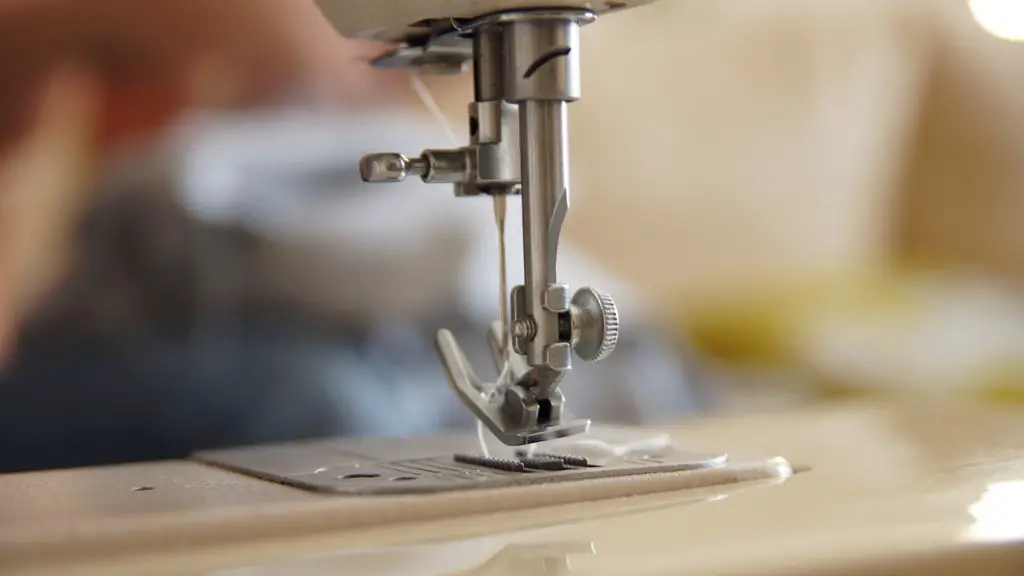
Bring the end of the thread through the thread guide and the tension disk marked with a red dot. Pull the thread through the upper thread guide located near the needle, and down into the compartment on the right-hand side of the machine. Pull a foot of thread through so that it comes out the needle. Adjust the spool stopper to adjust the rate at which the thread is pulled while sewing. Lastly, make sure the thread is securely fastened to the take-up lever located near the needle.
Threading the Bobbin and Bottom Thread
For the thread that goes through the bobbin and provides the bottom stitch of the seam, you will need a Class 15 bobbin for the Singer Simple sewing machine. Hold the bobbin thread facing you with the thread running in a clockwise direction. Insert the bobbin into the bobbin case so that the thread runs off the top of the bobbin. Then feed the thread into the tension setting on the top of the bobbin case.
Opening the free arm door located on the right side of the machine, insert the bobbin case into the shuttle assembly. Pull the thread up into the slot on the right-hand side of the machine, and then hold the end of thread as you turn the handwheel counter-clockwise so that the thread winds around the bobbin. Place the button next to the case and to the right of the handwheel to move the bobbin spindle up and down in order to retrieve the bobbin case after winding the thread around it.
TURN THE HANDWHEEL COUNTER-CLOCKWISE again to move the needle up and down, and pull the thread with your left hand. Place the bobbin thread under the foot and drag it up until it is loose behind the needle bringing it up toward you. Make sure to leave enough loose thread from the bobbin before you continue sewing. Also, double check the tension setting of your bobbin thread, it should be lightly tightened.
Drop Feeding Mechanism
Singer Simple sewing machines have an adjustable drop feed mechanism which will allow the fabric to move freely while sewing. It can be adjusted to the right or left, depending on the speed of the stitch. This option should be activated when working on thicker fabrics. Also, when using this feature, make sure the needle is in the highest position so that the fabric can move freely underneath the foot.
To adjust the drop feeding mechanism, turn the handwheel counter-clockwise until the needle is in its highest position. Push the drop feeding lever towards the handle and slide it upward. This will release the drop feeding mechanism and allow the fabric to move freely. To deactivate it, slide the lever downward.
Straight and Zigzag Stitches
The Singer Simple 30-stitch sewing machine gives the user the ability to choose from two different stitch selections, straight and zigzag. To choose the stitch desired, turn the selector switch located on the middle section of the machine, to the straight stitch slot or the zigzag stitch slot.
Correct Stitch Width and Length
To adjust the width and length of the stitch, use the knobs located on the front of the machine. The top knob allows you to adjust the stitch length, and can be set from 0.5 to 4.0 mm. The bottom knob allows you to adjust the stitch width and can be set from 0.5 to 6.0 mm.
Tension Adjustment and Foot Pressure
For any stitches, adjusting the tension is important to ensure good and even stitching. The tension should be checked for any kind of fabric being used or even for light or heavy fabrics to create different effects. Adjust the element marked “T” on the back of the machine to adjust the tension of your threads.
The Singer Simple sewing machine also has a foot pressure adjustment ranging from 1 to 5 on the extra dial located on the front of the machine. This option allows the user to determine the pressure of the presser foot depending on the weight and type of fabric being used. A lighter fabric requires a lower foot pressure, while a heavier fabric requires a higher foot pressure.
Foot Adjustment
On a Singer Simple Sewing Machine, the user can also adjust the height of the presser foot. To adjust the height of the foot, press the black button on the left side of the machine near the needle and raise or lower the foot depending on the fabric thickness or even to make adjustments for applications such as appliqué or buttons.
Check the Machine is Ready for Sewing
Once all the steps of threading a Singer Simple sewing machine have been completed, double check that the machine is thread correctly and make sure the bobbin case is locked properly in its position. Run a few test stitches on a spare piece of fabric and check that they are straight and even, with no loose threads or snags. If everything looks good, the machine is ready to be used to work on any kind of project.
Alternate Uses of Singer Simple Sewing Machine
The Singer Simple sewing machine is more than just a machine for repairing hems, adding alterations and producing garments. It can easily be used for a variety of crafts like quilting, embroidery, and sewing slipcovers, pillows and much more.
To add a personal touch to your projects, this machine offers 29 decorative stitches and one buttonhole stitch. With just the press of a lever, you can also switch between straight and zigzag stitches, giving you the freedom to look for creative and unique stitches.
To make creative appliqués and seams on your projects, this machine has a foot pressure adjustment dial that allows you to switch from light to heavy fabrics easily. The machine can also sew through heavy fabrics and handle thicker seams with the adjustable presser foot and adjustable tension.
This machine comes with an adjustable drop feed mechanism that allows you to sew any kind of fabric without having to use extra effort. There’s no need to move the fabric as it passes under the needle, as the adjustable feed foot takes care of all that.
Maintenance and Troubleshooting Tips
Regular maintenance of a Singer Simple sewing machine is the key to keeping it running in good condition and preventing thread jamming. After each use, always remove any lint that is left on the bobbin case and between the needle plate and the feed dog. Also, oil the machine with a few drops of oil in each location indicated in the instruction manual.
If the machine does become jammed, check the bobbin area first or the needle for any damage. Thread tension should also be checked and adjusted as necessary. Lastly, the machine should be inspected to make sure all screws are tight, and the power cord should be checked for any damage or frayed cords.
Accessories for Singer Simple Sewing Machine
The Singer Simple sewing machine comes with a variety of essential accessories and feet; straight stitch, zipper feet, presser feet, and an extra spool pin to accommodate thick threads. Other accessories like a seam ripper and thread cutter are also included.
The Singer Simple sewing machine also comes with an LED light to provide an optimal work area and a large work space for managing larger projects. This machine also allows forleft/centre/right zigzag widths, as well as two adjustable speed settings for added safety. An accessory storage area behind the machine provides easy access to frequently used items.
Conclusion
Threading a Singer Simple sewing machine is an easy and straightforward process that can be mastered with a few steps. Once all the steps are completed and the machine is ready for use, you’ll be able to start working on any sewing project you have in mind. And with the right tools, maintenance and troubleshooting tips, you’ll be able to get the most out of your machine and create beautiful projects.
