Tools and Materials
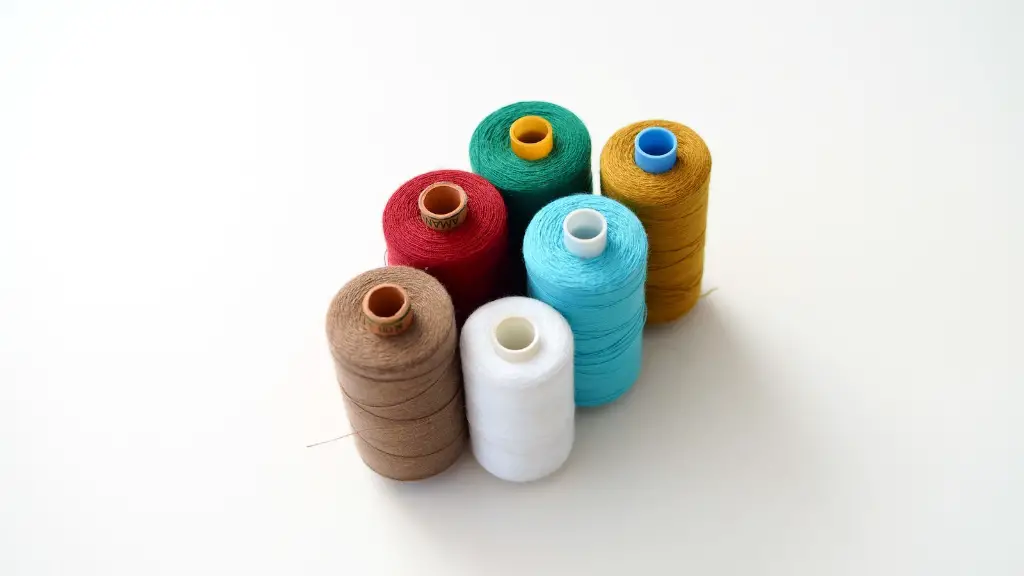
Quilting can be done on a domestic sewing machine with the right tools and materials. To get started you need a sewing machine. The choice of machine will depend on the complexity of the quilt project you plan to make. Quilting of fabrics usually requires a machine that has an extended throat plate, presser foot, and adjustable stitch length. You may also want to consider purchasing a walking foot for your machine, as this will make zig zag stitching easier and give you a more even look when quilting. Next, you will need batting, quilt backing fabric, and quilting thread. Quilting thread is specially designed to handle the thickness of multiple pieces of fabric. Lastly, you may need some additional tools that help quilting run smoothly, such as a thimble, marking tools, and a quilting frame.
Marking and Measurement
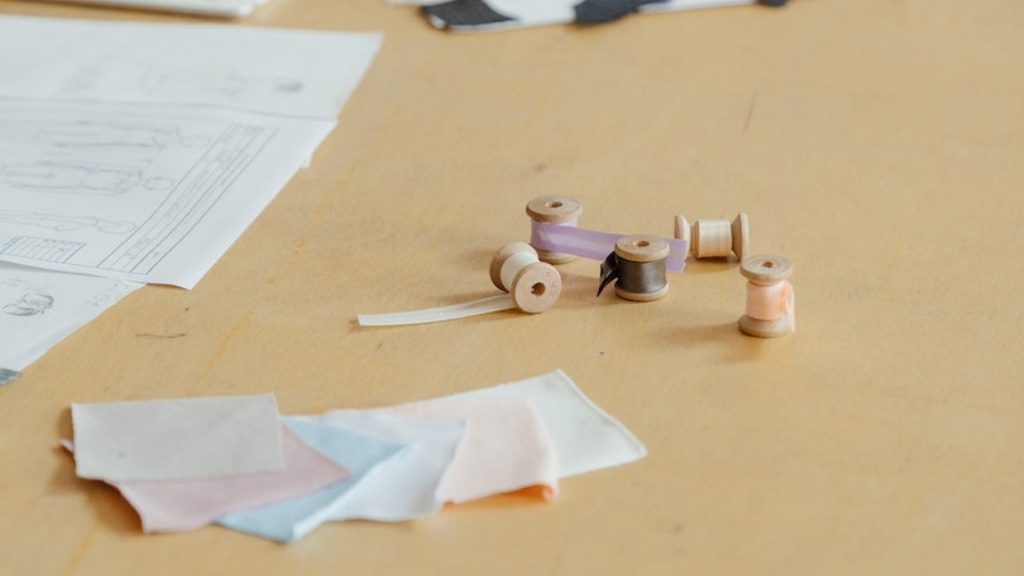
Measuring and marking is crucial when quilting. Before you can begin quilting, you need to make sure that your fabric pieces are cut in the right shape and size. Make sure your fabric pieces are lined up evenly before you make your measurements. Draw straight lines on your fabric pieces with the help of a quilting ruler and a marking pencil or water-soluble pen. Once you’ve finished marking, start assembling the quilt top by piecing the pieces together. Keryn from Sew Cherry Quilting suggests using a ¼” seam allowance during assembly for greater accuracy.
Setting Up the Sewing Machine
Set up your sewing machine accordingly. Remove the regular presser foot from the machine and replace it with the walking foot or the quilting foot, if available. Bobbins, needles, and tension settings may all need to be adjusted to better suit quilting. Raise the presser foot to the highest position and set the stitch length to the longest setting. Use a small stitch length for piecing, where approximately 10-12 stitches per inch are recommended. This will keep seams strong with less puckering, and you won’t have to worry about the seams being too loose.
Quilting the Top Layer
Now it’s time to quilt the top layer. Start by pinning the quilt top, backing, and batting layers together. Begin quilting from the center and work your way outwards. Quilting stitches should be just inside or just outside the drawing lines for accuracy and a professional finish. As you work, think about how best to quilt the design. If you’re a beginner, it may be helpful to practice basic shapes, such as a star or a square, by quilting over them several times. This is known as echo quilting, and is an easy way to practice the technique of quilting.
Binding the Quilt
Once the quilt top is finished, it’s time to bind the edges. To do this, cut strips of fabric 2” wide and as long as your quilt’s width. Stitch the strips together end to end until you have one long strip. Fold the strip in half lengthwise, wrong sides together, and press. Open the strip and place it along the edge of the quilt, raw edges facing the quilt’s edge. Make sure the raw edges are lined up evenly with the quilt top. Using a straight stitch, sew the binding to the quilt top with a ½” seam allowance.
Finishing Off
The final step is to finish off the raw edges of the quilt. Turn the binding strip to the back of the quilt and press. Next, stitch the binding strip to the quilt backing using a blind stitch or machine method. Hand-Sew the binding to the quilt backing for a more secure hold. Finally, you can use a heated iron to press the entire quilt and give it a professional look.
Final Touches
The last step in quilting is to give your quilt a professional look and feel. You can do this by adding a label to the back of the quilt with your name, date completed, and any other details. You may also want to add decorative quilting stitches, such as feathers and flowers. These can be stitched along the edge of the quilt, in the middle of blocks, or along borders. Adding the final touches will make your quilt stand out and look complete.
Customizing the Pattern
When you are quilting, you often have the option of customizing the pattern or design of the quilt. You can vary the size or shape of the blocks to create a unique look. You can also choose from a variety of fabrics, colors, and textures to make the quilt more interesting. Lastly, if you want to create a special quilt for a person, you can use their favorite colors and fabrics to make it one-of-a-kind.
Embellishing the Quilt
Once the quilt top is complete, you can take it to the next level by embellishing it with beads and appliques. You can use a basic running stitch to attach beads, buttons, or other trims to the quilt top. Hand-Sewing will be the best option for doing this. You can also use iron-on transfers to transfer designs, photos, and even text onto your quilt. Lastly, you can use decorative stitches on your sewing machine to add embellishments to your quilt.
Quilting Using Free-Motion Techniques
Free-motion quilting is a technique that allows you to create custom quilting designs on your quilt top. You lower the feed dogs on your sewing machine, which frees up the quilt top to move and let you create unique quilting patterns. Diane Gaudynski, winner of the National Quilting Association’s Master Teacher Award, recommends practicing free-motion quilting on a smaller project first and then working up to larger projects. To give your free-motion quilting a professional look, it is important to keep the same stitch tension and be consistent with the quilting pattern.
Importance of Pressing
Pressing is a key aspect of quilting that should not be overlooked. Before you begin quilting, press all seams, large and small, and press the quilt top flat. This will help the quilt layers to lay flat and the quilting stitches to look uniform. Pressing the seams after quilting will also ensure the seams stay in place and the quilting project will look finished. Lastly, using spray starch or sizing on the quilt top before quilting will help keep the fabric from stretching.
Quilting as an Art Form
Quilting is more than just sewing; it is an art form. Quilters have used their quilts to tell stories and pass down family traditions for generations. The fabric and colors you choose, the quilting stitches you use, and the finishing touches you add all combine to make a unique quilt. Quilting is an enjoyable and rewarding experience, and it is sure to bring a lifetime of satisfaction.


