Preparing the Materials
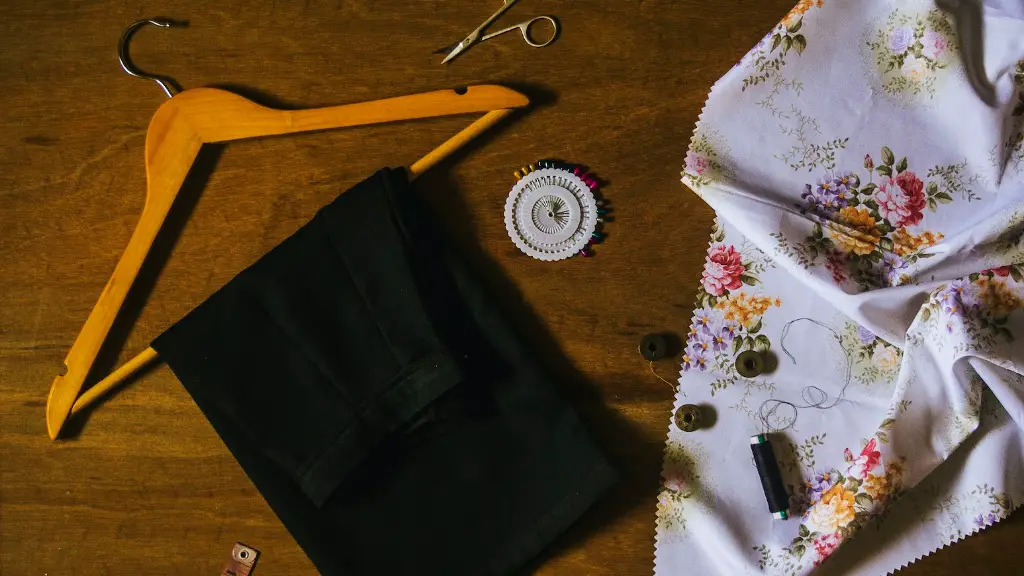
Quilting is an age-old craft that has been handed down through generations. If you’re interested in learning how to quilt on a home sewing machine, it’s best to start by gathering the necessary supplies. Although the materials used can vary depending on the type of quilt being made, the basics usually include: quilting fabric, quilting thread, a quilting batting, an iron, a rotary cutter, quilting ruler, pins, and a sewing machine. Once these items have been gathered, you are ready to begin your quilting project.
Layout and Cutting the Fabric
You can begin your quilting project by laying out the fabric pieces in the desired design. When laying out the fabric, it is important to use pins to secure the pieces in place. This will help to ensure that the fabrics will stay together while you are cutting. After the fabrics have been secured, use the rotary cutter to begin cutting the fabric into the desired shapes and sizes. It’s important to be careful when cutting the fabric to make sure that your cuts are precise.
Creating the Quilt Top
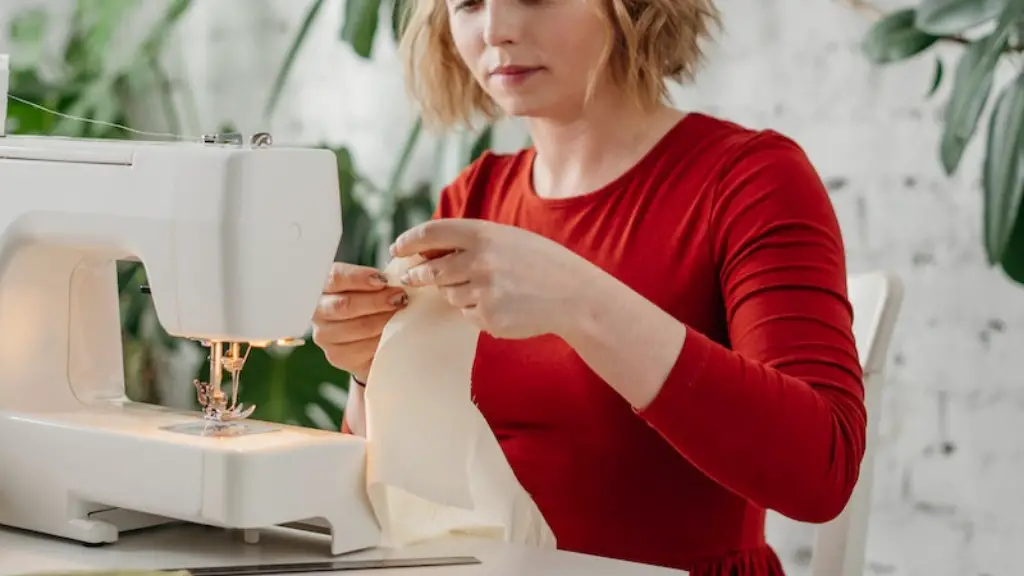
After the pieces have been cut, it’s time to assemble the quilt top. Begin by taking two different fabric pieces and pinning them together at the edges. Using the sewing machine, stitch these two pieces together. Continue this process until all of the quilt pieces have been sewn together to form the quilt top. It’s essential to make sure that the fabric pieces are sewn straight, so use the foot pedal on the sewing machine to make sure that your stitches are even and precise.
Creating the Quilt Sandwich
Once the quilt top has been created, it’s time to create the quilt sandwich. This is done by taking the quilt top, quilt batting and fabric backing and layering them together. Begin by laying the fabric backing down on a flat surface. Then, lay the quilt batting over the backing. Finally, lay the quilt top over the batting. Make sure that all of the edges are flat and that the fabrics are aligned correctly. Secure the layers together with pins.
Quilting the Layers
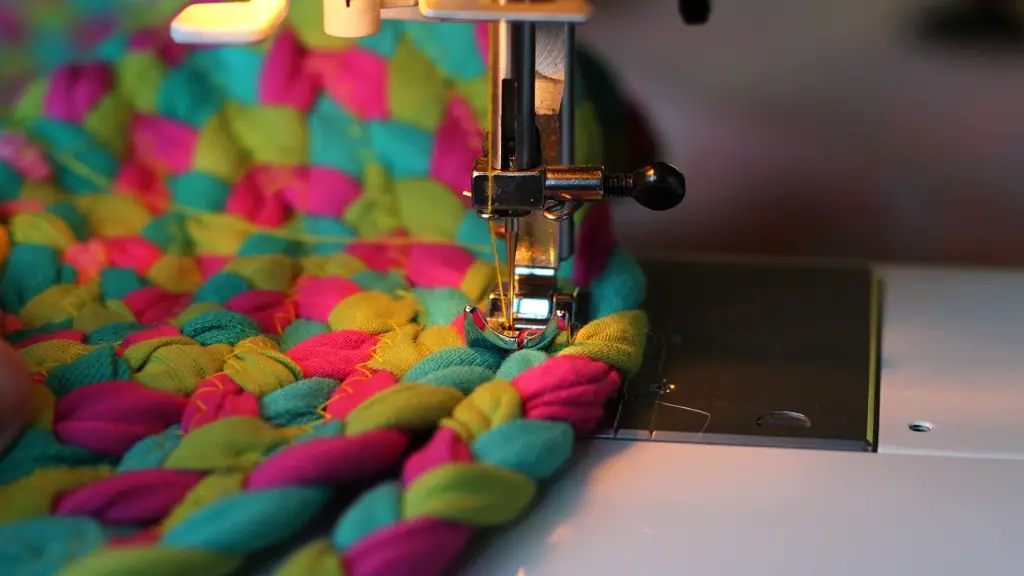
After the layers have been secured together, it’s time to begin the quilting process. This is done by stitching the layers together with a basic quilting stitch. The most common type of quilting stitch is the straight stitch. To create this, use the foot pedal on your sewing machine and stitch the layers together in a straight line. It’s important to remember to keep a consistent and even pressure on the foot pedal as you stitch. This will help to ensure that the stitches are even and uniform.
Binding and Finishing the Quilt
Once the quilting process is complete, it’s time to bind the quilt. To do this, use the same fabric that was used for the backing to bind the quilt. Begin by cutting long strips of the fabric and then wrapping one end of the strip around the edges of the quilt. Use your sewing machine to stitch the binding in place. Finally, use an iron to press the binding and ensure that the edges of the quilt are neat and flat.
Quilting on a Home Sewing Machine – Tips and Tricks
One of the most important tips for quilting on a home sewing machine is to use a special quilting needle. This type of needle is designed to help make sewing the material easier. It is also important to use a larger foot on the sewing machine when quilting. This will help ensure that the quilt is even and that all of the stitches are neat and uniform.
Storing and Displaying the Quilt
Once your quilt is finished, it is important to properly store it. Quilts should be stored in a cool, dry place such as an attic or basement. It is also important to avoid placing your quilt in direct sunlight to help keep the colors from fading over time. If you want to display your quilt, make sure to use a sturdy frame or hanger to ensure that the quilt is supported.
Caring for the Quilt
It’s important to properly care for a quilt so that it will last for many years. Begin by avoiding using excess detergent and fabric softener when laundering. Additionally, avoid using a dryer and opt to hang the quilt instead. Finally, make sure to store the quilt properly to avoid dust and insects.
Incorporating Quilting into Home Decor
Quilts can be used to add a colorful and unique touch to any home. Whether it’s used as a wall hanging, bedspread, table runner, or even a throw rug, a quilt can be a beautiful and personal addition to any home. If you’re feeling adventurous, you may even want to try a quilt project that incorporates different techniques such as applique, embroidery, piecing, and quilting.
Deciding Which Quilt Project is Right for You
When it comes to choosing a quilt project, the possibilities are virtually endless. Begin by brainstorming different ideas and looking at pictures of quilts for inspiration. Once you’ve narrowed down your ideas, decide on a design and fabric palette that you like. Additionally, keep in mind the amount of time that you have available to complete the project.
More Considerations for a Quilting Project
Before beginning your quilting project, it’s important to take the time to research different techniques. This can help to ensure that your project goes smoothly and that the results are beautiful. Additionally, make sure to purchase quality materials to ensure that your quilt will last for years to come. As you work on your project, remember to take your time and enjoy the process!


