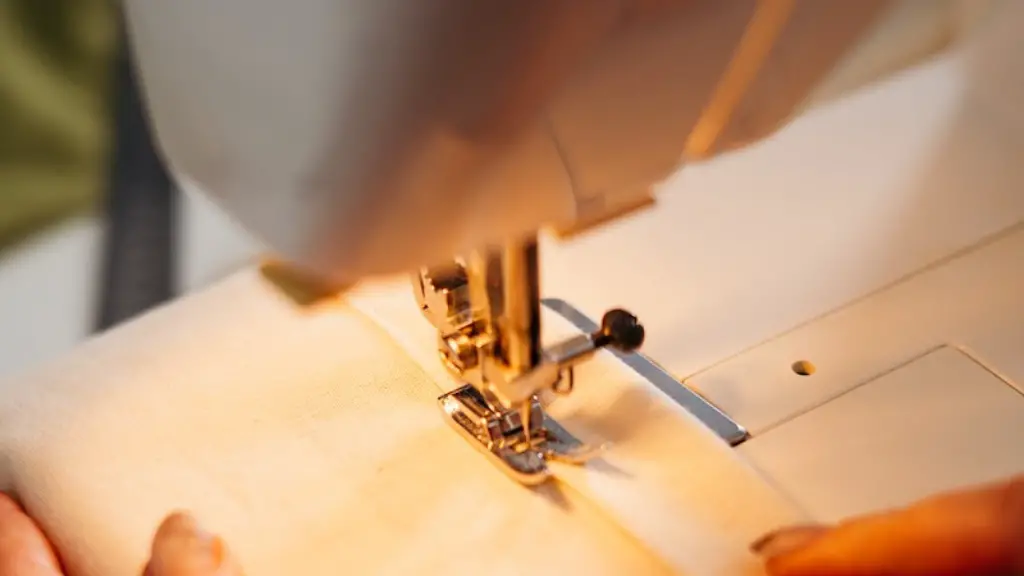
Quilting can be an extremely rewarding and creative activity, yet because of its meticulousness, it can also be somewhat overwhelming. Fortunately, with a few simple tips, you can learn how to quilt with a sewing machine and Master the art of stitching and piecing the patchwork together.
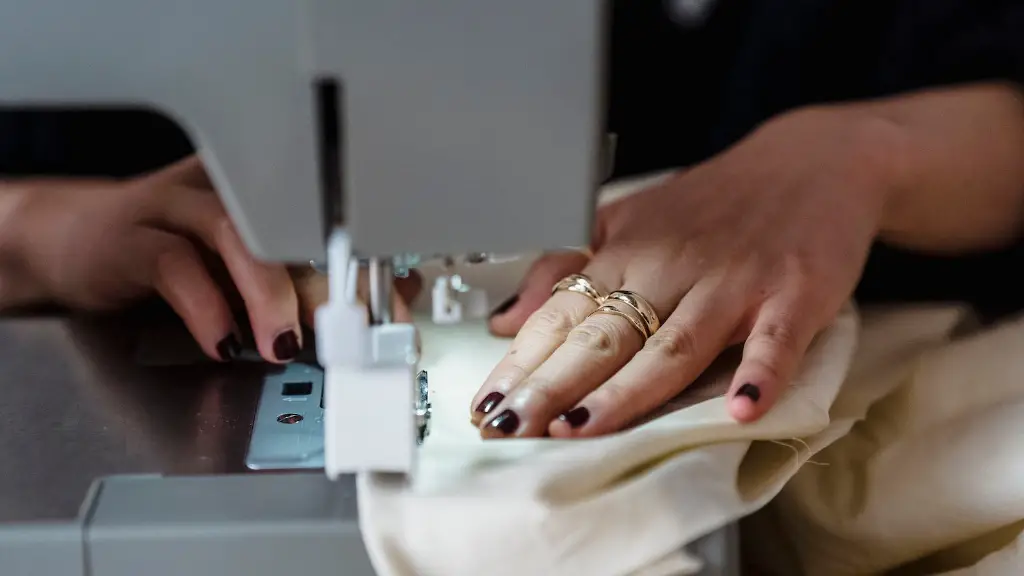
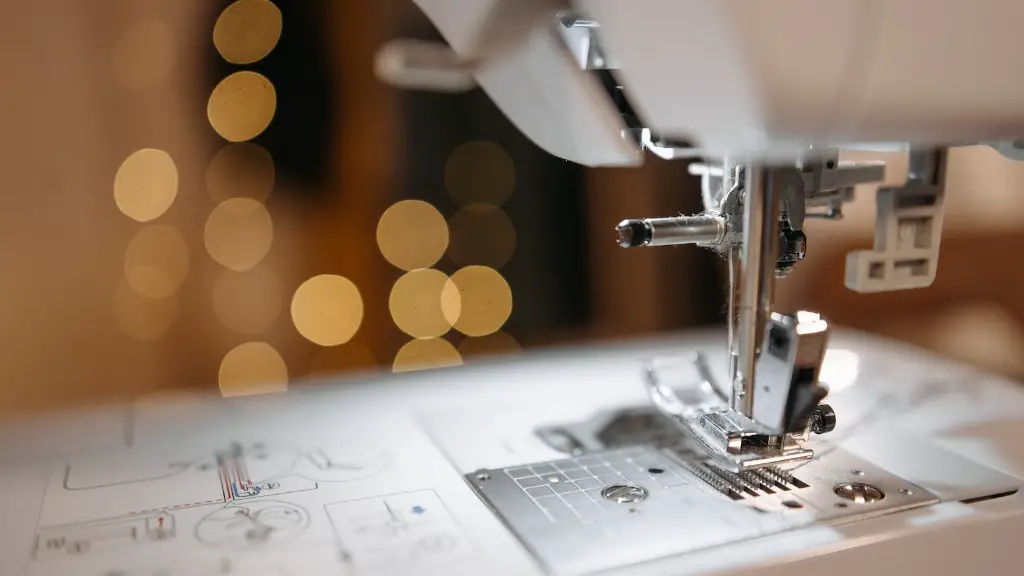
The most important step is to become familiar with the parts of a sewing machine and how each works. In general, there are two parts of the machine – the upper part, which contains the needle and the parts for feeding fabric through, and the lower part, which is the part that contains the bobbin and the motor. The needle moves back and forth over the fabric, while the bobbin threads the fabric underneath.
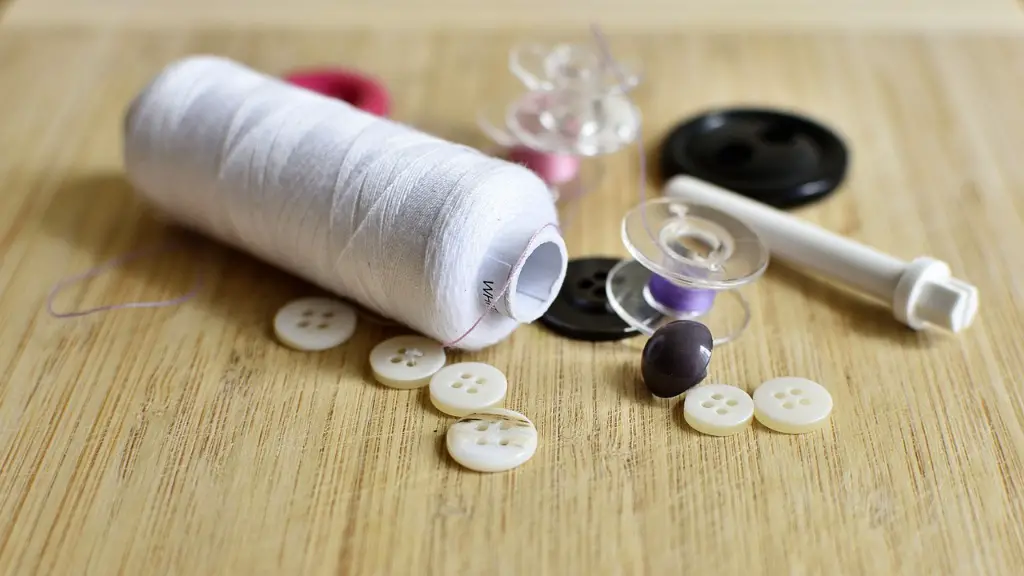
Once you’re more familiar with the components of a machine, it’s important to consider the needles and threads you’ll use. Quilting needles come in different sizes, each ideal for certain tasks. For most quilting, thicker needles, or size 12-14, are the best choice. As for thread, it’s important to use heavy-duty thread to ensure that it won’t break while you’re quilting. You can also use lightweight quilting thread if you’re looking to create a finer quilt.
The next step is to design your quilt. First, choose a pattern that appeals to you and appeals to your quilting style. Then, cut out the fabric pieces that match the pattern and prepare your batting. After that’s complete, you’ll be ready to begin quilting your design.
Now that you’re ready to quilt, it’s essential to adjust your machine for the best results. Set your machine to a healing stitch – forward and backward – and adjust the tension. The fabric should move easily when you’re working. Additionally, mark your quilt piecing diagonally and keep track of the seams you’ve already made. This will ensure that all pieces are sewn together in the correct order and alignment. Lastly, make sure that your seam allowance is the same size on each piece by measuring 4-5 stitches.
When you’re ready to quilt, set your machine to a stitch length of 16-18 stitches per inch. Aim to sew slowly and straight, trying to create even stitches. Sew along the marked seamlines or through the centers of the diamond shares. You can also use a walking foot if your machine has one, as it will help feed the pieces of fabric through the machine more evenly. Don’t forget to use pins to hold your pieces in place and help feed them through the machine more smoothly.
Once you’ve sewn the top fabric layer and the batting layer together, you’re ready to quilt your design. Start quilting from the center and move outward. As you quilt, your seams should remain straight and even. Additionally, keep the fabric taut to ensure even stitches and avoid puckering. And as always, sew slowly and steadily.
When all the pieces of fabric are sewn together and quilted, it’s time to finish your quilt. To do this, sew all four quilt layers together with the batting in between. Start with the quilt top, the batting, and then the quilt back layer. And remember to sew slowly and evenly, creating a neat and professional edge.
Once all the pieces are sewn together and your quilt is finished, the last step is to bind it. To do this, fold the binding fabric over the edge and stitch it in place. Use a plain stitch to secure the binding and your quilt is complete!
Supplemental supplies and tools
In addition to the sewing machine, there are several other supplies that you’ll need in order to quilt. These include scissors, pins, paper, tape, and a quilting ruler. Scissors are used to cut the fabric pieces to the desired size and shape. Pins are needed to hold the pieces together while they’re being sewn. Paper is needed to make quilt patterns or templates. Tape is used to hold the fabric pieces in place when sewing. And a quilting ruler is essential for measuring the seam allowances.
Now that you know the basics of quilting, it’s important to keep practicing and developing your skills. Quilting can be a hugely rewarding and creative activity, yet it may take a bit of practice to perfect the art. The more you practice, the better the results will be!
Quilting Machines: Stand-Alone vs. Computerized
When choosing a machine for quilting, you’ll have to decide between stand-alone quilting machines or computerized ones. Stand-alone machines are typically simpler to use and often come with preset programs. However, they may be limited by the number of stitches or features. On the other hand, although computerized quilting machines may be more expensive and complex to use, they usually have a wider array of features including adjustable stitch length and pattern selection.
Moreover, computerized quilting machines are highly customizable and allow users to design their own patterns and save them to the machine’s memory. Additionally, some computerized machines can also be connected to a printer, enabling the user to print out the quilting pattern in full size.
In general, stand-alone machines may be better suited for beginning quilters or those quilting on a budget since they’re usually less expensive. On the other hand, experienced quilters or those wishing to produce more intricate designs may want to opt for a computerized quilting machine for more control and customization.
Quilting vs Appliqué
The types of embroidery can often be confused; however, there is a distinct difference between quilting and appliqué. Quilting is a technique in which you stitch pieces of fabric together; traditionally, it is done by hand. Appliqué is when pieces of fabric are stitched onto a piece of fabric with an embroidery machine. Appliqué can also be done by hand but with a machine, it is much faster and more precise.
The main goal of quilting—which can also be done with an embroidery machine—is to form layers of fabric and batting which are stitched together. Appliqué, on the other hand, is the process of applying a different piece of fabric onto a base fabric with the intention of creating an embellishment. This can be done with embroidery threads, yarns, and pieces of fabric, which are different from those used for quilting.
It is important to recognize the distinct differences between quilting and appliqué since the techniques and supplies used for each can vary greatly. Furthermore, these two techniques can also be used in combination with each other to create truly unique designs.
Stabilizers and Backings
To ensure that quilts are of the highest quality, they require several items including stabilizers, backings, and batting to help them endure wear and tear. In general, stabilizers are fabrics that are used to reinforce the quilt or give it a certain shape. Backings, on the other hand, are fabrics that act like a second layer of fabric and are usually used on the back of a quilt. Lastly, batting is used between the top quilting fabric and the backing, which helps protect the quilt and bring out the quilting stitches better.
The type of stabilizer, backing, and batting you choose will depend on the style and size of your quilt. For example, for a quilt that is going to be used regularly, a batting with more loft will be a good option. This will give your quilt more texture and help it stay durable. On the other hand, if you’re making a wall hanging, you may opt for a thinner batting to make the quilt less heavy. Additionally, the backing and stabilizers you choose will also depend on the environment the quilt will exist in; for instance, quilts being used in a warmer environment may need to be stabilized with a more breathable fabric.
With the right stabilizers, backings, and batting, you can make a quilt that will last for years to come. It is worth taking the time to research the different types of supplies and fabrics that work best for your quilt in order to ensure that it lasts for years of use.
