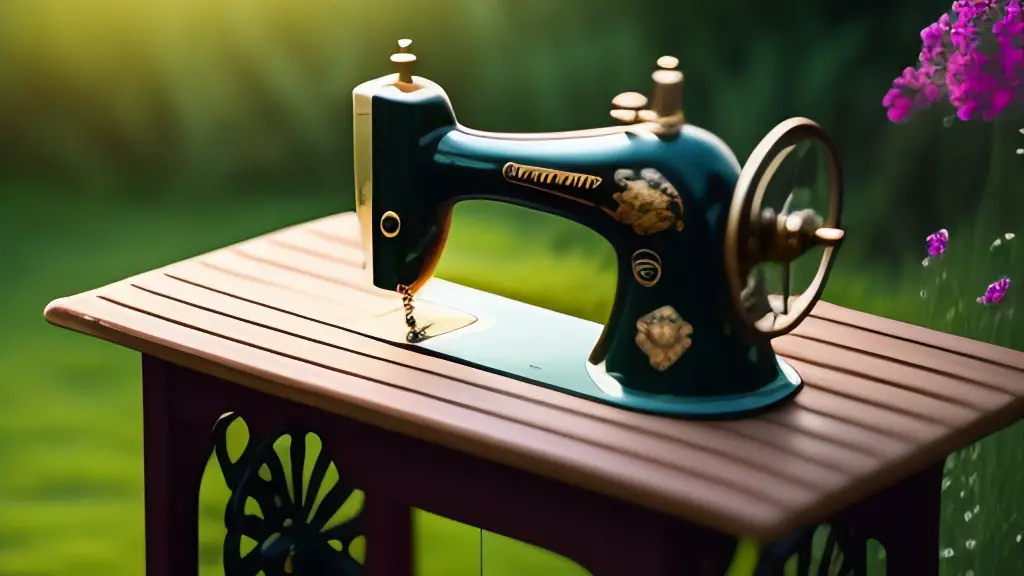
The concept of restoring a sewing machine cabinet may seem daunting or overwhelming to a beginner DIYer. However, while there may be some intimidating aspects to a sewing machine restoration, there are tips and tricks to make the job easier and more enjoyable. This article covers the basics of how to refurbish a sewing machine cabinet and offers a few creative and cost-effective ways to go about it.
Tools and Supplies
Before beginning any refurbishing project, it’s essential to have the proper tools and supplies at hand. This will help streamline the process, allowing for an easier and more rewarding experience. The main tools and supplies needed for a sewing machine cabinet restoration include: a sander, sandpaper, wood glue, a screwdriver, paint, paintbrushes, and a drill.
Cleaning
The first step in restoring a sewing machine cabinet is to clean it. This involves removing all the dust and debris that has accumulated over time and can often be done simply with a dust cloth. If necessary, a wood cleaner may also be used. All parts of the cabinet should be wiped down and checked for any signs of wear and tear.
Sanding
Once the cabinet is clean, it’s time to start sanding. This is done in order to prepare the surface for painting or staining. Using a sandpaper with a medium grit is recommended as it will provide the best results. It’s important to be gentle and avoid sanding too hard so as not to damage the wood. After sanding, the surface should be wiped down with a damp cloth in order to remove any sawdust.
Stripping
Once the sanding is complete, the cabinet may need to be stripped of any previous paint or stain. This can be done with a chemical stripper. It is important to wear protective gear, such as rubber gloves, while using a chemical stripper as they can be hazardous. After the stripper has done its job, it’s time to move onto the next step.
Repairing
The next step in restoring a sewing machine cabinet is to make any necessary repairs. This may involve fixing any broken or cracked parts, replacing screws, and filling in any holes or cracks. It’s important to take one’s time and to thoroughly inspect the cabinet for any damage that needs to be repaired.
Painting or Staining
Once the cabinet has been repaired and cleaned, it’s time to decide whether one would like to paint or stain the cabinet. Both processes involve applying a protective coating on the wood in order to give it a new look. It is important to check for compatibility between any paint or stain that is chosen and the type of wood the cabinet is made of.
Adding Finishing Touches
After the cabinet has been painted or stained, it’s time to add the final touches. This involves attaching handles, adding decorative accents, and attaching any hardware such as hinges. One may also choose to add a few coats of wax or sealant in order to protect the wood and to give it a glossy finish.
Hardware
Another important step in refurbishing a sewing machine cabinet involves replacing the hardware. This includes things like screws, hinges, and knobs. Replacing these parts will help to ensure that the cabinet is strong and secure, as well as looking its best. It’s important to invest in quality hardware in order to get the best results.
Hardware Renewal
In some cases, it may be necessary to replace the entire hardware for the cabinet. This is often the case if pieces like the hinges or handles are broken and need to be replaced. In this case, one may want to purchase new hardware from a hobby or craft store. This is an easy way to give the cabinet a new look and to give it extra protection.
Decorating
Decorating the sewing machine cabinet is a great way to add a unique touch to the project. One can choose to add decorations such as stencils, stickers, or fabric to the cabinet in order to give it a personalized touch. This is also a great way to add some colour and to tie the entire project together.
Stenciling
One way to decorate a sewing machine cabinet is to use stencils. Stencils are a great way to add texture and pattern to the surface of the cabinet. It’s also a great way to add motifs or quotes to give the cabinet an extra bit of personality.
Fabric
Fabric can also be used to decorate a sewing machine cabinet. This can be done by cutting out shapes or designs in the fabric and attaching it to the cabinet’s surface. This is a great way to add colour and interest to the cabinet. It also offers a unique way to personalize the project.
Stickers
Stickers are a simple and cost-effective way to add a bit of flair to the cabinet. Stickers come in a variety of shapes, sizes, and colours, making it easy to find the perfect design to match the project. Stickers can easily be attached to the cabinet for an instant update and a unique look.
Finishing Up
Once all the work has been completed, it’s time to finish up. This involves adding any extra touches to the cabinet, such as a coat of wax or sealant. It’s also important to inspect the cabinet and make sure all repairs have been made and that all decorations are properly secured. Once this is complete, the cabinet is ready to proudly display.
Reupholstering
Reupholstering a sewing machine cabinet is an effective way to give it an updated look. This is an ideal option if the original fabric has begun to show signs of wear and tear. The first step is to select a new fabric to use. This can be purchased at any fabric store or can be salvaged from old curtains or upholstery. Once the fabric has been chosen, it’s time to reupholster the sewing machine cabinet. This can involve simply removing the existing fabric and attaching the new one, or it can require the use of a few extra tools. In either case, the end result will be a beautifully upholstered sewing machine cabinet.
Refinishing
Refinishing is another option for revamping a sewing machine cabinet. This involves stripping away any old layers of paint or stain, sanding the surface, and then refinishing it with a new finish of one’s choosing. This is an effective way to give a cabinet a new look and feel. The end results will often look like a brand new cabinet.
Hardware Upgrades
In some cases, the hardware on the cabinet may need to be updated as well. This can involve replacing hinges, knobs, and other parts with more modern and stylish hardware. This is a great way to give the sewing machine cabinet an updated look, while also making it more functional.
Shadow Boxes
Adding shadow boxes to the sewing machine cabinet is an easy and inexpensive way to add a fascinating touch. Shadow boxes can be used to store small supplies and accessories, or to display fabric samples and other materials. This is a great way to make the cabinet more functional, as well as more aesthetically pleasing.
