Understanding the Sewing Machine Tension Assembly
Ever struggled to understand why your sewing machine won’t sew properly? Chances are there may be something wrong with the tension on the machine’s tension assembly. The tension assembly is designed to pull the upper thread in conjunction with the lower thread, resulting in properly sewn stitches. If something goes wrong, the tension may become too loose or too tight, leading to poor or inadequate sewing.
Tools Needed for Repair
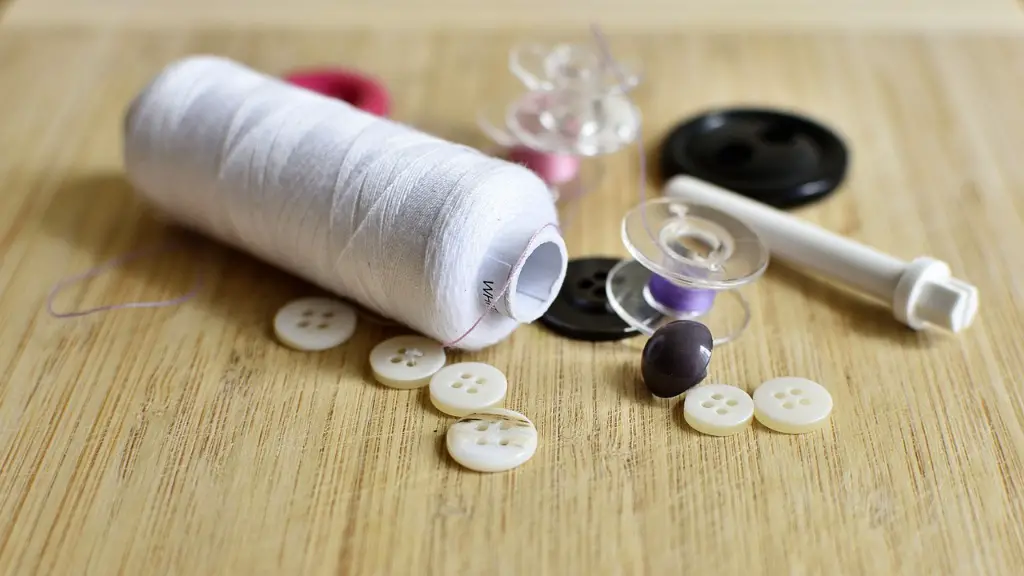
Before diving into the repair process, be sure to have the correct tools on hand. This includes a small screwdriver, tweezers, and a bobbin removal tool. If possible, have spare bobbin cases and bobbins as well. Additionally, it may be helpful to have a wooden pick to resolve minor thread tangles, as well as a flashlight for additional visibility.
How To Repair Sewing Machine Tension Assembly
Step 1: Inspect for Tangled Threads
The first step to repairing the tension assembly is to inspect for tangled threads. Begin by opening the removable stitch plate and checking to see if the threads from the bobbin assembly are neatly wound around the bobbin winder. If the threads are tangled, use the wooden pick to carefully pull the threads. Once all the threads are untangled, reattach the bobbin and stitch plate.
Step 2: Examine Bobbin Case and Bobbin
After inspecting the thread, look at the bobbin case for any signs of damage. If the bobbin case is damaged, replace it with a new one. Make sure to use the same size and type of bobbin case as the original. Once the bobbin case is replaced, check the bobbin for any signs of wear or tear. If the bobbin is damaged, replace it with a new one. It is important to select one that matches the original bobbin.
Step 3: Check Upper Thread Tension
After ensuring the bobbin and bobbin case are in good condition, check the upper thread tension. It is important to make sure the upper thread is not too tight or too loose. To do this, find the tension dial on the bobbin case. Set the knob so the thread is slightly tightened, but still able to move relatively freely. Then, test the thread by stretching it with your fingers. It should stretch a little bit when you pull on it.
Step 4: Check the Upper Thread Take-Up Lever
Next, find the upper thread take-up lever. This lever is located at the top of the machine and is used to pull the upper thread through the fabric during the sewing process. Inspect the take-up lever to make sure it is moving smoothly. If the take-up lever is not working properly, check to see if it is jammed by trying to move it slightly with your fingers. If it is jammed, attempt to un-jam it by using the screwdriver.
Step 5: Check the Needle and Presser Foot
Finally, check the needle and presser foot to make sure they are in good condition. The needle should be properly inserted in the machine and the presser foot should be firmly secured in place. If the needle is not correctly inserted, remove it, wipe it off and correctly insert it. If the presser foot is loose, use the screwdriver to securely fasten it in place.
Double Checking and Testing The Machine
After all the steps are complete, double check all the components that have been repaired and replaced. If everything is in good condition, re-thread the machine with the upper and lower thread. Make sure that the thread is correctly loaded into the machine and that the tension settings are correct. After checking and re-threading, turn on the machine and test it out on a piece of fabric. If the machine works properly, the tension assembly repair is done!
Identifying Common Sewing Machine Tension Issues
Common sewing machine tension issues can easily be identified by the sewing results. If the tension is too tight, the stitching may be dense and the fabric may appear bunched. If the tension is too loose, the stitching may be sparse and the thread may be visible. In addition to the stitching being visible or dense, the fabric may be pulled or tugged, creating an uneven sewing result.
Further Maintenance and Preventive Measures
In order to keep a sewing machine running properly and to avoid future repairs, it is important to regularly inspect the tension assembly and other components of the machine. For example, always make sure the bobbin is correctly inserted into the bobbin case and the needle is correctly inserted into the machine. Regular preventive maintenance such as cleaning and oiling can keep the machine running smoothly and prevent more serious repairs in the future.
Common Reasons for Sewing Machine Tension Issues
Knowing the common reasons for sewing machine tension issues can help diagnose and resolve the issue. One of the most common reasons for tension issues is incorrect threading. This can be caused by incorrect bobbin threading, misaligned thread take-up lever, or incorrect tension settings. Other common causes of tension issues include a malfunctioning bobbin case, damaged presser foot, or worn out needle.
Troubleshooting Guide for Sewing Machine Tension Issues
To help diagnose and repair sewing machine tension issues, a handy troubleshooting guide can be helpful. A troubleshooting guide can guide a user through the steps needed to repair the tension assembly and make sure it is functioning properly. The guide should include steps to inspect the threads, bobbin case, tension settings, needle, and presser foot. It should also provide a clear explanation of how to adjust the tension if needed.


