Tips to Remove Singer Sewing Machine from Cabinet
When it comes to maintaining and repairing Singer sewing machines, one major task involves safely and effectively removing the hardware from the cabinet. Whether you’re doing preventive maintenance, repairs, or just want to reorganize, it is important to be aware of the necessary steps to remove Singer sewing machine from cabinet.
Before attempting to remove the Singer machine, it is important to review the owner’s manual or the specific requirements for your particular model. Also, having the necessary tools present before beginning the project can save time and frustration. These tools generally include a screwdriver, needle nose pliers, and adjustable wrench.
Step One: Unplug the Power
The number one safety precaution to exercise when dealing with a Singer sewing machine is to unplug it from the power source before attempting to work with it. Even if the machine is turned off, it’s better to be safe than sorry.
Step Two: Open the Screws
Once the Singer sewing machine is disconnected from the power source, begin carefully taking the screws out of the cabinet. While the Singer table-top machine is generally fastened to the base with screws, there may be several other screws to remove depending on the model. Generally, a flathead screwdriver is the perfect tool to help you work through the screws and nuts.
Step Three: Separate the Parts
With the screws removed, separate the parts of the cabinet carefully. In some cases, the parts may be connected strongly and, with an adjustable wrench, apply just enough pressure to separate the parts. Afterward, you may need to switch to needle-nose pliers or a flat-faced screwdriver to delicately pull apart the components.
Step Four: Remove the Machine
When the parts are separated and the cabinet is open, you can carefully lift the machine out of the cabinet. To make sure you don’t cause any damage, use both hands to lift the machine and use the tables or reference points from the owner’s manual to figure out the position the hardware should be in.
Step Five: Reassemble Cabinet
The last step in removing the Singer machine is to reassemble the cabinet. To do this, insert the cabinet parts back together and secure the screws. As mentioned earlier, keeping the owner’s manual present throughout the process is a must in case you encounter any issues with the assembly.
With the Singer machine out and the cabinet reassembled, it is ready to be placed back on its normal storage surface or, if needed, serves as a good reference point for further repairs or maintenance.
Transporting the Machine
Before moving or transporting the Singer machine, it is important to be aware of the correct procedures for safe handling of the hardware. Sewing machine experts remind owners to always have someone hold the machine for them in order to keep the equipment level and secure.
When moving the equipment, it is important to remember to maintain a proper carry angle. This means that the machine must be held at a comfortable, secure angle that is neither too steep nor too shallow. Keeping the hardware in the proper position while in transit will help prolong the machine’s life.
In addition to a comfortable angle, the hardware should always be kept upright and away from items that can affect its functionality. This includes keeping the Singer machine out of direct sunlight and away from areas that are susceptible to moisture or other sources of dangerous conditions.
Cleaning the Machine
In addition to removing the hardware and transporting it, maintenance on a Singer sewing machine requires regular cleaning and care. This is a major factor in the life-span of the hardware and its ability to stay functional for the optimal amount of time.
The primary cleaning task for a Singer machine is to remove the dust and debris from the surface. Using a damp cloth, lightly swipe the machine and, if needed, use an air compressor to blow out any persistent obstructions. When using the air compressor, make sure to keep the pressure below twenty-five psi in order to avoid any damage to the machinery.
Lubrication for the Machine
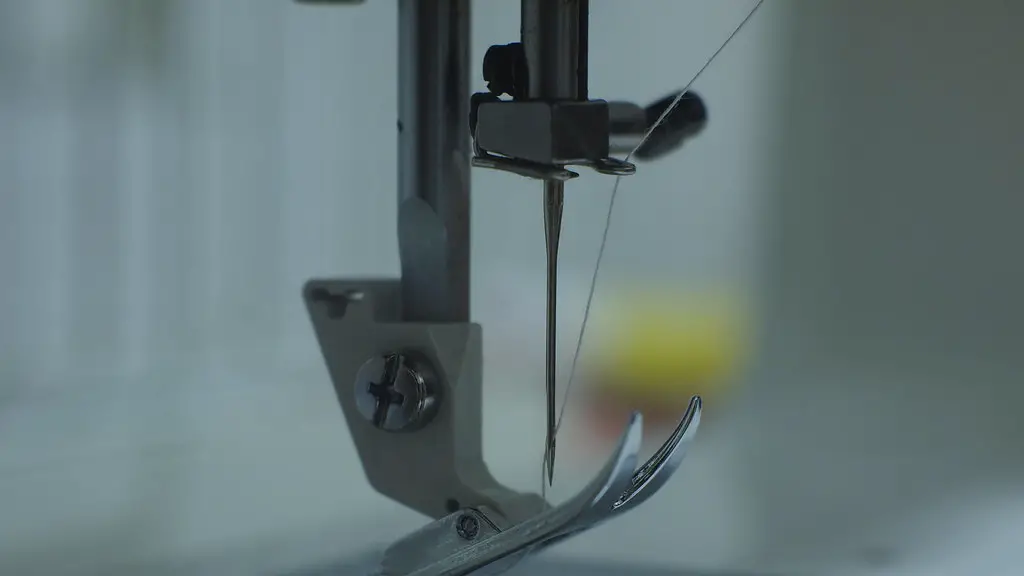
In addition to dusting and wiping, one of the most important maintenance requirements for a Singer machine is to lubricate it. There are two sections of the machine that primarily require lubrication: the presser foot and bobbin areas of the machine. To prevent damage to the unit it is important to use the proper oils and ensure adequate coverage of both areas.
Storing the Machine
When it comes to storing the Singer machine, keep it covered and in a climate-controlled environment when not in use. Covering the machine before storing it is an important step because it helps prevent dust, moisture, and other elements from affecting the sensitive components of the Singer. Covering the machine can reduce its exposure to damaging elements and prolong its functional life.
Troubleshooting the Machine
When it comes to troubleshooting any Singer machine, the first step is to ensure that the hardware has been properly assembled and the components are working correctly. It is important to review the owner’s manual and make sure all of the settings, screws, and bolts are correctly adjusted.
If there are any signs of fraying, rust, or dust on the hardware, it is important to locate the source of any issues and address them immediately. Checking the needles or thread regularly is also a good habit to have as it can help identify stylist wear and tear before it becomes an issue.
Preventive Maintenance
Finally, to keep a Singer machine running for a longer time, it is important to practice preventive maintenance. This involves regularly carrying out repairs and cleaning on the hardware itself, keeping it covered when not in use, and keeping the parts oiled and lubricated. Doing so can help keep the machine on top form for longer periods of time.
