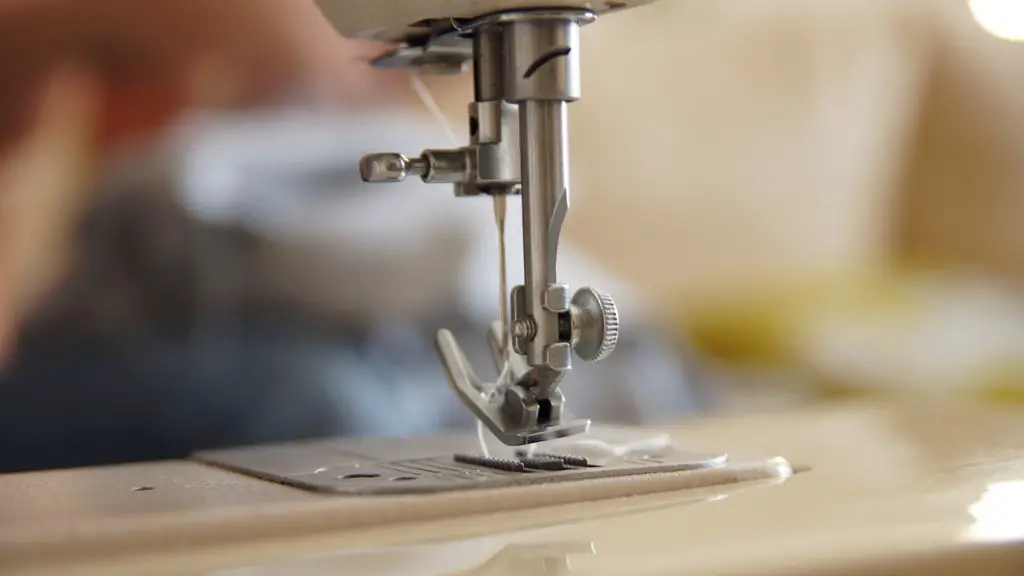
Are you ready to take your sewing projects to the next level? Singer sewing machines have been a mainstay in the industry for decades, but what do you do when they start to break down? If you’re feeling overwhelmed by your faulty machine, the best solution is to repair it yourself.
Repairing a Singer sewing machine is not as daunting as it seems and can be done quickly with some basic understanding of the machine’s components. The first step to repairing a Singer sewing machine is to identify the problem. Common Singer machine repairs include jammed needles, loose side plates, thread loops, and other mechanical failures. When diagnosing a specific issue with your Singer machine, the best resource is the machine’s owner’s manual. Having this manual on hand will provide you with the exact steps to take for a successful machine repair.
Once you identify the specific issue with your machine, the next step is to familiarize yourself with the parts of the Singer machine. This is important as replacing the wrong parts may result in further damage. To do this, simply review your owner’s manual or consult with a professional or a resource online.
Once you understand the parts, the next step is to start the repair process. Before doing so, make sure you have the right tools and supplies. This can include common tools such as screwdrivers and a few specialty tools that are Singer specific. In addition, it’s important to always use certified OEM parts for any Singer machine repair. Generic parts may be less expensive but will negatively affect your machine’s performance in the long run.
As you begin the repair process, keep detailed notes of the steps you took and any parts that may need to be replaced. This will help you stay organized and save time if you experience the same issue in the future. Additionally, be sure to wear protective clothing when working with your machine to maintain the safety of those around you.
Since many Singer machine repairs involve mechanical components, lubrication is an important step to take. Applying lubrication to areas of the machine that move is a simple way to extend the life of your machine. Additionally, it will bring new life to worn sewing mechanisms and help avoid future repair costs.
Once your repairs are complete and you feel confident the machine is operating correctly, it’s time to properly test the machine. To do this, sew a few seams with a scrap fabric to ensure the stitching is even and the machine is running smoothly. Once you’re satisfied, pack up any parts or tools used for the job and you’re done.
Cleaning a Singer Sewing Machine
In addition to repairing a Singer sewing machine, ongoing maintenance is essential in keeping the machine running as good as new. In order to keep all the internal mechanics of your Singer machine in good working order, a good deep-clean should be done every few months.
Before beginning, make sure that all of the machine’s components are disconnected and not plugged in. Depending on the last time you cleaned your machine, a deep clean may involve getting into the motor, dusting the internal mechanisms as well as scrubbing and polishing the external plate. For these tasks, use a soft cloth and lint-free cotton swabs dipped in a mild non-abrasive solution.
In addition to cleaning the mechanics, it’s important to wipe away any lint or dust build up left behind from your projects. Make sure to use a slightly damp cloth to remove all of the dust and lint from the bobbin case and other internal components. Additionally, use the soft brush attachment from a vacuum cleaner to gently remove the lint from any hard to reach spots.
Once the machine is free from dust and lint it’s time to give it a good oiling. Oiling the internal components of a Singer sewing machine is essential to keeping it running properly. Start by examining the machine’s owner’s manual for the correct oil to use. Then, use a cotton swab and add small drops of oil to the moving parts of your machine. It is important to not over-oil as this can cause damage to your machine.
And just like that, your Singer sewing machine is as good as new. With regular cleaning and maintenance, this machine will be running smoothly for many years to come.
Replacing Parts on a Singer Sewing Machine
If your Singer sewing machine is experiencing mechanical failure or damages, replacement parts may need to be purchased to make the necessary repairs. Singer is a major company, so finding parts is not difficult. If a part is malfunctioning or simply needs to be replaced, purchasing specific parts can be a cost-effective option.
To find out which parts you need, refer to the manual for the particular Singer machine you own. Once you identify the part number you need, do your research and compare the various brands and retailers. Since the parts can slightly vary, make sure the new part is designed to fit your machine correctly.
When ordering Singer parts online, be aware of the pricing. This is especially important if you’re buying from a third-party retailer, who may inflate the price of the parts. Since Singer machine parts can be expensive, consider ordering used or refurbished parts. Just make sure that the part is reliable and in good condition.
Before installing your new parts, spend some time researching the instructions online. This will ensure the new parts are installed correctly and the repair is a successful one. Additionally, some parts may require special tools to install, so make sure to have the right tools at hand before beginning.
Installation of the new parts is the next step, and this can be done quickly and easily. Be sure to follow the instructions closely and refer to the manual if needed. After installation, be sure to test the machine to make sure the parts are working and the machine is running as expected.
Spring Tension Adjustment on a Singer Sewing Machine
One of the parts in a Singer sewing machine that is prone to malfunctioning is the spring tension. Adjusting the tension of the spring can be tricky and should only be done by those with experience. Over-adjusting the tension can cause the machine to jam and break.
Before adjusting the spring tension, measure and record the current tension as listed in your manual. This will act as a reference point in case the tension needs to be restored back to its original setting. If all other repairs have been attempted and the machine is still having issue, then it may be time to adjust the spring tension.
To start this process, begin by unscrewing the loose parts of the machine that holds the tension spring. From there, slowly adjust the tension of the spring, measuring and recording the change as you go. Be sure to not go beyond the tension listed in the manual and to keep the tension consistent on both sides.
Once the tension has been adjusted, it’s time to test the machine. Sew a few lengths of fabric and take note of how the machine is running. If the tension needs further adjustment, simply change it in small increments until the desired result is achieved and the machine is running as expected.
Troubleshooting Common Singer Sewing Machine Problems
No matter the make and model of your Singer machine, there are common problems that can arise. Some of these issues include a machine that’s not winding the bobbin, thread breakage, and the machine failing to feed fabric. Luckily, these common issues can be resolved quickly with a few simple steps.
If your machine is having trouble winding the bobbin, make sure the bobbin is the right size and type for your machine. If the bobbin is the right size, examining the bobbin system for a broken spring or bird’s nest of thread can be the next step. Additionally, check the bobbin case is correctly installed in the machine.
If the machine is having thread breakage issues, it’s likely the tension is incorrect. It’s important to make sure that the thread tension is equal on both the top and bottom of the machine. To check the tension, sew a piece of cloth and make sure is the tension is consistent.
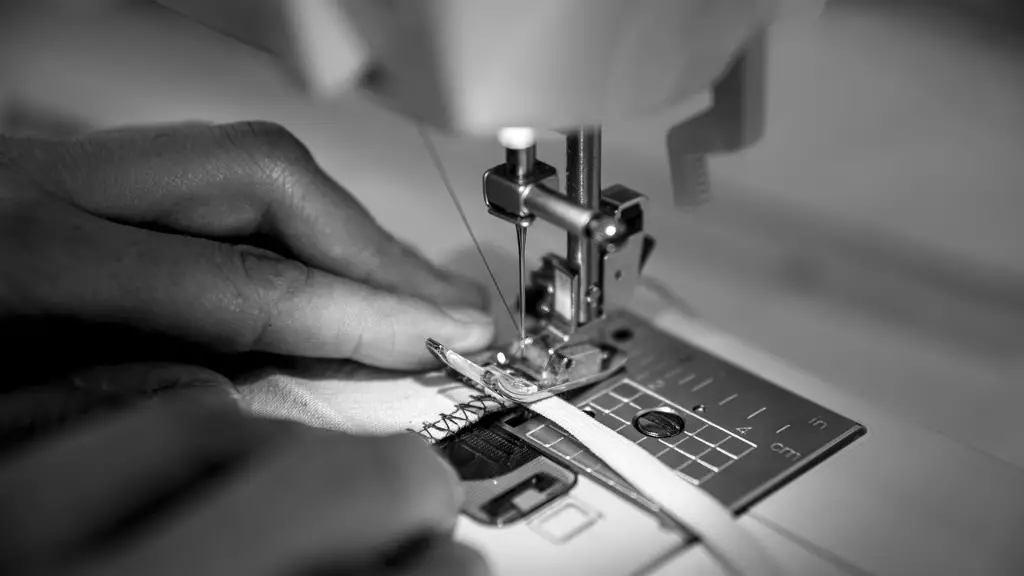
Lastly, the machine may be failing to feed the fabric. Make sure that the presser foot is up when beginning to sew. Additionally, if the needle is not properly slotting into the needle bar, adjusting the position of the machine may achieve the desired result.
Storing a Singer Sewing Machine
When properly stored, a Singer sewing machine can last for many years. As such, understanding the basics of storage is important in making sure your machine is always in top condition.
First, it’s important to assess the environment the machine will be stored in. Avoid storing the machine in overly moist, hot, humid and cold environments as this will negatively affect the machine’s performance when taken out for use. In addition, storing the machine in a place without direct sunlight will ensure it does not get damaged.
When packing the machine for storage, be sure to bubble wrap the needle plate, thread guide, and other parts to prevent them from being damaged. To keep the machine from rusting, use a lightly oiled cloth to coat the metal parts before storage.
Once the machine is stored, be sure to keep track of any parts needed for the machine. This can include spare needles, bobbins, thread and any special tools needed to take the machine out of storage. If there are any parts missing, this can be filled when the machine is taken out.
Always remember to use gloves whenever taking the machine out and putting it away to avoid the possibility of injury. And, when packing the machine away, make sure all components are secure, and the machine is tucked safely away until the next use.
