1 Materials Needed
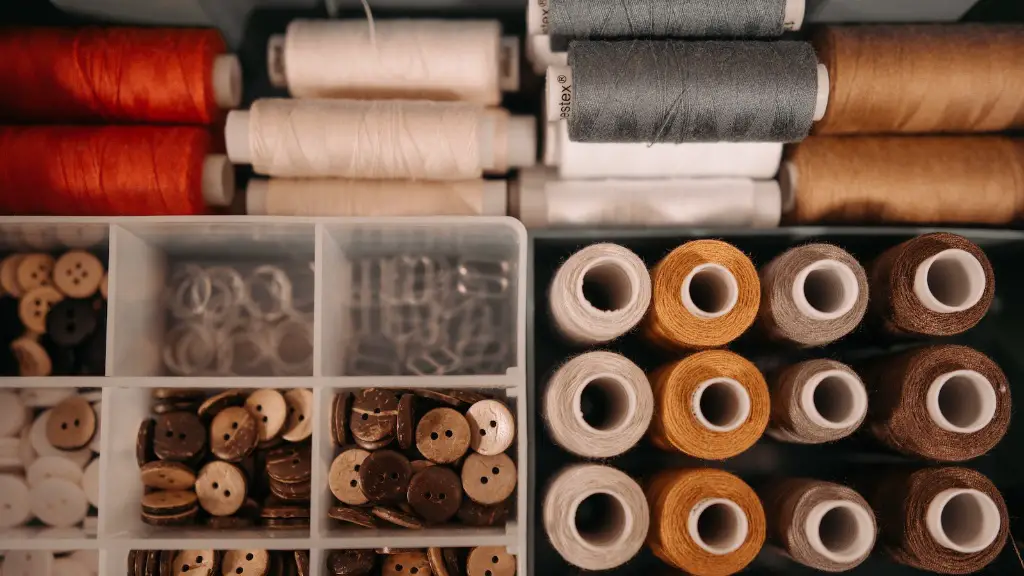
Replacing a zipper without a sewing machine requires a few basic items. These include a seam ripper, scissors, thread, heavy-duty needle and pins. Many people use a zipper foot, which is specially designed to make installation easier. Additionally, a mark pencil or a vanish pen can be used to make markings on the fabric easier to remove.
2 Removing the Old Zipper
The first step in replacing a zipper is to remove the old one. The seam ripper is used to cut and remove the stitches that hold the zipper in place. It can also be used to remove any unwanted markings that may have been left behind. Start by making sure the zipper is in the fully open position. Then, use the seam ripper to carefully cut through the stitches, separating the zipper from the fabric. Care should be taken not to damage the fabric or the zipper.
3 Preparing the New Zipper
Once the old zipper has been removed, the new zipper will need to be prepared for installation. This involves threading the zipper into the correct position and making sure the stops at both ends are securely in place. Thread the left side of the zipper together with the top part of the fabric and then the right side with bottom part. The zipper teeth should be facing in the right direction and securely held in place with pins.
4 Sewing the New Zipper
The next step is to sew the new zipper in place. Using a heavy-duty needle and strong thread, begin stitching the zipper to the fabric. It is important to make sure the stitches are straight and evenly spaced. Depending on the fabric, it may be necessary to use a zipper foot. This will make the process of sewing the zipper much easier and more efficient. Once the sewing is complete, check to ensure all stitches are secure and the zipper is properly aligned.
5 Adding Extra Detail
For additional detail, it is possible to add additional stitching or upholstery techniques such as basting or topstitching. This can be done with a regular needle and thread, or with a special stitch, such as an overlock stitch. This additional detail can help to protect the zipper and create a more professional and polished look.
6 Finishing the Project
When the sewing is complete, double-check the stitches to make sure they are securely in place. Apply some fray-check to the edges of the zipper to help protect it from fraying. Finally, it is important to press the fabric in order to help it lay flat and give the project a finished appearance.
7 Alternatives to Sewing
For those who do not have access to a sewing machine, there are other options for replacing a zipper. For example, it is possible to use fabric glue to secure the zipper in place. This can be a difficult process and may require multiple attempts to get the zipper perfectly aligned. Alternatively, velcro can also be used to attach a zipper.
8 Tips for Success
When replacing a zipper without a sewing machine, there are several tips that can make the process easier. Making sure the zipper is properly threaded and aligned is key, as this will ensure the zipper is installed correctly and looks professional. Additionally, using a zipper foot or a basting stitch can help to make the project easier and produce a better result.
9 Different Types of Zippers
There are many different types of zippers, each with their own set of unique features. Some of the most common types include metal teeth, plastic teeth, waterproof zippers, and two-way zippers. It is important to consider the type of fabric when choosing a zipper, as some fabrics will require a different type of zipper than others.
10 Advanced Techniques
For those looking for creative ways to incorporate zippers into their designs, there are a variety of advanced techniques that can be used. One technique is to use zippers to create pleats or pockets, or to add decorative details. Additionally, zippers can be used to create interesting shapes or patterns on garments.
11 Visible or Invisible Zippers
When installing a zipper, it is important to consider whether it should be visible or hidden. Visible zippers are used when the design of the garment requires the zipper to be visible. Alternatively, hidden zippers are typically used when the zipper needs to be concealed.
12 Tools and Accessories
In addition to a sewing machine, there are various tools and accessories that can make replacing a zipper easier. Tools such as a pin cushion and cutting board are helpful for keeping pins and threads in place. Additionally, zippers can be purchased in a variety of colors and sizes.
13 Professional Installation
For those who are not confident in their abilities, or who simply want a professional finish to their project, it is possible to hire a tailor or seamstress to install a zipper. A professional will be familiar with the process and will be able to advise on the best course of action for the fabric type and zipper type.
14 Different Types of Fabrics
When replacing a zipper, the type of fabric used can make a big difference. Different fabrics, including cotton, silk, wool, and synthetic fabrics, require different methods of installation, so it is important to research the best technique before beginning the project. Additionally, considering how the zipper will be used will influence the type of fabric.
15 Alternatives to Replacement
Rather than replacing a damaged zipper, it may be possible to repair it instead. Many zippers can be renovated with a simple re-threading, or by replacing the pull. These repairs can be done with simple tools and materials, and will help extend the life of the zipper.
16 Care for Zippers
Proper care for zippers can help extend their life and reduce the need for replacements. Gentle care and regular maintenance can help to keep zippers functioning properly. This includes regularly washing the fabric in which the zippers are installed, and avoiding products that may break down the zipper teeth, such as bleach or fabric softener.
17 Pros and Cons
Replacing a zipper without a sewing machine has its advantages and disadvantages. On the one hand, it can save time and money, as a sewing machine is not needed. However, without the aid of a machine, it can be difficult to ensure a neat and professional finish to the project. Care and precision are essential when hand-stitching, and it may take multiple attempts to get the zipper installed correctly.
18 Additional Support
For those who are new to replacing a zipper, there are a variety of resources available for guidance. YouTube tutorials, books, and blogs can provide information on the best techniques. Additionally, there are specialty stores that sell zipper installation kits, which can be helpful for beginners.
19 Important Safety Measurements
Finally, when replacing a zipper, it is important to be aware of the safety measures that must be taken. It is crucial to wear protective gloves to prevent the needles and other tools from puncturing the skin. Additionally, it is important to be aware of the restrictions that come with working with sharp objects.


