How to Replace Thread in a Sewing Machine
Whether you sew professionally or as a hobby, at some point, you will likely need to know how to replace the thread in a sewing machine. It’s a simple process, but there are some essential tips and tricks that can help you get the job done quickly, easily and with a flawless finish. This article will provide practical guidance on how to replace thread in a sewing machine, and also offer advice from experts on how to make the whole process even smoother.
Steps to Replacing Thread in a Sewing Machine
The process of replacing thread in a sewing machine can be divided into five straightforward steps:
1. Take out the bobbin case: Begin by taking out the bobbin case from the needle area of your machine. Usually, you’ll need to use a screwdriver or other tool to loosen the screw on the bobbin case and to remove it.
2. Remove the thread from the bobbin: Once the bobbin has been exposed, use your fingers or a tool to cut the thread from the bobbin and discard it.
3. Insert the new thread: Place the new thread in the bobbin and feed it through the threading guide. Ensure that the thread did not become tangled. If it did, it can be difficult to unravel and could cause the thread to bunch up when you’re sewing.
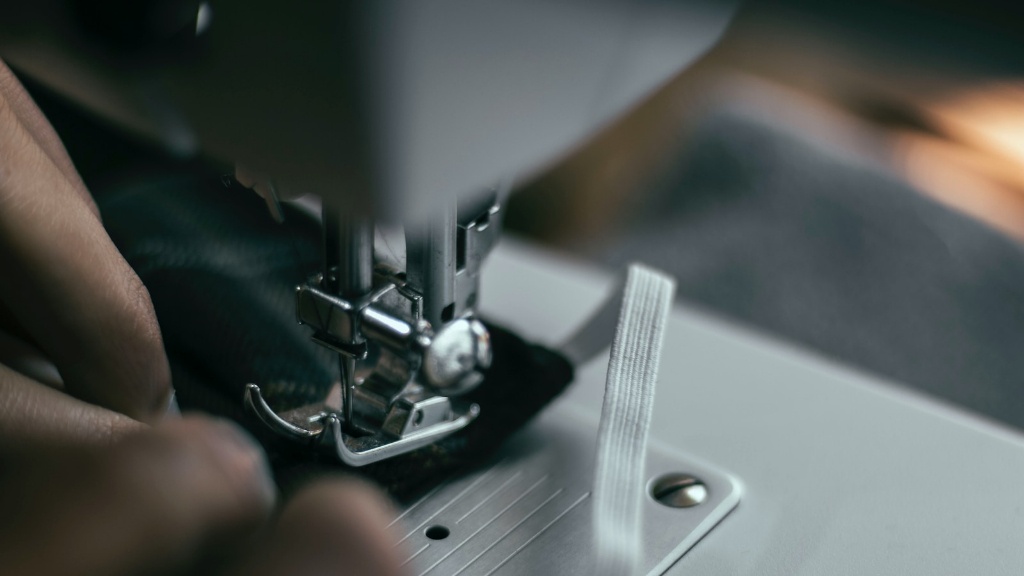
4. Return the bobbin case to the machine: Insert the bobbin case and make sure the thread is correctly lining up with the needle. If the thread is not correctly positioned, the needle can become tangled, which will prevent the machine from working.
5. Pull up the upper thread and adjust the tension, if needed: The upper thread needs to be pulled up through the needle. Depending on the type of thread, you might need to adjust the tension of the machine to ensure a beautiful and even finished product.
Tips and Tricks for Thread Replacement
The following tips and tricks will allow you to replace thread in your sewing machine efficiently:
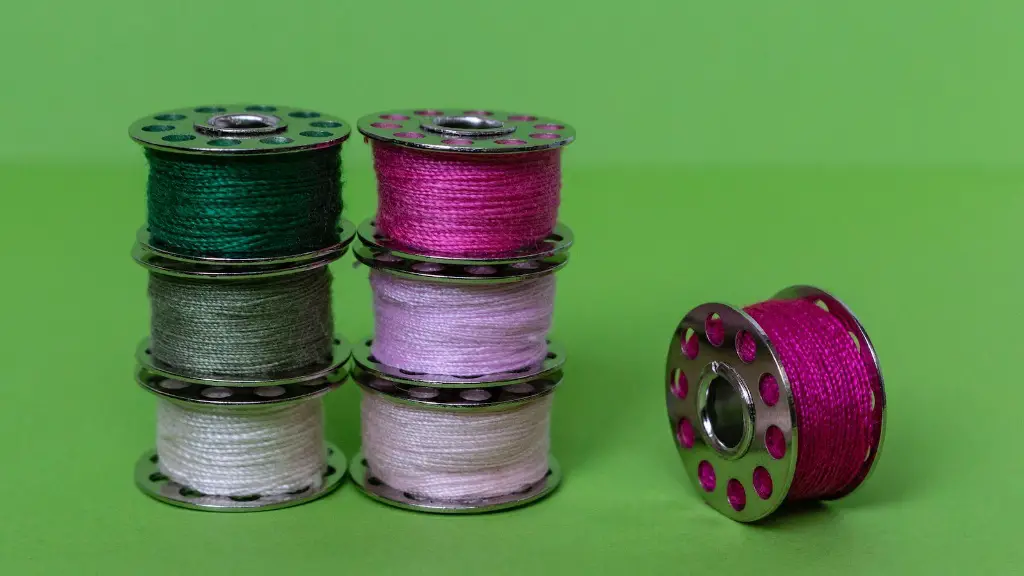
1. Label your thread and bobbins: Labeling your thread and bobbins makes life much easier when it comes to replacing thread. This way, you’ll always know which thread to use and where to find it.
2. Take note of the thread tension: When changing the thread, take note of the tension that was set the last time and try to set it to the same level when you replace it. This helps to guarantee a flawless finished product.
3. Don’t be afraid to experiment: Experimenting with different types of thread can result in a wide range of textures and patterns. For example, if you’re working on a project that involves blending different colors and textures, then you can use this as an opportunity to experiment with different types of thread.
4. Remember to clean your machine often: It’s important to keep the machine clean, especially after replacing thread. This will help ensure that the thread is in optimal condition and will help to reduce the chances of the thread becoming tangled. It’s easy to forget about cleaning, but it’s essential for the longevity of your machine and for producing quality work.
Expert Advice for Replacing Thread in a Sewing Machine
We spoke to leading experts in the sewing industry to gain their insights and advice on replacing thread in a sewing machine.
Jessica Reynolds,owner of Thimble Threads: “When you’re replacing the thread, it’s important to use the right type of thread for the project. If you don’t, you could end up with an uneven finish or worse, a ruined project. It’s always best to take the time to research what type of thread is best suited to the project.”
David Stevens,owner of Sew Sew Studio: “Replacing thread in a sewing machine is a pretty straightforward process, but it’s easy to forget one important step—adjusting the tension when you’re done. Don’t forget to do this, as it can have a huge impact on the quality of your finished product.”
Holly Anderson,owner of Stitch & Sew: “When replacing the thread, it’s important to use the right type of thread for your machine. Different types of machines are designed for different types of thread, so make sure to do your research and purchase the right type for your machine. Otherwise, you could end up with a poor quality finish.”
How to Troubleshoot Threading Issues
If you’re experiencing any threading issues while replacing the thread in your sewing machine, the following tips will help you troubleshoot the problem and get your project up and running:
1. Check the tension: The most common issue when it comes to threading is the tension being incorrect. If the tension is too tight or too loose, it can cause the thread to bunch up or unravel. If this happens, double-check the tension and adjust it as necessary.
2. Wash the thread: If the thread has been washed incorrectly, it can cause the thread to become tangled. If this is the case, it’s best to start over and wash the thread again according to the instructions.
3. Don’t use the wrong type of thread: Different types of threads are designed for different types of projects. Make sure you’re using the right type of thread for the job. If you’re not sure, you can always check with an expert.
4. Check for obstructions: If there’s anything obstructing the needle or bobbin, it can cause the thread to become tangled or not be threaded correctly. Make sure to check for any obstructions before you start to thread your machine.
Replacing The Bobbin
Replacing the bobbin is a similar process to replacing the thread. To replace the bobbin, you’ll need to:
1. Open the bobbin case: To do this, you’ll need to use a screwdriver to loosen the screw on the bobbin case, which will allow you to open the case and gain access to the bobbin.
2. Take out the bobbin: Once the bobbin case has been opened, use your fingers or a tool to unhook the bobbin and remove it.
3. Insert the new bobbin: Insert the new bobbin, making sure it is positioned correctly in the bobbin case. Make sure the thread is lined up correctly with the needle before you close the case back up.
4. Thread the bobbin: Once the bobbin has been inserted, thread the bobbin by pulling the thread through the threading guide. This can be accomplished by using a tool or by using your fingers.
5. Close the bobbin case: Once you have threaded the bobbin, carefully close the bobbin case and tighten the screw. Make sure the bobbin is positioned correctly in the case, as this will help to ensure optimal threading.
Cleaning Your Sewing Machine
It’s important to regularly clean your sewing machine to help maintain a high quality finished product. To do this, you should:
1. Unplug the machine: Before you begin to clean your machine, make sure to unplug it – even if you think it’s off, it’s always better to be safe than sorry.
2. Clean the machine: Use a soft cloth and a mild detergent to wipe down the machine. Focus on the areas where dust and thread can accumulate, such as the thread guides and needle areas.
3. Oil the machine: Use a good quality sewing machine oil to lubricate the moving parts of the machine. The type of oil you use should be recommended by the manufacturer; using the wrong oil can damage the machine.
4. Check for broken or worn parts: While you’re cleaning your machine, check for any broken or worn parts and replace them if necessary. This will help to ensure your machine is in optimal condition.
Organizing YOur Thread and Fabric
Organizing your thread and fabric is an essential part of the sewing process, as it can help you to quickly and easily find the materials you need when you need them. The following tips will help you to efficiently organize your thread and fabric:
1. Invest in an organizational system: Investing in an organizational system can make a world of difference when it comes to keeping your thread and fabric organized. Look for a system that is tailored to your needs and will last a long time.
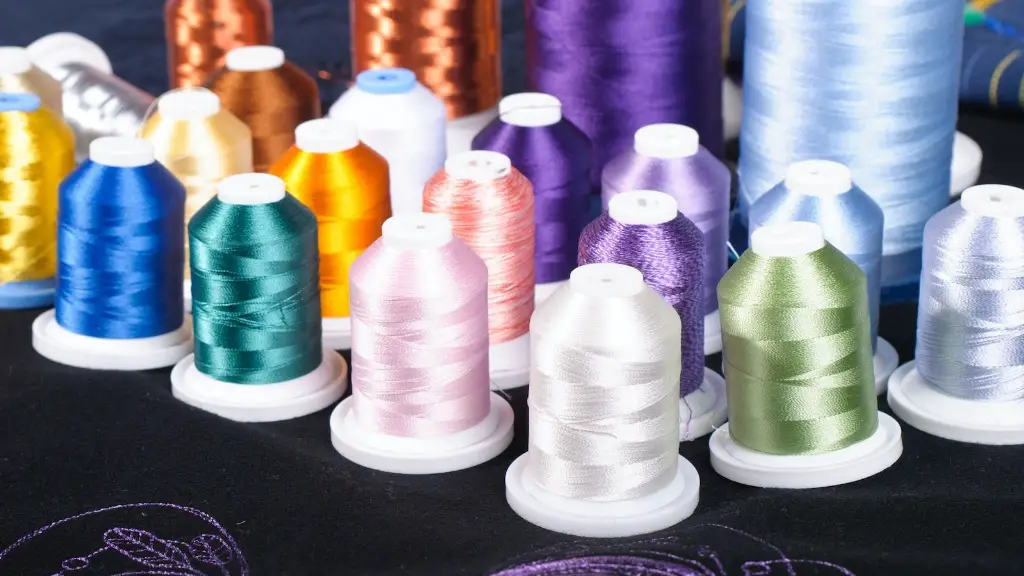
2. Separate the threads by color and weight: Separating the threads by color and weight can help you to quickly identify the thread you need and to ensure that you have the right one for the job. It’s also essential for projects that involve blending different colors and textures.
3. Label everything: Labeling your threads and fabrics is essential, as it makes them much easier to find. It also prevents mix-ups and ensures that you never use the wrong thread or fabric for a project.
4. Keep an inventory: Keeping an inventory of your threads and fabrics is an effective way to track what you have and ensure you always have the necessary supplies. It’s also great for budgeting, as it can help you to see what materials you need to buy and which ones you already have.
