Steps of Satin Stitch with a Sewing Machine
Satin stitch is a kind of embroidery stitch that is used to make a dense, smooth surface. It often looks like a continuous line of stitching, but it can also be created with a fill pattern. While the traditional method to create a satin stitch involves using a needle and thread, it can also be made with a sewing machine. By following a few simple steps, it’s easy to learn how to satin stitch with a sewing machine.
Stabilizing the Fabric
The first step to succeed in making a satin stitch with a sewing machine is to stabilize the fabric. This ensures that the fabric doesn’t move or bunch up while you are stitching. The type of stabilizer that you choose will depend on the fabric. One option is to use a lightweight fusible interfacing. For heavier fabrics, water-soluble stabilizer is often preferable, as it is less bulky and easier to remove. If you are creating a project with multiple layers, like a tote bag or a blanket, cut-away stabilizer is usually the best option.
Threading the Sewing Machine
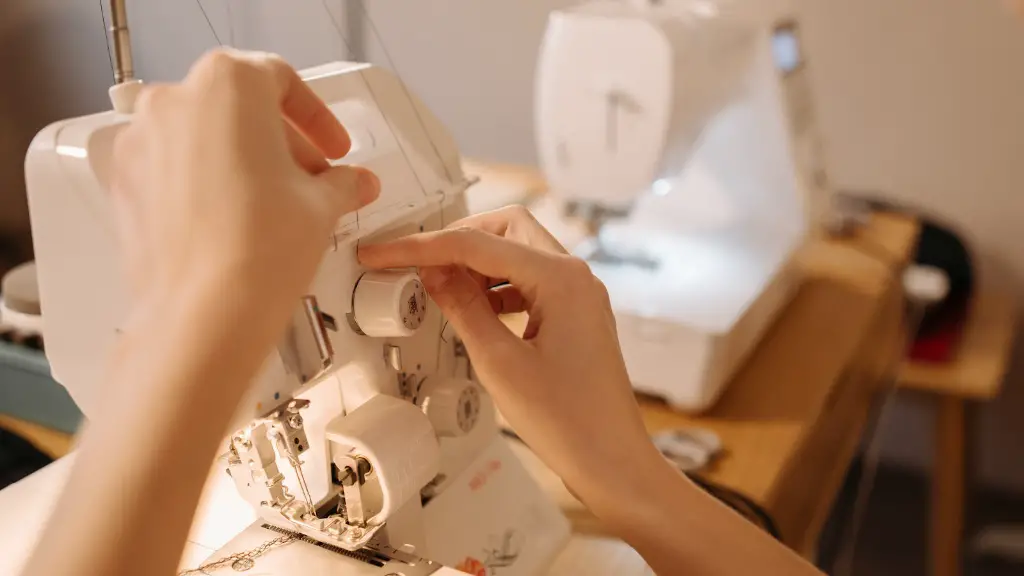
The second step is to thread the sewing machine correctly. This ensures that the machine is able to sew smoothly and without skipping stitches or breaking threads. Make sure that the thread is properly secured to the machine and that the tension is correct. Also, it’s wise to use a topstitch needle, as the thicker shank of this type of needle helps to prevent skipped stitches.
Using the Right Stitch
The third step is to select the right stitch on the sewing machine. Straight stitches and zigzag stitches are both possible for creating satin stitches, but most experts recommend the zigzag stitch as this gives a better result. If your sewing machine doesn’t have a zigzag stitch, you may want to use a special foot or attachment.
Planning the Design
The fourth step is to plan the design. This involves selecting a pattern, deciding how dense the stitches will be, and how wide and long each stitch should be. Before beginning to sew, it’s important to make sure that the design will fit in the allotted space. If needed, you can use a ruler to measure the area and make any adjustments to the design.
Sewing the Satin Stitch
The fifth step is to begin sewing the satin stitch. As you sew, you should slowly and steadily move the fabric, ensuring that the stitches are evenly spaced and placed in the desired pattern. It’s important not to pull or stretch the fabric as this can cause your design to come out incorrectly.
Testing and Finishing the Stitch
The sixth step is to test the stitch to make sure that it looks right and that the stitches are secure. To do this, gently pull on the embroidered fabric to make sure that it doesn’t come loose. You can also use a pin to secure the stitches as this will help to prevent fraying. Finally, use scissors to remove any excess stabilizer or threads around the edges of your embroidery.
Caring for the Satin Stitch
The seventh step is to take care of the satin stitch. To maintain the stitch’s freshness, use cold water and mild detergent when washing the fabric. If needed, press the embroidery with a warm iron, but be sure to use a damp cloth between the iron and the fabric to prevent scorching.
Uses of Satin Stitch
Satin stitch is a versatile embroidery technique that can be used for a variety of different projects. It is commonly used for quilting, heirloom stitching, edging, and appliqués. It’s also a great choice for creating logos, monograms, and custom patches. By learning how to use the satin stitch with a sewing machine, you can easily create beautiful designs that are perfect for a range of garments or accessories.
Tips and Tricks
To make the process of satin stitching with a sewing machine easier, there are a few tips and tricks that you can use. Before beginning a project, practice on a scrap piece of fabric to get familiar with the stitch pattern. If using an embroidery machine, you can use pattern templates and designs to speed up the process. For straight lines, you can also use a ruler or guide tape to help keep the stitches even. Finally, don’t forget to mark the spacing of the stitches with a marking pencil or pen.
Choosing the Right Threads
Before beginning a satin stitch project, it’s important to select the right kind of threads. For best results, use a machine embroidery thread. This type of thread is designed to be used with a sewing machine, as it is stronger and more durable than regular thread. When selecting the color, make sure to pick threads that are of a similar weight as this will help to ensure that the stitches are even and consistent.
Choosing the Perfect Satin Stitch
When selecting a satin stitch to use for a project, there are a few factors to consider. The type of fabric and the type of stitching you are going to do will both affect the type of satin stitch you choose. If you’re stitching on light-weight fabrics, opt for a straight line or feather stitch. For heavier fabrics, opt for a zigzag stitch or a fill pattern. If possible, it’s wise to do a few practice runs to become accustomed to the stitch before beginning your project.
Troubleshooting Common Issues
If you are having difficulty creating a satin stitch with a sewing machine, some troubleshooting may be needed. For uneven stitching, check the settings on the machine and adjust the tension as needed. If the stitches are not securing properly, use a topstitch needle to prevent skipped stitches. If the stitches are coming out too tight, make sure that you are not pulling the fabric as you sew. With a little practice, you should be able to master creating beautiful satin stitches with a sewing machine.
Advanced Techniques
Once you become familiar with the basics of satin stitching with a sewing machine, it’s possible to move onto more advanced techniques, such as creating a herringbone stitch. This pattern creates a unique textured look that is perfect for creating decorative accents on clothing or handbags. If this is something you’d like to try, adjust the settings on the machine accordingly. Select a zigzag stitch and then adjust the stitch length and width to create the desired pattern.
Conclusion
Satin stitching with a sewing machine is a great way to create beautiful embroidery. By following these steps and using the right materials and supplies, it’s easy to learn how to make this technique look great. With a little practice, you’ll be able to create professional-looking designs in no time.


