Get Familiar With A Sewing Machine
Learning how to serge with a sewing machine is a great way to create professional-looking seams and hems with ease. Taking the time to familiarize yourself with your sewing machine is the best way to ensure that you get maximum use out of the machine. Start by reading the instruction manual that comes with your machine and familiarize yourself with the parts. Understand the different stitch types that your machine can produce, as well as how to thread the machine and set it up for the desired stitch.
Setting Up Your Sewing Machine For Serging
Once you have familiarized yourself with your machine, it’s time to set it up for serging. Different machines will have slightly different configurations – consult your manual to find out what works best for your machine. If your machine has a plate specifically for serging, then you’ll need to attach it to the machine. If your machine does not have this, you may need to adjust the stitch length, tension, and other settings.
Preparing The Fabric
It is important to make sure that your fabric is ready for serging. First, press the fabric flat with an iron to ensure that there are no wrinkles or creases. Then, measure the length of fabric you will need to serge around the perimeter, adding an extra ½ inch for seam allowance. Cut the fabric to the appropriate length, then fold the fabric in half, with the wrong side of the fabric facing out. Iron the fabric once more to ensure that it is completely flat and ready to serge.
Threading The Sewing Machine
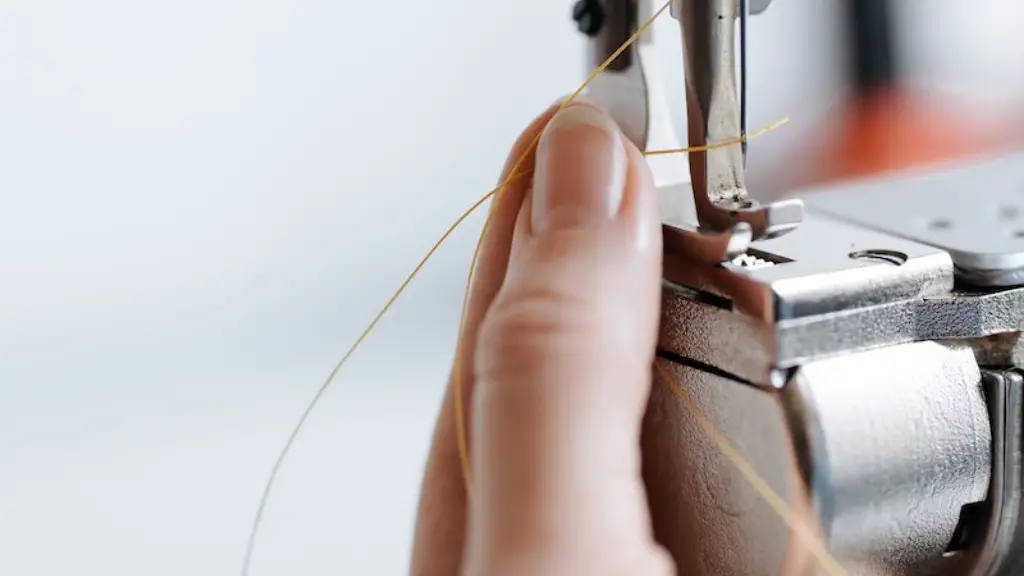
Threading the sewing machine properly is essential to achieving a successful end result. Start by threading the upper tension discs, then the lower tension discs. Once those are in place, you can thread the loopers and needles. Consult the manual for your machine for exact instructions for how to thread the loopers and needles. Make sure to also thread the bobbin, taking care to wind the thread thread tightly around the bobbin.
Beginning The Serging
Once the fabric is prepared and the machine is threaded, it is time to start the serging. Place the fabric on the feeder and begin to stitch, making sure to follow the guides on the machine. Adjust the settings as needed to ensure that the stitches are even and uniform. To avoid puckering and other common issues, use a light touch while stitching. Stop and adjust the machine settings if necessary as you go.
Finishing Off Your Project
Once you have finished serging the fabric, it is time to tie off the thread. Take extra care to make sure that the knots are tight and secure. Then, trim the excess threads, making sure not to cut any of the fabric. The last step is to iron the fabric to press the serged seams and hems, giving them a professional finish.
Thread
When it comes to serging, the quality of thread used matters just as much as the machine. Make sure to choose a high-quality thread that matches the fabric you are serging. Many people opt to use polyester or nylon thread for their serging projects, as it is durable and lightweight. Avoid cotton thread, as it is not as strong and may fray during the serging process.
Needles
The choice of needle used is also important to creating a successful serging project. Make sure to check the manual for your machine to find out what size of needle to use. It is often best to use a sharp needle, as these are more suited to serging that regular point needles. Additionally, using an appropriate needle will help to reduce fabric puckering and fraying.
Presser Foot
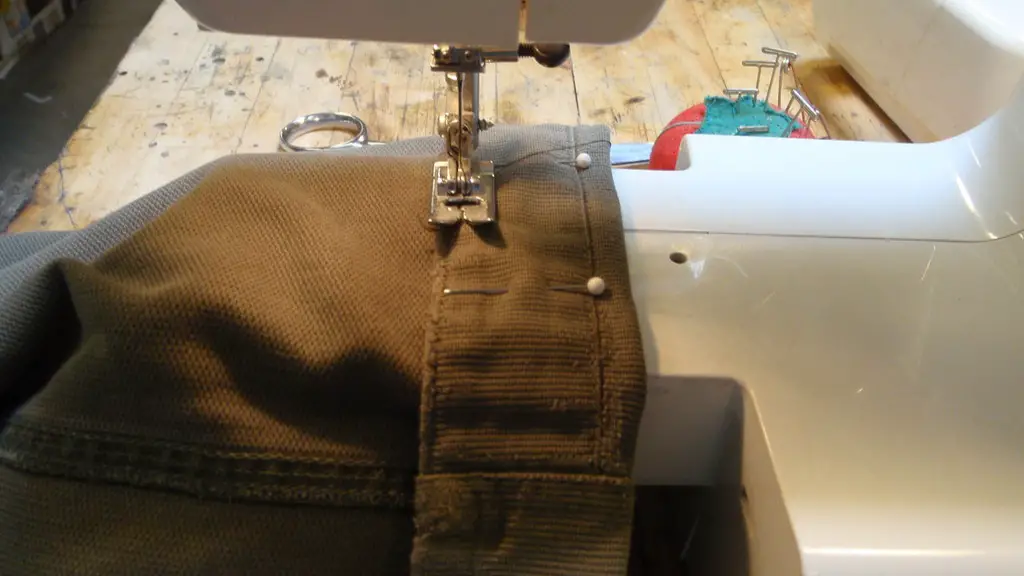
The presser foot plays an essential role in serging projects. The presser foot holds the fabric in place while you sew, so it is important to make sure that it is correctly fitted. Adjust the presser foot height to suit the type of fabric and thickness of the fabric. A good presser foot will provide better control of the fabric and result in a better-finished product.
Maintenance
Maintaining your sewing machine is just as important as learning how to serge. Regular maintenance will help to keep your machine in working condition and ensure that you are getting the best results for all of your sewing projects. Regularly oil and inspect the machine, paying close attention to the moving parts and making sure that they are clean and free from debris. Additionally, inspect the needle and look for any bends or chips, and make sure to clean the bobbin case and inspect the belt.
Additional Accessories
Using additional accessories can help to make the serging process easier and more efficient. A fabric ripper is a great tool to have on hand, as it will quickly remove any unwanted stitches that you may make while serging. Additionally, using a fabric guide is also useful. The guide will help to keep the fabric straight while serging and reduce any unwanted bulk. Other useful accessories include pressing tools such as a seam roller and pressing ham.
Testing Your Results
Before you move on to the next project, it is important to test the seams and hems that you have just serged. Take a few scraps of the same fabric that you were working with, and serge two pieces together. Check the stitch tension and stitch length. Make sure that the stitches are even and uniform and that the tension is correct. If everything looks good, then you can move on to the next project.
Practice Makes Perfect
Serging a project can take some getting used to. As with any skill, practice will make perfect. Start by serging small projects, then move on to larger ones. Pay close attention to the machine settings, and make adjustments if necessary. Don’t be afraid to make mistakes – it is all part of the learning process. With practice, you will find that it is much easier to create beautiful serged projects.


