How to clean up and get fabric out of a sewing machine
Tidying up after a day of sewing doesn’t have to be a daunting task and that includes getting the fabric out of the machine itself. With just a few simple tools and instructions, it doesn’t take long to take good care of your machine and get all of that fabric out in no time.
When picking out a vacuum to assist with the cleaning of your machine, look for something slim enough for tight spaces. Small, handheld vacuums with short, slim covers are best for this task as they will fit into small nooks and crannies for more thorough cleaning. Make sure that the filter is either washable or replaceable in order to get rid of the dust, dirt and lint that can accumulate in your machine. To further ensure that the machine stays clean, a can of compressed air can also be used to blow away any stubborn dust and debris.
It’s important to note that the majority of fabrics used to make clothes and other items are susceptible to shrinking, so when preparing to remove the fabric from the machine, it’s important to use warm water in order to reduce the risk of shrinking. Start by lightly misting the fabric with warm water and then gently pulling it away from the sewing bed. It may help to use a pair of needle-nose pliers if the fabric has become a bit tricky. Most fabrics can also be removed with either a damp cloth or cotton swab. Once the fabric is removed, be sure to use the vacuum on the machine again to remove any remaining lint and fabric particles.
As with any piece of machinery, regular maintenance is vital in keeping the machine running smoothly. Before getting fabric out of the machine, make sure to perform any required maintenance tasks, such as oiling gears and moving parts, cleaning any lint or fabric particles from the feeder, and lubricating any metal parts. With these tasks completed, the machine should run smoother with more reliable results. Additionally, be sure to check the needle for any damage or defects and replace if necessary.
In addition to cleanup, it helps to cover the machine after each use. This helps shield the machine from dust, dirt, and pet hair and also helps keep the machine looking neat. Machine covers are easily available online or can even be homemade by using old sheets or blankets.
Cleaning and getting fabric out of the machine doesn’t have to be a difficult task. With minimal equipment and the proper instructions, it’s simple to keep the machine in good condition. Plus by doing regular maintenance, the machine will run much better and the fabric pieces will be far superior in quality.
Cleaning The Pins and Presser Foot
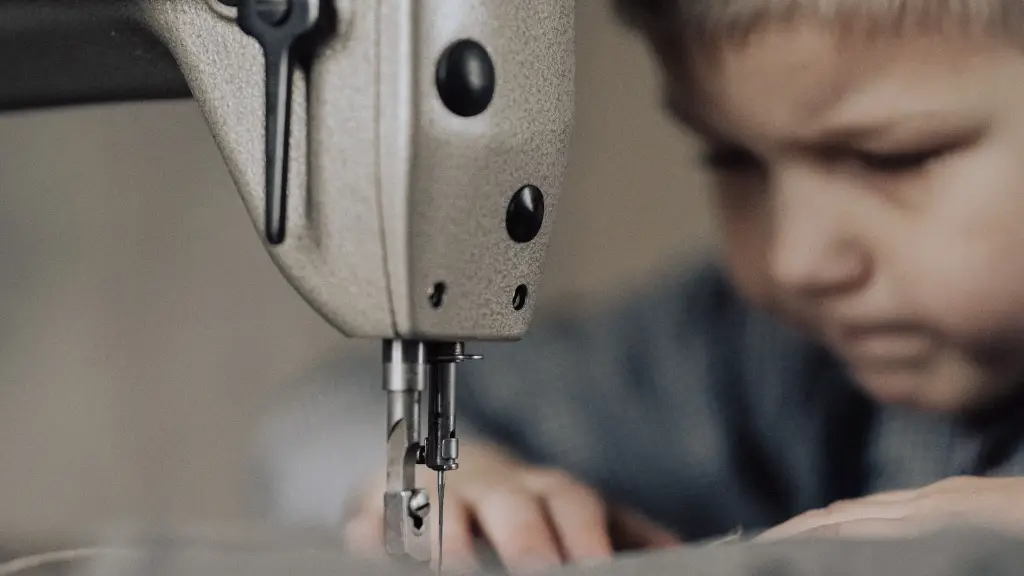
By now, most of the fabric should be gone from the machine and the area should look much cleaner. However, it is still important to clean thoroughly around the needles and presser foot. These areas can be especially tricky to reach and can easily collect fabric and lint. Pay special attention to the presser foot area and if needed, use a toothpick or small brush to get into really tight spaces.
Once fabric and lint have been removed, be sure to oil the surface around the needles and presser foot to help keep the machine running smoothly and prevent further build up. Also inspect the foot for any damage as impaired presser feet can lead to easier breaking.
Finally, be sure to clean off the bobbin holder and bobbin case. It’s often a good idea to have the bobbin holder and bobbin case serviced at least once a year, as dust and lint can collect in the case and affect the flow of the fabric.
Replacing the Needle
Though not necessary every time, it’s also good to take a few minutes and check the sewing machine needle to see if it needs to be replaced. The needle is the first point of contact with the fabric and will eventually wear down, leading to reduced performance, fabrics bunching up, broken threads, and poor stitches.
When checking a needle, the best place to look is at the tip and eye of the needle and if these areas show any signs of defects or wear, the needle should be replaced. Depending on the type of fabric used, a needle should be replaced anywhere from 1 to 8 hours of use.
Most sewing machines come with a variety of needles and it’s important to use the correct needle for the correct fabric. If unsure, consult with the user manual that came with the machine or consult with a tailor or sewing professional for help.
When replacing the needle, first use the old needle to make sure the new needle is the correct size. Take the new needle and, when inserting it into the needle bar, make sure it clicks, which means it has been inserted correctly.
Keeping the Machine in Good Condition
After cleaning, making sure the needle is in good condition and replacing it if necessary, it’s a good idea to give the machine a once-over and make sure that all of the moving parts are functioning properly.
Operate the needle up-down and presser foot lift-down adjusters to make sure they work freely. Additionally, check feed dog height adjusters and pull on the bobbin case to make sure it is seated properly.
Also, check that the stitching pattern and sewing length are usually and be sure to inspect the thread as well. Lastly, adjust the tension and check the stitch density in order to get optimal performance.
Flagging Loose Threads
During cleaning and sewing, it’s common for thread to become trapped in the various feeder and bobbin mechanisms of the machine. These threads can easily lead to bunching, pulling, and extra noise, so it’s important to inspect the bobbin holder and bobbin area for broken, knotted, and excess thread and remove as necessary.
If the thread is too tightly wound to remove with the fingers, a small pair of scissors can be used to carefully remove the thread without damaging the fabric. Additionally, it is important to look carefully and remove any other dirt and lint as this can lead to messy and irregular stitching patterns.
Testing The Machine
Once all of the cleaning and maintenance activities have been completed, it’s a good idea to give the machine a test drive before using it for the next project. To test the machine, grab a piece of extra fabric that is similar to what will be used for the upcoming project, such as cotton or linen, and sew a few sample stitches.
Look closely at the stitches to make sure they are even, straight, and precise, and pay special attention to the tension of the thread. If the stitches pulled out easily or if the fabric felt tight while sewing, the tension may need to be adjusted. If all looks good, the machine is ready to begin the next project.
Storing The Machine
Once a project is complete and the machine is no longer in use, it’s important to store the machine properly. Before putting the machine away, it’s always a good idea to remove the bobbin and the fabric from the machine and make sure it is clean and free from dust, dirt, and lint. For added protection, it’s a good idea to cover the machine with a piece of canvas or a large cloth.
If the machine has to be stored for a long time, it is a good idea to oil the moving parts as this will help to keep them free from rust. Also, avoid storing the machine in a hot or damp area as this can cause additional damage and affect the sewers performance.
Finally, once the machine is stored, check on it periodically to make sure the machine is in good working condition. Lastly, when it’s time to take the machine out of storage, make sure to follow the above instructions before using again.
