Condition Check
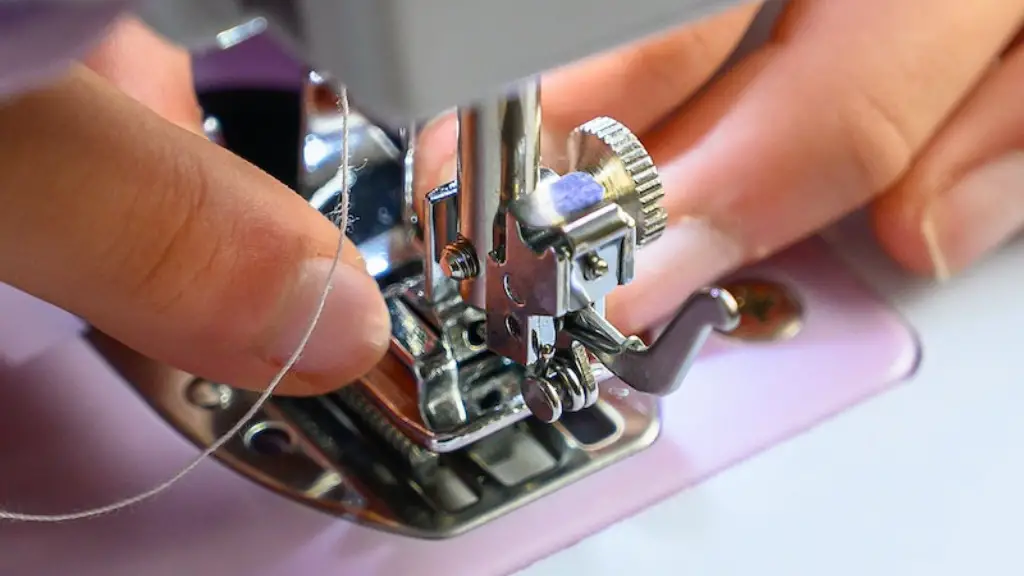
Servicing a Husqvarna sewing machine requires a thorough condition check. Firstly, you must open up the sewing machine and take a visual inspection of the area. Look for any loose parts or anything else that looks off. Check the power cord and wiring to make sure there are no loose connections or exposed wires. Make sure the bobbin case is firmly in its place and that the presser foot and feeder dogs are in good working order. Finally, check the needle plate to make sure it is secured in the correct position and that all screws are tight.
Oil and Lubricate
After the condition check, you must oil and lubricate the surfaces inside your sewing machine. If you have been using the machine for a long time, it may have clogged up with lint. Using a vacuum hose, vacuum out any lint from the bobbin case and needle plate to ensure that all moving parts are lubricated properly. Use a few drops of lubricating oil on any moving parts such as the feeders and other moving components. Make sure to avoid any contact with the motor as it can cause a serious malfunction.
Tension Adjustment
Tension adjustment is a crucial part of servicing your Husqvarna sewing machine. Incorrect tension setting can cause problems while sewing and inaccurate stitches. Inspect the tension dials to make sure that they are in the correct position and that there is no wear or damage. If you find any problems with the tension dials, replace them. Adjust the tension according to the manufacturer’s instructions. Use a tension gauge to double check the tension, and ensure that it is within the recommended range.
Replacement Parts
If any parts need to be replaced, check if they are genuine Husqvarna parts. Genuine Husqvarna parts are designed for the highest performance and can last longer than other parts on the market. If it is not a genuine Husqvarna part, it may not fit properly, or it may cause a malfunction. When replacing parts, ensure that you have the correct size screws, clamps, and other components, and that everything fits tightly into place.
Cleaning and Maintenance
Regular cleaning and maintenance of your Husqvarna sewing machine is essential to keep it in top condition. Before cleaning, unplug the machine and lay it flat on a clean surface. Use a damp cloth and mild detergent to clean any lint or dirt from all visible surfaces. Take a look at the manual for more detailed information on cleaning. Finally, make sure all switches, knobs, and other components are in the correct position for safe operation.
Checking and Testing
After cleaning, check all components to make sure they are in working order. Ensure that all screws, clamps, and other fasteners are properly tightened and that they are secure. Test the motor by plugging the machine in and switching it on. Make sure that the machine is running smoothly and that there are no wobbling or strange noises coming from it. Also test the various stitches and settings to make sure they are accurate.
Troubleshooting
Troubleshooting is the final part of servicing your Husqvarna sewing machine. If you are having problems with your sewing machine, take a look at the troubleshooting section of the manual to find a solution. If you cannot find the solution, you can contact the manufacturer for a more immediate resolution. Don’t forget to check the power cords, wiring, and other components to make sure there are no loose connections that can cause a malfunction.
Drive Belt Replacement
If your Husqvarna sewing machine is making a strange noise, you may need to replace the drive belt. If this is the case, make sure you disconnect the machine from the power source before taking off the drive belt. Disassemble the machine to get access to the drive belt, and inspect it for any damage. If it looks like it needs to be replaced, slide off the old one and slide the new one in its place. Make sure it is secure and firmly in its place before switching the machine back on.
Bobbin Case Adjustment
Incorrectly adjusted bobbins can cause serious problems while sewing. To adjust the bobbin correctly, remove the bobbin case from the machine and inspect it for any wear or damage. Look for any cracks, chips, or other signs of wear and make sure everything is in perfect condition. Inspect the spring mechanism to make sure it is adjusted correctly and working properly. Replace any damaged parts and ensure that the bobbin case is firmly in its place.
Testing and Finishing
Finally, after servicing, you must test your Husqvarna sewing machine to make sure everything is in working order. Test the machine by plugging it in and switching it on, and checking that all settings are accurate. Sew some test stitches to make sure that everything is working properly and that the tension, presser foot, and other settings are all in their correct positions. After testing, give your Husqvarna sewing machine a final cleaning and you are ready to sew!


