Tools Required
Before you begin servicing your sewing machine, it is essential to make sure you have all of the correct tools. Most sewing machines come with a toolbox but it is wise to double check your individual machine’s instructions for what tools are needed. Generally, items such as flathead and Phillips screwdrivers, tweezers, a small brush, and a ruler are all important to have ready. Additionally, it is a good idea to also have a flashlight handy so you can see into small, dark spaces.
Having a cloth and a damp cloth may also be necessary, as your sewing machine is likely to accumulate dust and lint over time. If there are any delicate parts that are difficult to get to, some cotton buds are also useful.
Initial Diagnosis
The next step to servicing your sewing machine is to conduct a thorough diagnostic check. It is a good idea to check the stitching by creating several test pieces, ensuring that the thread tension is consistent and there are no skipped stitches. If there are problems, it is much easier to spot at this point.
Check to see if the fabric you are using continues along the path specified for it to pass. Is there any drag on the fabric or does it move through the machine smoothly? If there is dragging, it could be that the bobbin is too tight, meaning it needs to be adjusted. If the fabric is moving freely, then it is likely that the bobbin is correctly adjusted.
It is important to check for any signs of rust. Oftentimes, rust can lead to other significant problems, so these should be looked for and addressed as soon as possible. If there are signs of rust, it is best to seek professional help so the machine can be repaired and rust removed properly.
Cleaning the Machine
Once the initial diagnostic check is complete and any repair requirements have been noted, it is time to start cleaning the machine. Use the small brush to carefully brush away any lint, dust and threads that have built up. Make sure to clean the bobbin case, bobbin, and the presser foot. It is important to remember not to use too much pressure when using the brush.
Any stuck threads can be gently cut away with the scissors and then removed with the tweezers. If there are delicate areas that are difficult to get to, cotton buds can be used to help remove dirt and debris. Once all the visible dirt is removed, use the damp cloth to wipe away any remaining dirt or dust. Do not use too much liquid as this could cause damage to the internal parts of the machine.
Check & Adjust the Settings
One of the most important steps in servicing a sewing machine is to check and adjust the settings. First, check to make sure the machine is properly plugged in at both the outlet and the machine itself. The speed control needs to be set correctly, depending on the item you are sewing. The presser foot should also be checked to make sure it is firmly secured and correctly positioned. Finally, the needle should be correctly placed and correctly secured with the screw.
The next step is to adjust the tension. This is a very delicate procedure and should not be taken lightly. It is best to refer to the machine’s instructions as to how to adjust the tension as every machine is different. Once the tension is adjusted to the correct settings, it is important to test it by sewing a few stitches.
Check & Replace Parts
After checking and adjusting all of the machine’s settings, the next step is to check any parts that might need to be replaced. Most common parts such as needles, bobbins, and spool pins may need to be replaced every now and again. It is best to refer to the instruction manual for your machine as to how often these should be replaced.
There may also be be other parts that need replacing such as the foot controller, motor pulley, or the drive belt. If any of these parts need to be replaced, it is best to seek the help of a repair technician. They will be able to provide you with the best advice as to how to go about the process.
Lubricating the Machine
Finally, it is essential to service your sewing machine by lubricating it. Use an oil specifically designed for sewing machines and apply it to all moving parts. Start by lubricating the feed dog and the bobbin case, then move on to the motor and the shuttle race. Pay special attention to any parts that seem to be more sensitive or prone to wear and tear.
Once the entire machine has been oiled, allow time for the oil to penetrate the parts before using it. Make sure to check the manual for the right type of oil and the quantity to be used. Once you’ve finished servicing the machine, you are then ready to get back to sewing.
Changing the Needle
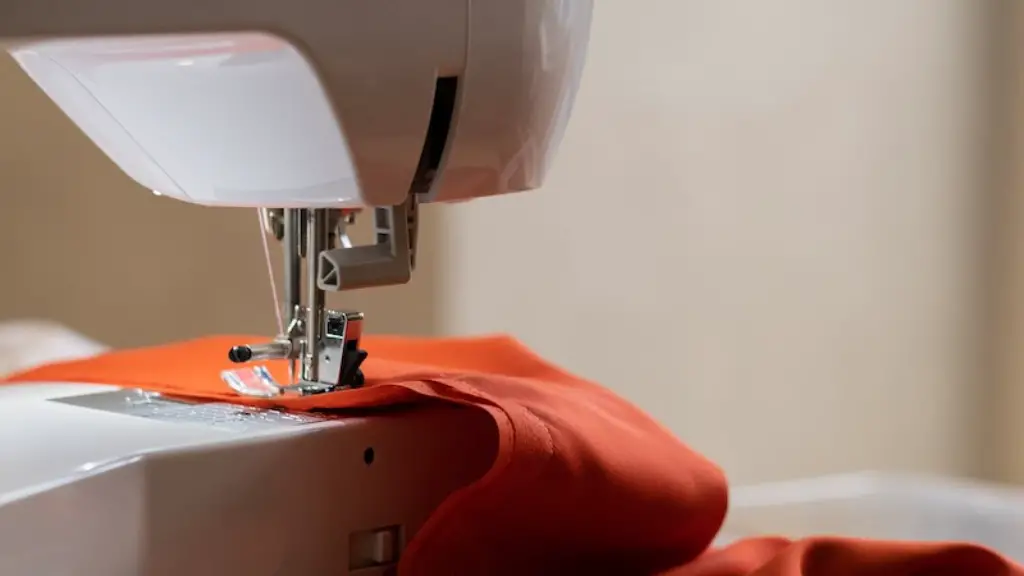
When servicing your sewing machine, it is important to change the needle. If the needle is not correctly placed, the fabric may not be able to move freely. To remove the old needle, use the flat head screwdriver to unscrew the needle clamp. The old needle can then be pulled out and a new one inserted. Make sure the new needle is the correct size for the type of fabric you are using. Secure the needle into the clamp with the screw and make sure it is tight.
Once the needle is correctly placed, it is important to check the tension. Adjust the tension dials as instructed in the machine’s manual. It is also important to check the needle for damage. If there are any nicks or bends in the needle, these should be replaced as they can harm the fabric.
Check the Presser Foot
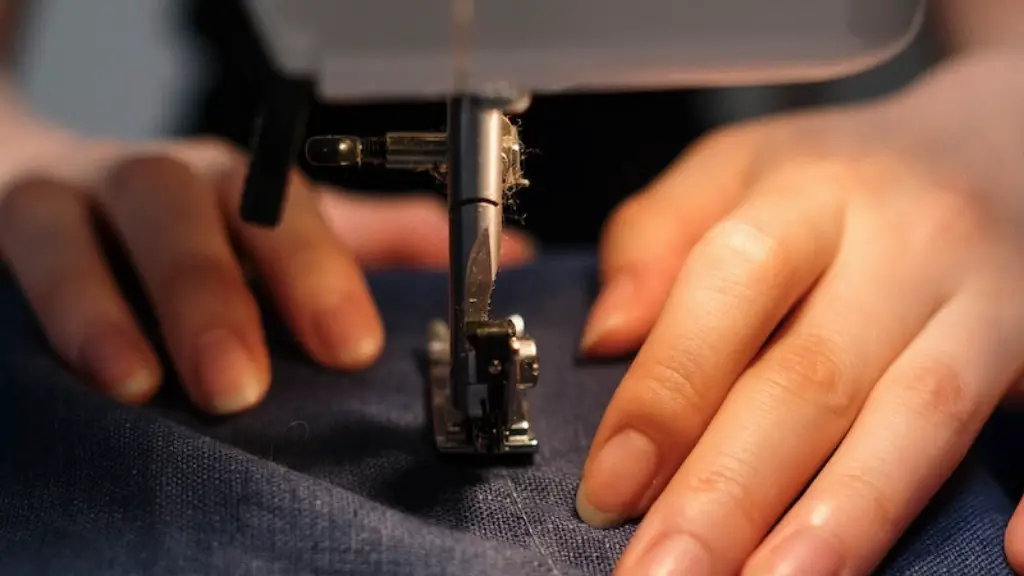
The presser foot is an important part of the machine and is responsible for keeping the fabric in place and the stitches even. Start by checking the tension. The tension should be adjusted so that it is snug enough to hold the fabric in place, but not too tight that it causes puckering or creasing.
Next, check the height of the foot. Make sure it’s positioned correctly for the type of fabric you are using. If the foot is too high, it can make it difficult to sew. If it is too low, it can cause tugging on the fabric. There may also be other settings that need to be checked and adjusted, so be sure to refer to the manual for your machine.
Check the Motor
The motor is responsible for powering the sewing machine and needs to be checked regularly to make sure it is running smoothly. The motor should be regularly checked for any wear and tear, and should be replaced if necessary. Similarly, the motor pulley should also be checked so that it is in the correct position, as an incorrect pulley will cause the sewing machine to run slower or faster than usual.
If the motor or pulley need replacing, it is best to ask for professional help. If the motor is not functioning properly, the sewing machine can no longer be used until it is repaired or replaced.
Check the Drive Belt
The drive belt is a rubber band-like belt that connects the pulley to the spool and the presser foot. If the belt is cracked or worn, it could cause the machine to run more slowly or to skip stitches. To check the belt, pull it and inspect it for any damage. If there is any damage, it should be replaced before using the machine.
Once the belt has been replaced, it should be retensioned. This means tightening the belt so that it is snug and will not slip. Retensioning the belt should also be done when replacing the motor pulley or spool.
Check the Power Cord
An important part of servicing your sewing machine is to check the power cord. The cord should be free of any defects and should be securely connected at both ends. If the power cord is loose or frayed, it should be replaced immediately. It should also be checked for signs of overheating, which could indicate a problem with the machine.
Once the power cord has been checked and replaced, if necessary, make sure to thoroughly check all of the machine’s settings and parts before using it. It is also a good idea to check the machine every few months for any signs of wear and tear.
