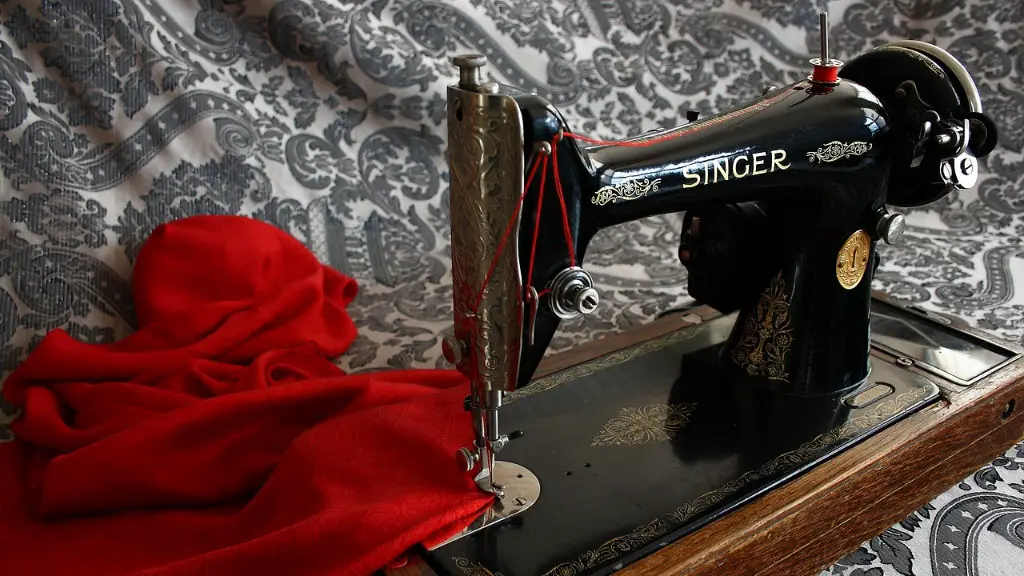
How To Set A Singer Sewing Machine
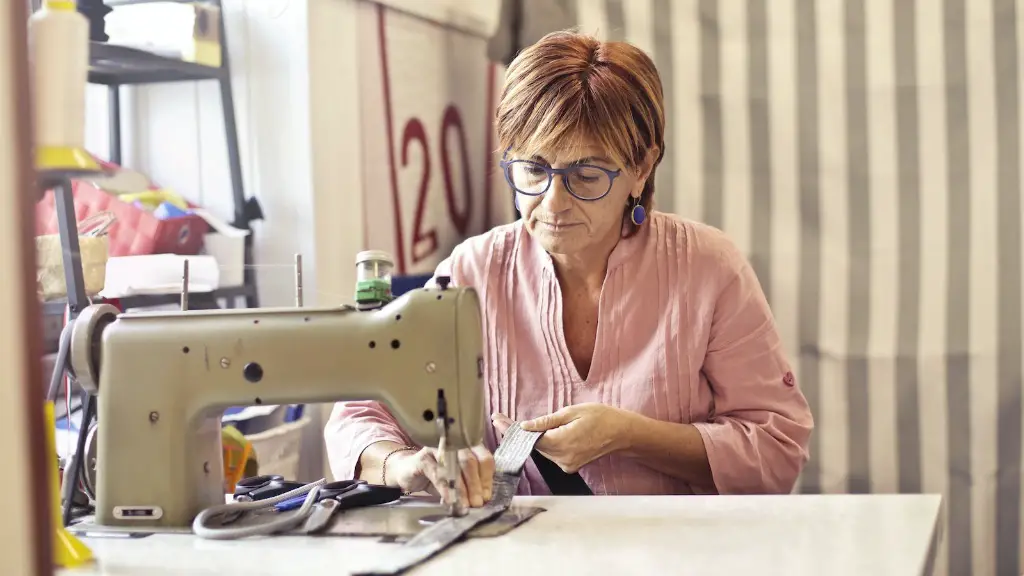
A sewing machine is a great way to create beautiful, handmade clothing! Whether you’re just starting your sewing journey or an experienced seamstress, it’s important to understand how to use and set up a Singer Sewing machine. In this article, we will offer some helpful tips, tricks and advice to help you get the most out of your sewing machine!
To make sure your Singer Sewing machine is working its best, it’s essential to set it up correctly. To get your machine up and running, you’ll need to familiarise yourself with some of the basic parts. While there are many slight variations of sewing machines, we will be focusing on the basics here.
Threading the machine
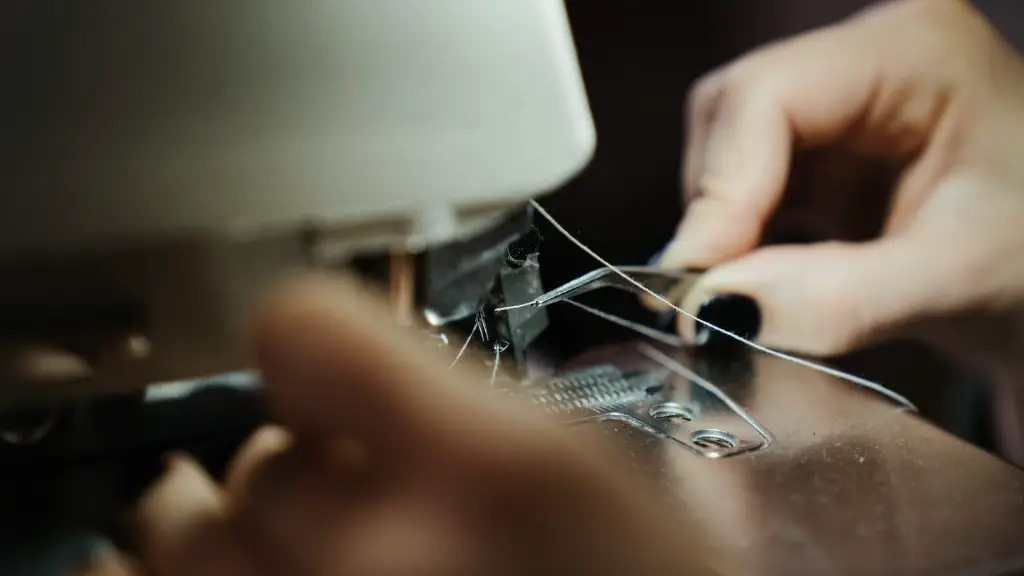
First, you’ll need to thread your machine. Start by checking that the presser foot is in the up position. Then, locate the spool holder and thread it around the thread guides, passing the thread through the take-up lever, the needle clamp, and through the eye of the needle. Make sure the thread is securely attached to the spool holder. Once you’ve completed this, pull the thread through the tension discs and then thread the bobbin following the diagram on the sewing machine, if available.
Setting Up the Stitch Regulator
The stitch regulator helps you to adjust the correct tension on your machine and is essential in achieving accurate stitches. To set up the stitch regulator, first, press the release button and then turn the hand wheel so that the needle is in its highest position. Now, move the stitch regulator to its required setting. To check that the tension has been set correctly, place some fabric under the presser foot and lower it. Make sure the thread is even both on the underside and top side of the fabric.
Selecting the Stitch
Now that the machine is threaded and the tension is set, you’ll need to select the stitch. Locate the stitch selector and turn the dial to the desired stitch. The stitch selector should have a manual or a diagram to help you select the correct stitch. You can experiment with different stitches and see what works best for the project you are working on.
Replacing the Needle and Presser Foot
To ensure the best stitching results, replacing the needle and presser foot is an essential step. Make sure to check the needle size is appropriate for the type of fabric you are stitching. Also, check whether the needle is inserted correctly and that the flat side of the needle is facing backwards. When replacing the presser foot, lift the lever, slide off the old one, and replace with the new one. Make sure that the presser foot is securely attached and the lever is back in the down position.
Other Adjustments
Once the basic setup is done you can then make additional adjustments to suit your project. This could be anything from changing the length, width or even the type of stitches. To make these adjustments, look for the relevant dials, knobs or buttons on your machine and alter them to the desired settings.
Stitch Samples
Before you begin your project, it’s important to sample the stitches you’ll be using. To do this, grab some scraps of your fabric, measure out 8-10 cm and attach them firmly to the seam plate. Next, select your stitch and use the sample fabric to check how the stitch looks on the fabric. Keep in mind the needle size, tension and presser foot you’re using and make any necessary adjustments.
Inspect Your Seams
Inspecting seams is also a crucial step as this will help you to understand the full capabilities of your machine. Take some of your finished pieces and inspect the quality of the seams. If you spot any issues, go back and make the required adjustments e.g. re-tensioning, needle replacement etc. Practise makes perfect, so keep stitching and experimenting until you are satisfied with your results.
Summary
It’s essential to understand the basics of setting up a Singer Sewing machine if you want to get the most out of it. Follow our step-by-step guide to correctly thread, set up and adjust your machine. After this, you can experiment with different stitches and make any necessary adjustments until you get the desired results. Once you are familiar with the setup and adjustment process, making handmade clothes will become easier and enjoyable.
Creating a Seam Allowance
It is important to know the difference between allowance and tolerance. So, to ensure a good quality and neat stitch it is important to create a seam allowance. With the seam allowance, you can measure the fabric pieces against the pattern and ensure accuracy. To create a seam allowance, use a ruler or measure tape to measure the required allowance from the pattern line. Once, you have this measurement then use a pencil to mark all the fabric pieces. Make sure to mark the wrong side of all pieces.
Essential Sewing Tools
To create a neat stitch, you will need some essential tools. A pair of scissors, a seam ripper, a tape measure, pins, marking chalk, bobbins and a cutting mat are essential tools. A pair of scissors will help you trim the seams and remove the excess fabric. The seam ripper is important because it will help you remove any unwanted stitches. A tape measure will help you double check the length, width or other measurements of the fabric. Using pins and marking chalk will help you create a neat seam. Finally, a bobbin and cutting mat will help make the overall process easier.
Using the Right Needle
Using the right needle for your project is also very important. Make sure to check the fabric type and the size of the needle before starting your project. Different sizes of needles are used for different fabrics for example, denim fabric will require a size 90 needle and smaller fabrics require a size 70 needle. Make sure to choose the appropriate needle according to the type of fabric you are working on.
Feed Dog Adjustment
Before you get started, you have to check the pressure of the feed dog. You will find the feed dog lever just above the needle plate. This lever will help you adjust the pressure of the feed dog according to the fabric you are working on. If you are using a thicker fabric then you need to increase the pressure and for a thinner fabric, you need to decrease the pressure. Make sure to check the pressure before starting your project.
Pre-Stitching Care and Maintenance
It is important to take care of your machine before and after starting your project. Before you start stitching, make sure to clean the machine properly. Dust may cause jams or other damage to the machine. You should also regularly oil the machine according to the instructions given in the manual. Dust and dirt particles can settle on the machine if you do not oil it regularly.
Cleaning the Machine
After the project is finished, it is important to clean the machine properly. You should clean the machine after each project to avoid dust or dirt buildup. Remove the threads and pins from the machine. Clean the bobbin case and the needle plate with a damp cloth. Clean the machine’s body with a soft cloth lightly dampened with water and a gentle soap. Make sure to dry the machine properly before storing it away.
