Basis of Brother machines
Brother is one of the most well-known sewing machine brands. This is partly because of the durability and reliability of their products, but also because of the extensive and diverse range of machines available. Whether you are a beginner or an experienced sewer, chances are that Brother has a machine that fits your needs. Learning how to use a Brother sewing machine is relatively simple and can be done in a few simple steps.
First, it is important to understand the basic components of a Brother sewing machine. At a minimum, a Brother machine includes the following: a machine head, needle, thread, bobbin, tension knob, stitch length regulator, power switch and a power cord. As you learn more about the process and techniques of sewing, you may decide to upgrade to a model with additional features or accessories. Each Brother machine has a manual and a quick-start guide that should help you become familiar with the machine’s features.
Set-up Instructions
Before you start to use your Brother sewing machine, it is important to make sure it is properly set up. The first step is to locate the power switch on the side of the machine. Make sure the power switch is in the OFF position, then plug the power cord into a power outlet. Once the machine is plugged in, you can turn on the power switch.
Another important step is to set the stitch length and tension. This can be done by turning the stitch length regulator and the tension knob to their predetermined settings. The manual that comes with the machine will provide more information on what these settings should be.
Finally, you need to install the bobbin and the needle correctly. The bobbin should be inserted in the bobbin case, then placed in the bobbin holder, located on the right side of the machine. To insert the needle, unscrew the needle clamp and insert the needle, making sure to match the flat side of the needle to the flat side of the clamp. Properly installing the needle and the bobbin is essential for a successful sewing experience.
Threading the Machine
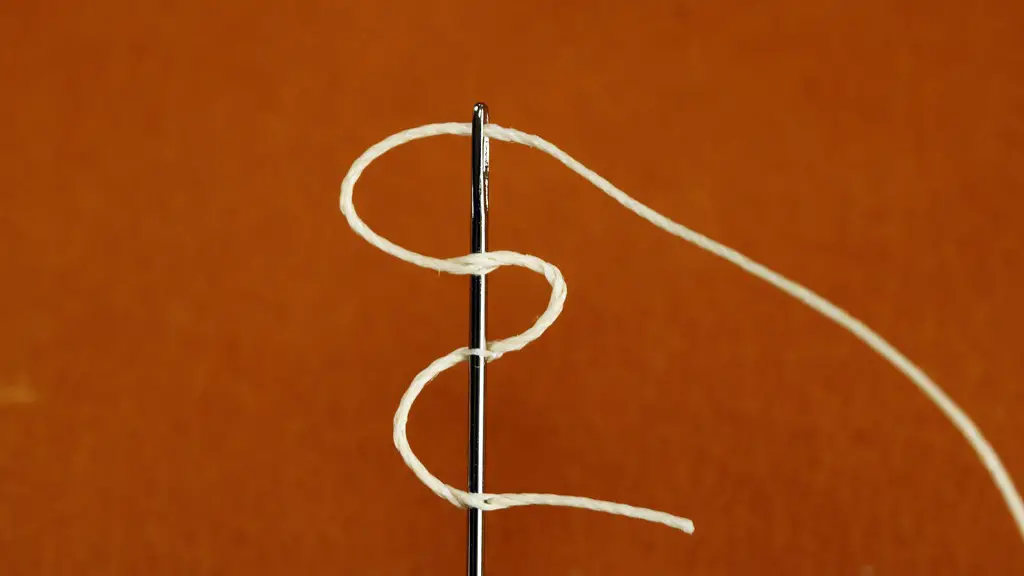
Threading the Brother sewing machine is relatively simple, but there are a few steps you should take to ensure it is done correctly. The first step is to open the top cover of the machine and insert the spool of thread onto the spool pin. Then, guide the thread through the thread guide, the thread tension disc, and the take-up lever. Finally, thread the needle from the front to the back and secure by turning the handwheel counterclockwise.
Now the machine is ready to use. Make sure the foot controller is attached to the power switch and ensure the power switch is in the ON position. Begin sewing slowly and uniformly, as this will help ensure that the machine functions properly and without any mishaps.
Knowing the Difference between Different Presser Feet
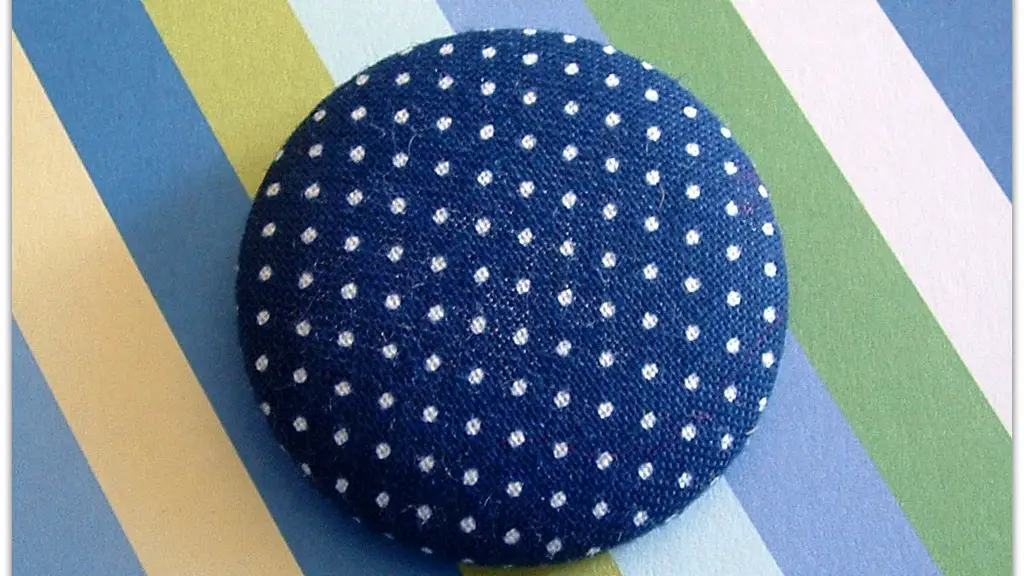
Presser feet can be used to perform a variety of functions while using the machine, such as gathering fabric, attaching trim, sewing on buttons and more. Your machine may come with a standard presser foot, but there are many others to choose from, each designed to do a different job. Knowing the difference between these presser feet and understanding how to use them can make all the difference when it comes to mastering Brother sewing machines.
The most common presser feet include the walking foot, the 3-way even feed foot, the overlock foot, the invisible zigzag foot, the button sew-on foot and the hemmer foot. The best way to become familiar with these presser feet is to read the manual that comes with your machine and practice using them.
Also Need to Clean the Machine Regularly
A key point of owning a Brother sewing machine is understanding the importance of regular maintenance and care. Regularly cleaning the machine can help prevent a build-up of lint or dust, which can affect the machine’s performance. To clean the machine, use a soft brush to remove any dust or lint on the machine’s exterior.
You should also unplug the machine and use a long, thin Phillips head screwdriver to loosen the screws that hold the needle plate in place. Lift the needle plate with care and use a damp cloth to clean the feed dogs. Reattach the needle plate and tighten the screws.
Make sure to lubricate the moving parts regularly before sewing. This will ensure that the machine operates smoothly and without any resistance.
Tips to Troubleshoot Common Sewing Machine Problems
It is important to understand that all sewing machines have their quirks and there will be times when the machine will not work as expected. One of the most common problems is stitch skipping. If this happens, it is usually due to the tension being set too high, or the needle being inserted incorrectly.
If the thread keeps getting tangled or bunched up, proceed to check that the spool of thread is correctly placed in the machine, as well as checking the thread guides and tension discs. All of these components should be free from debris or lint, as a buildup of debris can cause the thread to jam up or get tangled.
Skipping stitches and tangled threads can also be prevented by regularly cleaning the machine, changing the needle regularly and using the right type of thread and needle for the fabric.
Know How to Change the Needle Correctly
The needle must be changed regularly in order to ensure that stitches are formed correctly. Fortunately, this is a relatively simple process. Begin by switching off the machine and unplugging it. Then, unscrew the needle clamp and pull out the needle. Make sure to dispose of the used needle as soon as possible.
Now, take the fresh needle and place it into the needle clamp, making sure that the flat side of the needle is aligned with the flat side of the needle clamp. Tighten the needle by turning the handwheel clockwise and making sure that the needle is properly secured.
A good way to check that the needle is the correct size is to make sure it is the same size as the sewing thread. If the needle is too small, it may break easily when it hits the fabric. On the other hand, if the needle is too big, it will cause skipped stitches and a sloppy stitch.
Conclusion
When it comes to sewing machines, Brother is one of the most trusted brands in the industry. Setting up your Brother sewing machine correctly is easy, with just a few simple steps. Once the machine is set up, it is important to thread it correctly and understand the difference between different presser feet. To ensure that your sewing experience is successful, it is also important to know how to troubleshoot common sewing machine problems and clean and lubricate the machine regularly.
