Identifying the Feed Dog
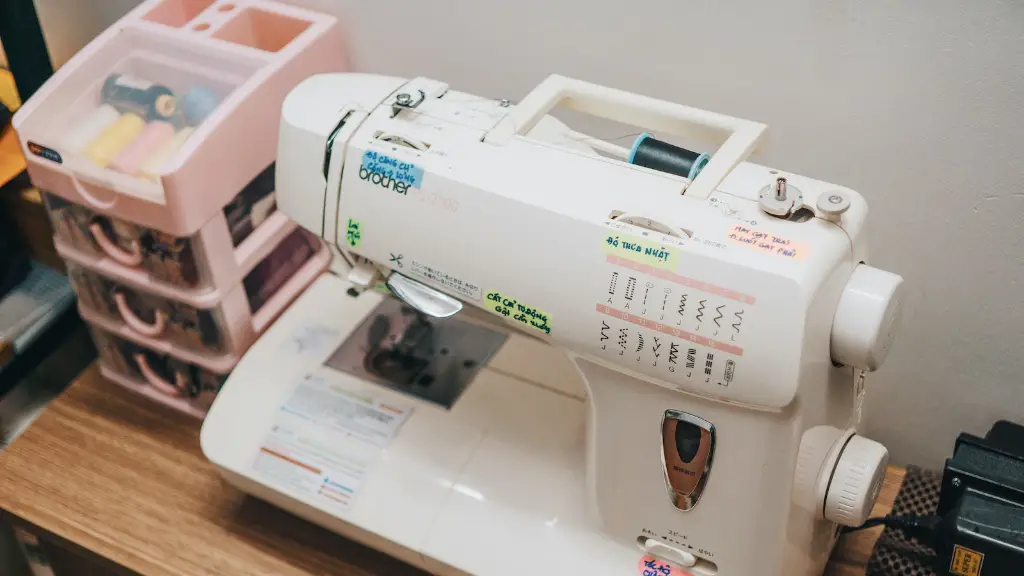
Before you can replace the feed dog on a sewing machine, you must first identify where it is located. It is important to learn the correct location of this part as mistakes in replacing it can lead to damage and costly repairs. The feed dog is usually located beneath the presser foot, inside the throat plate of the sewing machine. It is usually made of metal and looks like a small sprocket or cogwheel. Depending on the make and model of the sewing machine, the feed dog may be attached with screws or may be held in place with clamps or pins.
Remove existing feed dog
Once you have located the existing feed dog, the next step is to safely remove it from the machine. This can be done by unscrewing the clamps or pins that are holding it in place, or by removing the screws that are holding it in place. If you are removing screws, be sure to use the correct type of screwdriver for the job. Once the screws have been removed, the feed dog should be lifted out of the throat plate.
Prepare new feed dog
Once the old feed dog has been removed, it is important to prepare the new feed dog before installing it. This involves inspecting it for any burrs or other defects, as well as greasing and lubricating it where necessary. The feed dog should also be tightly fitted to the throat plate, so that it is secure and won’t move once installed.
Install new feed dog
Once the new feed dog has been properly prepared, it can be installed into the throat plate of the sewing machine. This process involves ensuring that the alignment of the feed dog is correct, and then securely attaching it with either screws or pins. Once the feed dog has been correctly installed, it is important to check for any signs of slippage or wobbling, as this can cause major damage to the machine.
Test and Adjustments
Once the new feed dog has been installed, it is important to test it out before using it on any fabric. This process involves setting up the appropriate settings on the sewing machine, such as the stitch length, tension, and stitch type, and then running the machine. If necessary, the feed dog can then be adjusted to ensure that it is working correctly and stitching properly onto the fabric.
Securing the Feed Dog
Once the feed dog has been tested and adjusted, the last step is to secure it in place. This can be done by tightening the screws or clamps that hold it in place, or by inserting pins where necessary. Once this has been completed, the feed dog is ready to be used on fabric.
Maintenance
In order to ensure that the feed dog is working optimally, it is advisable to follow a regular maintenance routine. This includes regularly cleaning and lubricating the feed dog, inspecting it for any signs of wear and tear, and adjusting the settings as necessary. By taking these precautions, the feed dog will help to ensure smooth, professional results with every sewing project.
Parts of a Sewing Machine
Before attempting to replace or maintain the feed dog, it is important to familiarize oneself with the other components of a sewing machine. This includes understanding the parts of the machine, such as the bobbin, thread guide, needle plate, foot pedal, bobbin tensioner, and many more. Knowing the correct parts of the machine can help to minimize mistakes when dealing with the feed dog.
Selecting the Right Materials
When selecting a new feed dog for a sewing machine, it is important to select a high-quality part that is compatible with the model of the machine. Low-quality components can cause damage to the machine and may lead to costly repairs.
Testing for Stress Points
When testing the feed dog for wear and tear, it is important to pay close attention to any stress points. These can be identified by looking for any signs of wear, fraying, or rust on the feed dog itself. If these are found, then it is important to have the feed dog replaced as soon as possible in order to prevent any further damage to the machine.
Positioning the Feed Dog
In order to ensure that the feed dog is working properly, it must be positioned correctly in relation to the throat plate of the machine. This involves adjusting the height of the feed dog so that it is closer or further away from the presser foot, depending on the type of stitch that needs to be used.
Replacing Seized Feed Dogs
In some cases, the feed dog may become seized due to long-term wear and tear or dirt. When this happens, the feed dog must be removed and replaced with a new one. This process is slightly more complex than simply replacing a worn feed dog and should be left to a professional if you are unsure of how to proceed.


