How to Set Up a Singer Confidence Sewing Machine
From automotive builders and hobbyists to quilters and clothing makers, a Singer Confidence Series sewing machine can be a great investment for tackling almost any industrial-level project. Although it may seem daunting to try and set up and operate a Singer Confidence sewing machine, with just a few easy steps and some practice, anyone can have a streamlined and efficient workspace in no time.
Before beginning, be sure to spread out a clean work surface or table and have a few supplies on-hand, including the Singer machine, an instruction manual, scissors, thread, straight pins, small scissors, fabric, a seam ripper, and a cloth measuring tape. Whether starting a new project or fixing an older project, having a few of these items nearby can help streamline the sewing experience and prevent any mistakes from occurring.
When ready, start by plugging in the Singer machine onto a grounded outlet, then turning it on. Once powered on and running smoothly, the user should flip open the bed of the machine and access the bobbin and bobbin case. This is where the user should load any thread, carefully inserting the thread into the slot and continuing until firmly seated. Once the bobbin is loaded, close the flap and turn the hand wheel by the needle until it clicks and locks in place. This should bring the bobbin thread up for use on the outside of the machine.
To sew, the user should now decide on the stitch size and type needed, referring to a sample chart in the accompanying Singer instruction manual if needed. Adjust what is needed, then lower the presser foot, adjust the tension as necessary, choose a color of thread and using the tiny spool pin, thread the machine and needle. To test the machine and ensure it is running efficiently, try sewing a few stitches onto a scrap of fabric.
Before starting a project, a user should also decide which type of seam they would prefer to use. It is important to use the correct seam for any project, as this is what will hold the fabric under pressure as you sew. It is recommended for any Singer Confidence sewing machine user to practice any kind of seam until they feel confident in their skills, to ensure the best outcome from any project.
Once the user has decided on the seam, they can begin to cut their fabric according to size and shape, using scissors or a rotary cutter. Ensure that all pieces are the correct size and shape before beginning. Lay the fabric flat on a work surface, pinning it if needed to keep it in place, and begin the sewing process. Use a small stitch length and a medium needle plate with a reverse stitch for a stronger seam.
When sewing, use the seam guide at the front of the Singer machine to guide the fabric from the front of the needle so that the needle pierces it easily. This will give a professional finish as you sew and avoid any skipped stitches. Once finished, press down on the reverse button to lock the stitches into place and cut the threads by snipping off at the top and bottom with small scissors. The same steps should be done for any additional seams needed.
Once completed, the user should refer to the Singer instruction manual on how to properly care for their machine. This will include important tips on cleaning, oiling, and storing the machine correctly, as this will keep their Singer functioning correctly and avoid any issues in the future. With simple and regular maintenance, the Singer Confidence Sewing Machine will remain a reliable tool for years to come.
How to Use Specialty Feet
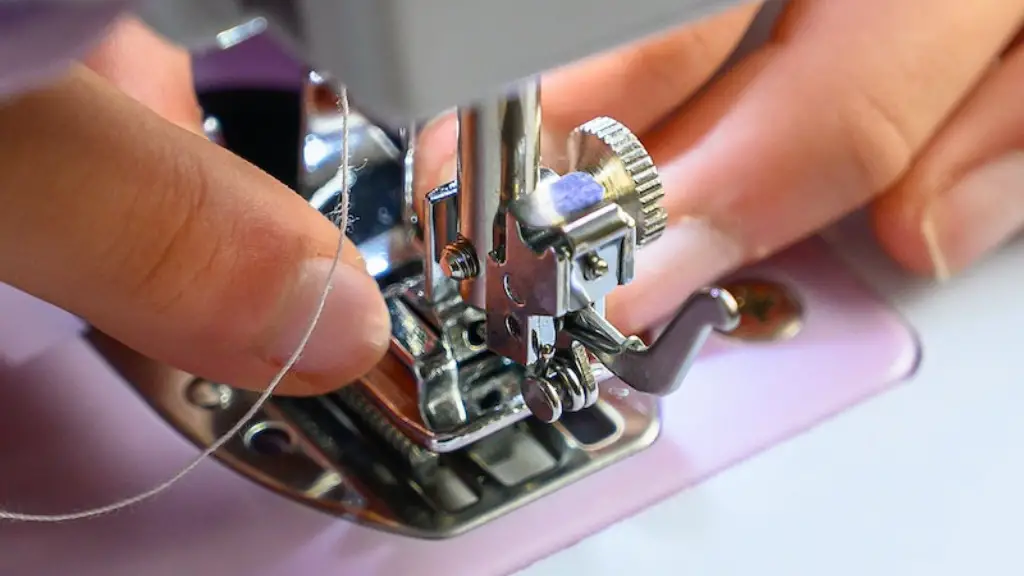
One of the best features of the Singer Confidence Sewing Machine is its variety of special feet that come with the machine. These feet allow the user to make a wide range of unique projects and custom pieces that would otherwise be impossible on other sewing machines. To use any specialty foot, the user should first refer to the instruction manual for any specific instructions that may come with the product. Then, adjust the stitch selector to the desired stitch for the project and place the foot onto the arm of the machine, pushing it slightly forward until it snaps into place.
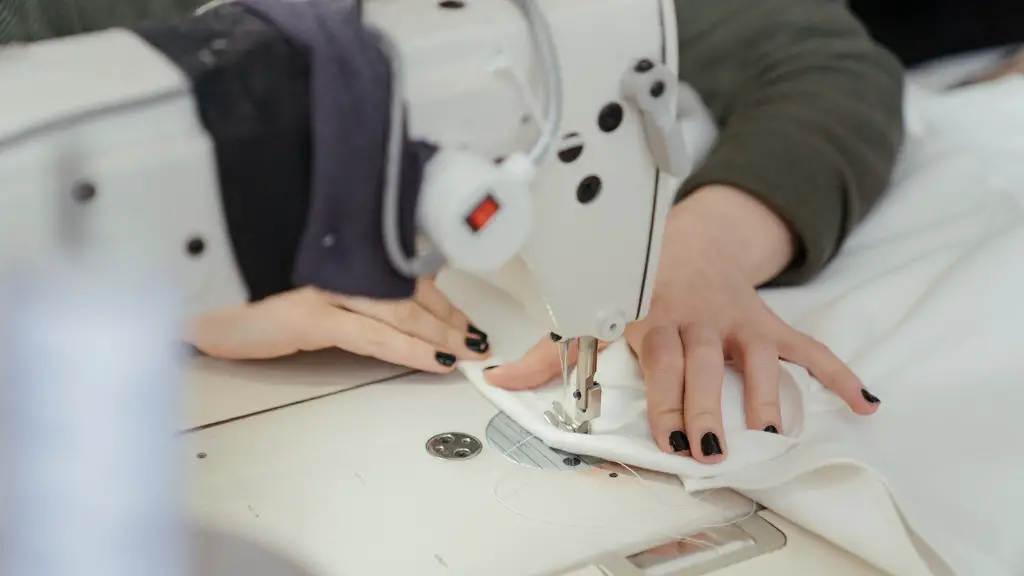
Once the foot has been secured, lower the presser foot and place the fabric under it, pushing it from the back to the front of the needle. Slide the fabric along the foot and slowly guide it while the machine is slowly running. The user can now adjust the fabric evenly along the specialty foot as they sew and use their hands to keep it steady. If needed, the speed can be adjusted to ensure accuracy and the foot can be taken off if needed, once the project is complete.
As with any Singer project, the user should ensure they give the project a good press down with an iron to ensure a professional finish. This should help press any fabric evenly and avoid any wrinkling. If the fabric shows signs of puckering, the user may need to adjust the tension or thread for a better result.
Once the project is complete, the user should immediately unplug the plug from the wall outlet to avoid any mishaps or accidents. They should also be sure to wind any remaining fabric up, place the spare parts in their box, and store the Singer securely to keep it in top-notch condition.
How to Install Stitch Patterns
Depending on the Singer Confidence model, users may be able to choose from a range of decorative and stitching patterns, adding beautiful touches and individual styles. To install any one of these patterns, the user should first turn the hand wheel to the right until the needle is fully raised and begin by removing the thumb screw and opening the stitch pattern access door. They should then slide the old stitches off their holder and give it a good wipe with a clean cloth before replacing with the newer pattern.
Once it has been secured, close the door and tests run the stitches a few times on a piece of scrap fabric. This will allow the user to adjust and fine-tune any pattern needed as they go. If the pattern comes with any detailed thread guides or extras, such as needle guards and thread guides, these should be read before usage and installed correctly. All of these should be placed first before any fabric is placed underneath the foot for sewing.
The user can then choose a fabric and the corresponding style of thread for the project, remembering to use a neutral colored thread for any light-colored fabrics, and a darker one for any darker materials. Start by placing the fabric under the presser foot, sliding it back so it is under the needle, then adjusting the tension as needed. There may also be an available lever to control the needle’s speed, as well as an available foot lever to control the foot pressure, both of which the user should adjust as they go.
When finished, press down on the lever or reverse button to lock the stitches, if needed, before cutting the thread and lifting the presser foot. Give the project a good press down with an iron, ensuring all of the stitches are formed correctly. Any extra pieces that go with the stitch should be attached and secured with a pattern guide or thread guard, so the user can continue their sewing project with no further issues.
How to Troubleshoot Singer Sewing Machines
No matter how experienced a user may be, they may come across a problem while using their Singer machine. There are a few key areas to watch out for when trying to identify potential problems with a Singer machine, as well as solutions. If, for example, the machine is not stitching correctly, there may be an issue with the machine’s tension, bobbin thread, or the fabric itself. Troubleshooting the machine can help pin down the issue, but if it is too difficult, the user may wish to refer to a professional.
If the machine is creating uneven stitches, this could be a result of too much tension between the two threads, so the user should adjust the lower tension (at the bobbin case) and increase the upper tension. If the machine has difficulty picking up the bobbin thread, this could be a sign of lint build-up, so the user should check the bobbin case and the plastic bobbin case holder for any dust or lint. If the fabric is not being fed correctly under the needle, the user should check the machine for frayed thread.
The user should frequently inspect the machine and work area for any build-up of dirt or lint, as this can cause problems and damage the machine over time. Regular oiling of the moving parts and gentle cleaning of the exterior is important to keep the machine in its best condition. For routine maintenance and expert advice, the user should contact their local Singer machine retailer or the Singer customer service team.
How to Adjust The Presser Foot Pressure
For a perfect sewing experience, it is important to adjust the pressure on the presser foot. Generally, a lower-pressure is needed for lightweight fabrics such as silk or chiffon, whereas a higher pressure is needed for heavier materials such as denim, corduroy and organza. However, as all materials are so different, the exact pressure can change from project to project.
To adjust the presser foot pressure, the user should first access the presser foot from the top of the machine and move the foot lever to the left, which will release the pressure. They should then set the desired foot pressure with the aid of a dial or lever and test run it on a scrap piece of fabric. The user should continually adjust the pressure until the stitch gap is even, without any stretching or dragging of the fabric.
The user should also be mindful of the kind of foot they are using, as certain specialty feet can be damaged if used with too much pressure. They should never force the foot down into position and always give the foot time to move back into the neutral position before lifting the foot the next time. If the foot is not lifting properly, it is important to give it time to cool down.
For additional issues, the user should refer to the instructions provided with a Singer machine or reference its accompanying instruction manual for more tips and advice. They should also check for any optional features, such as the availability of independent presser foot pressure control.
Troubleshooting Tips for Beginners
When starting out with a Singer Confidence sewing machine, it is important to bear in mind a few beginner tips for troubleshooting. If, for instance, the user is having difficulty pulling the fabric through the needle plate, they can check the fabric for any tension and adjust the feed dogs accordingly. If the machine is creating loops, the user should check the thread tension, as incorrect tread tension can lead to the thread slipping around the needle.
If the user notices a small amount of fabric stuck in the bobbin area, they should refer to their instruction manual and carefully remove it as instructed. If the user notices any thread or fabric scraps clogging up the inner parts of the machine, they should use a lint roller or vacuum cleaner with a thin nozzle to get in and clean any parts, ensuring it is switched off first and unplugged from any power points.
For any accidental needle breaks, the user should ensure the presser foot is lifted up before attempting to thread
